You’re familiar with gradient nails where two shades fade into one another. This seamless style is making a comeback with baby boomer nails, a trend from the 1940s. It’s an easy look to create with polish.
But what if you want to take it to the next level? Let’s add sparkle and use a more durable finish.
Here’s how to do ombre glitter nails with dip powder.
Supplies Needed for Ombre Glitter Nails
A dip powder manicure doesn’t require a nail lamp to cure because it air dries. But you’ll need at least two colored powders and the essential liquids for applying them.
It’s also handy to have a dusting brush to remove excess powder.
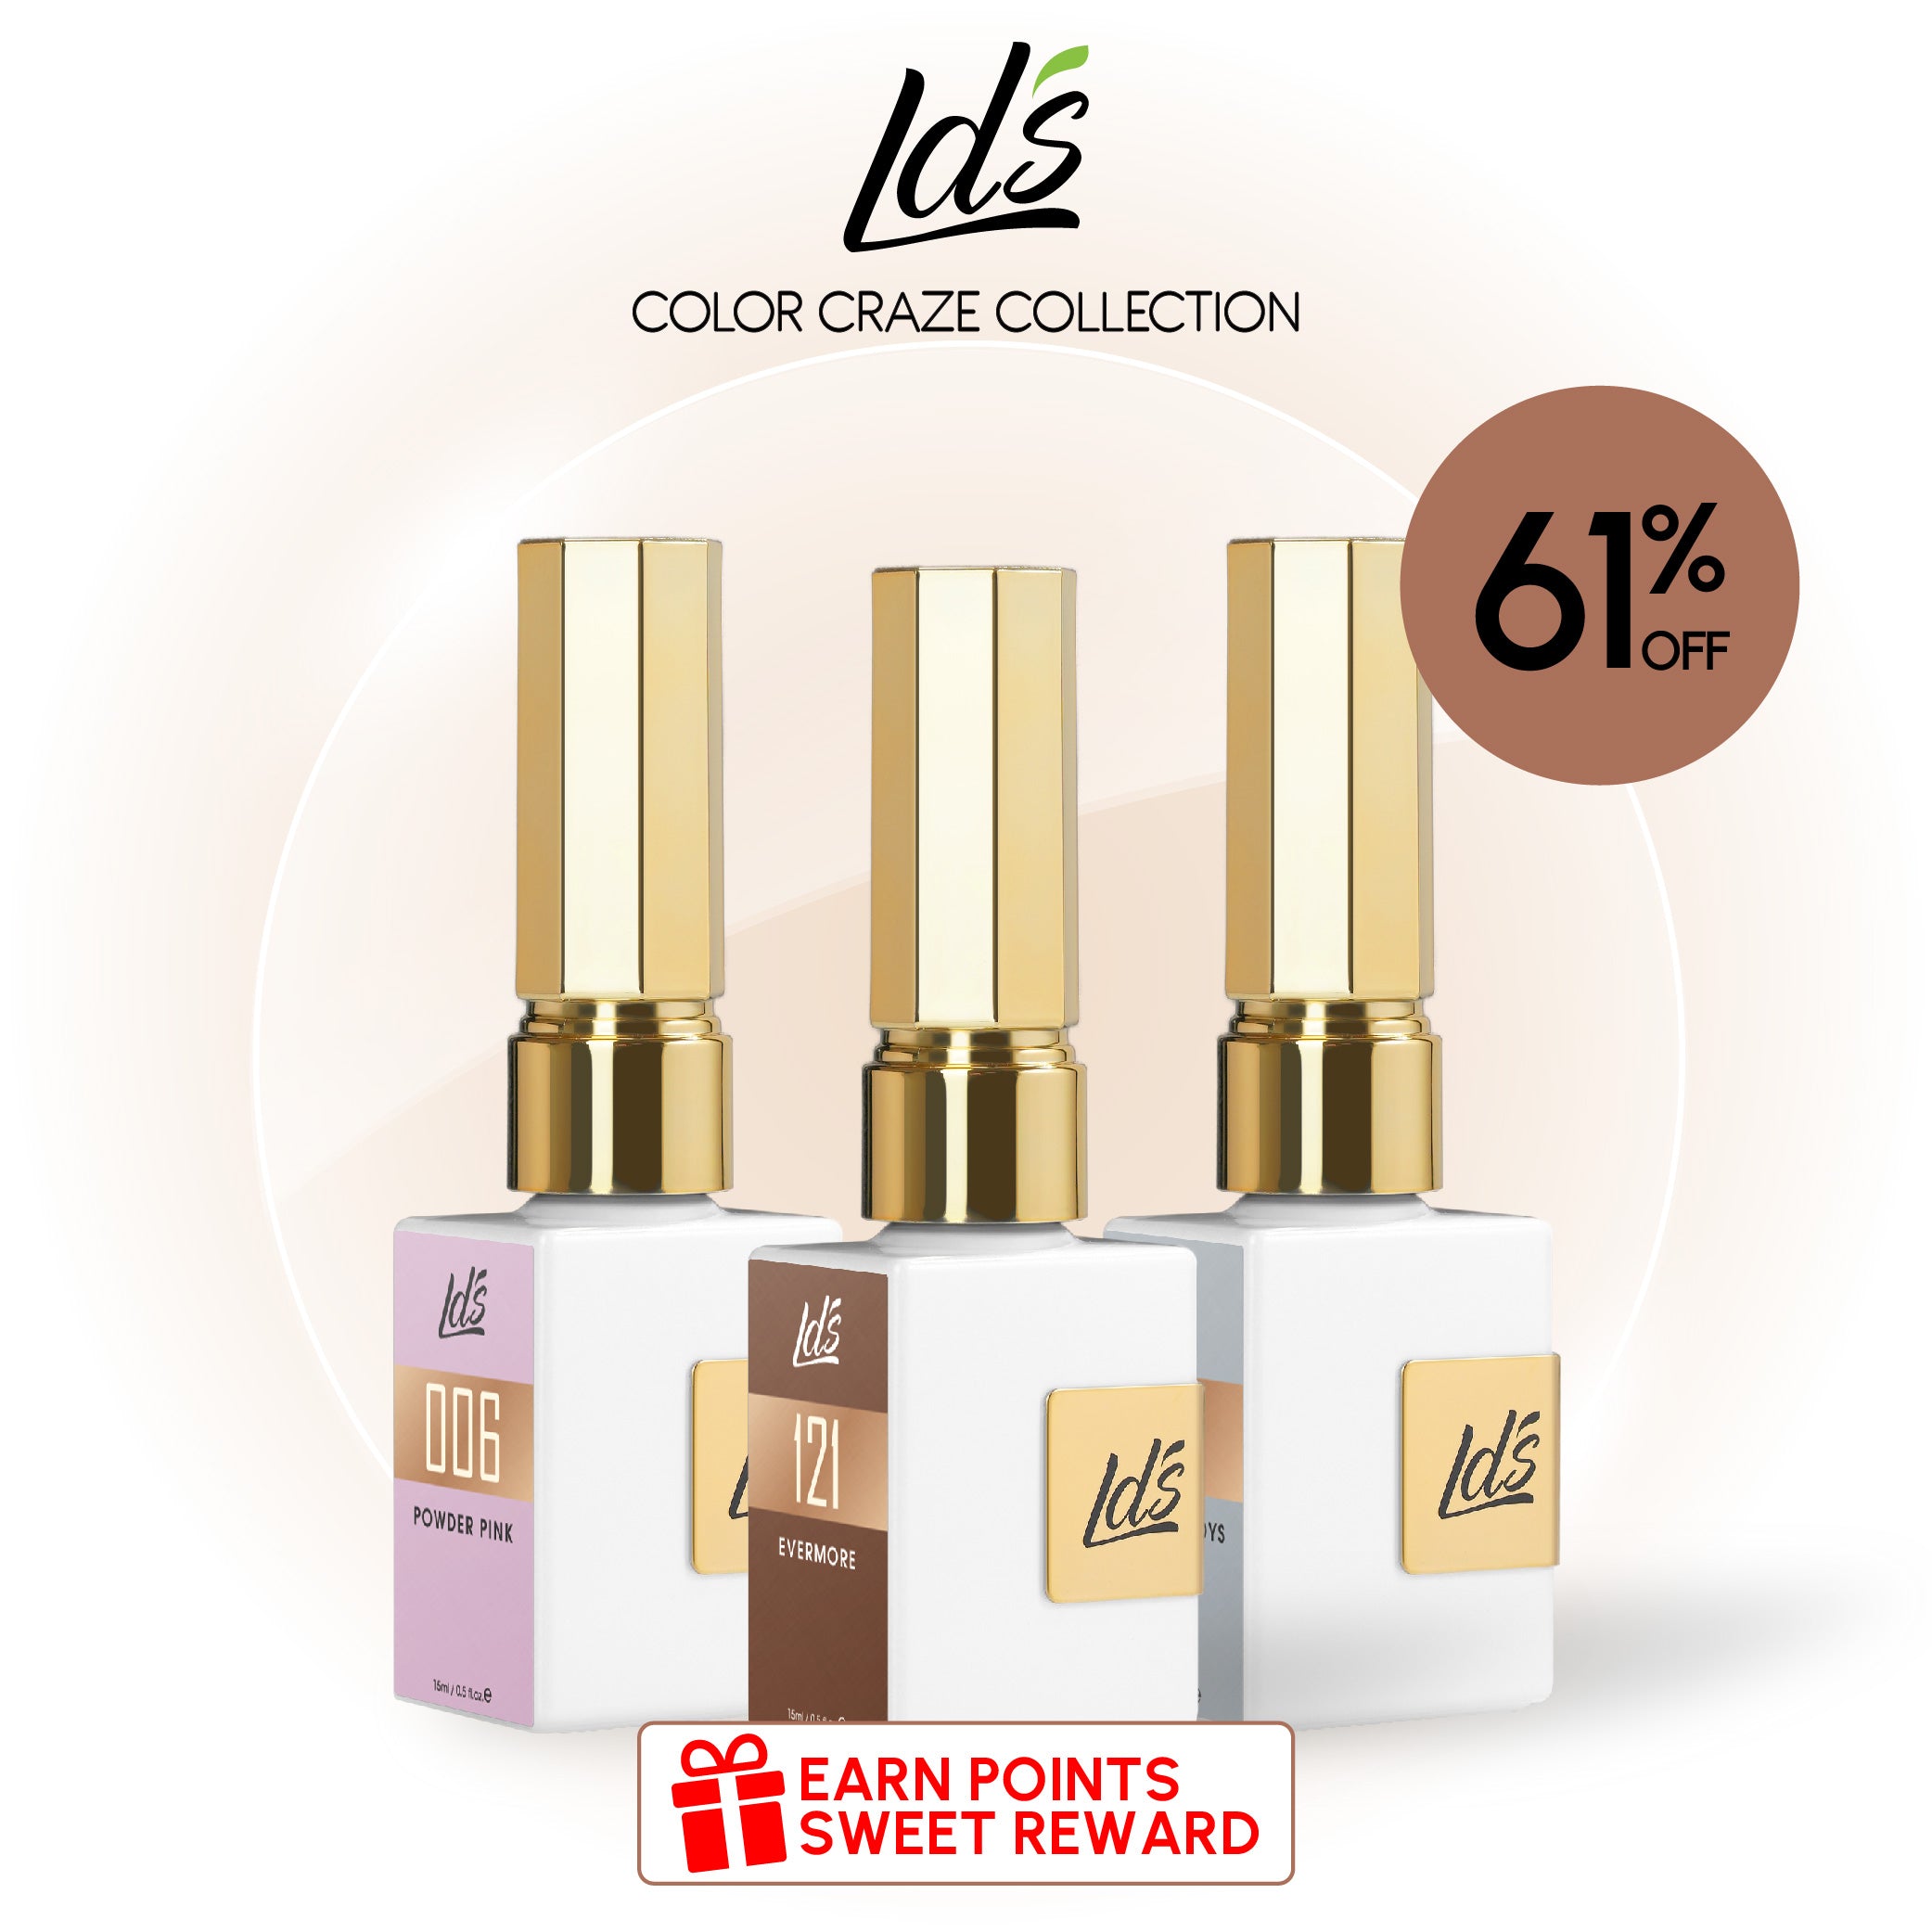
LDS Dipping Powder Essentials Kit

This kit includes all the liquids you need to apply dip powder. Brush them on as you would regular nail polish.
Begin with the EA Bond. It protects and nourishes the natural nail and provides an adhesive base.
Next, apply the Base Coat and dip the nail into the powder. Remove the excess and repeat as needed.
Use the Sealer Dry to set the dip powder. Then finish with the Top Coat for a durable, glossy finish.
As a bonus, this set comes with Brush Saver to prevent nail art brushes from hardening.
How to Do Ombre Nails with Dip Powder
When you do ombre nails, what’s the trick to get the perfect gradient fade between colors?
It starts with the base color that covers the entire nail. Typically, you’d apply the lighter shade first. This video shows the easy way to create an ombre effect with dip powder.
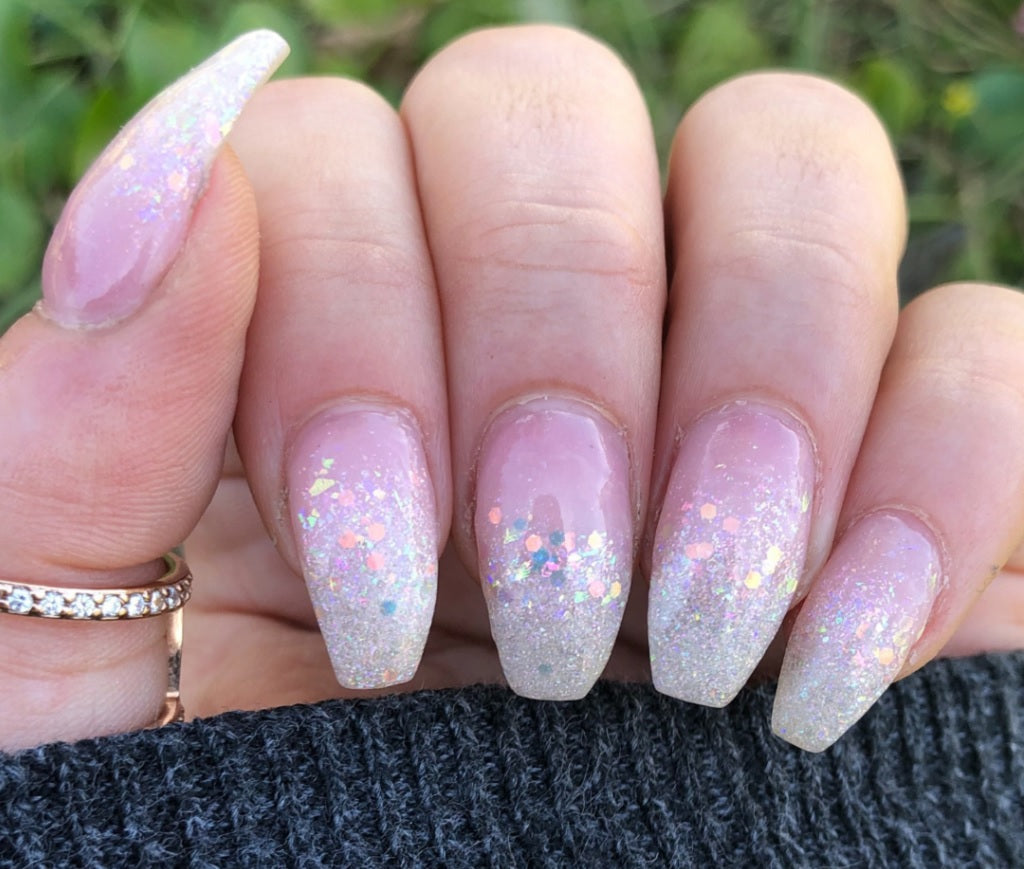
Here’s an example image of ombre glitter nails with a lighter color as the base:

Here are the steps to do gradient glitter nails. (Always start by reading the instructions for the dip powder product you'll use. These are only general guidelines).
- Begin with nail prep. Trim and shape the nails and push back the cuticles. Sanitize with nail wipes to remove debris. Avoid soaking the nails because dip powder air dries. If the nails are saturated with water, the finish will dry slowly and unevenly.
- Apply the bond coat and let it dry for at least 20 seconds.
- Apply the base coat and carefully avoid getting it on the skin. That’s because the powder will stick anywhere the base coat is.
- Dip the entire fingertip into the powder at a 45° angle. Tap off the extra powder.
- If desired, brush on another layer of base and dip into the same powder color again for more opaque coverage. Remove the excess powder.
- Now, apply the base coat over the lower half of the nail. Carefully dip only the tip into the glitter shade. Use a brush to blend the powder upward towards the cuticle so that the colors fade into each other. Repeat if needed to darken the tip.
- Apply base coat and clear powder across the entire nail for an extra glossy shine.
- Then brush on the dry sealer and shape the nails if needed. Wipe off the dust with alcohol.
- Finish by applying the top coat.
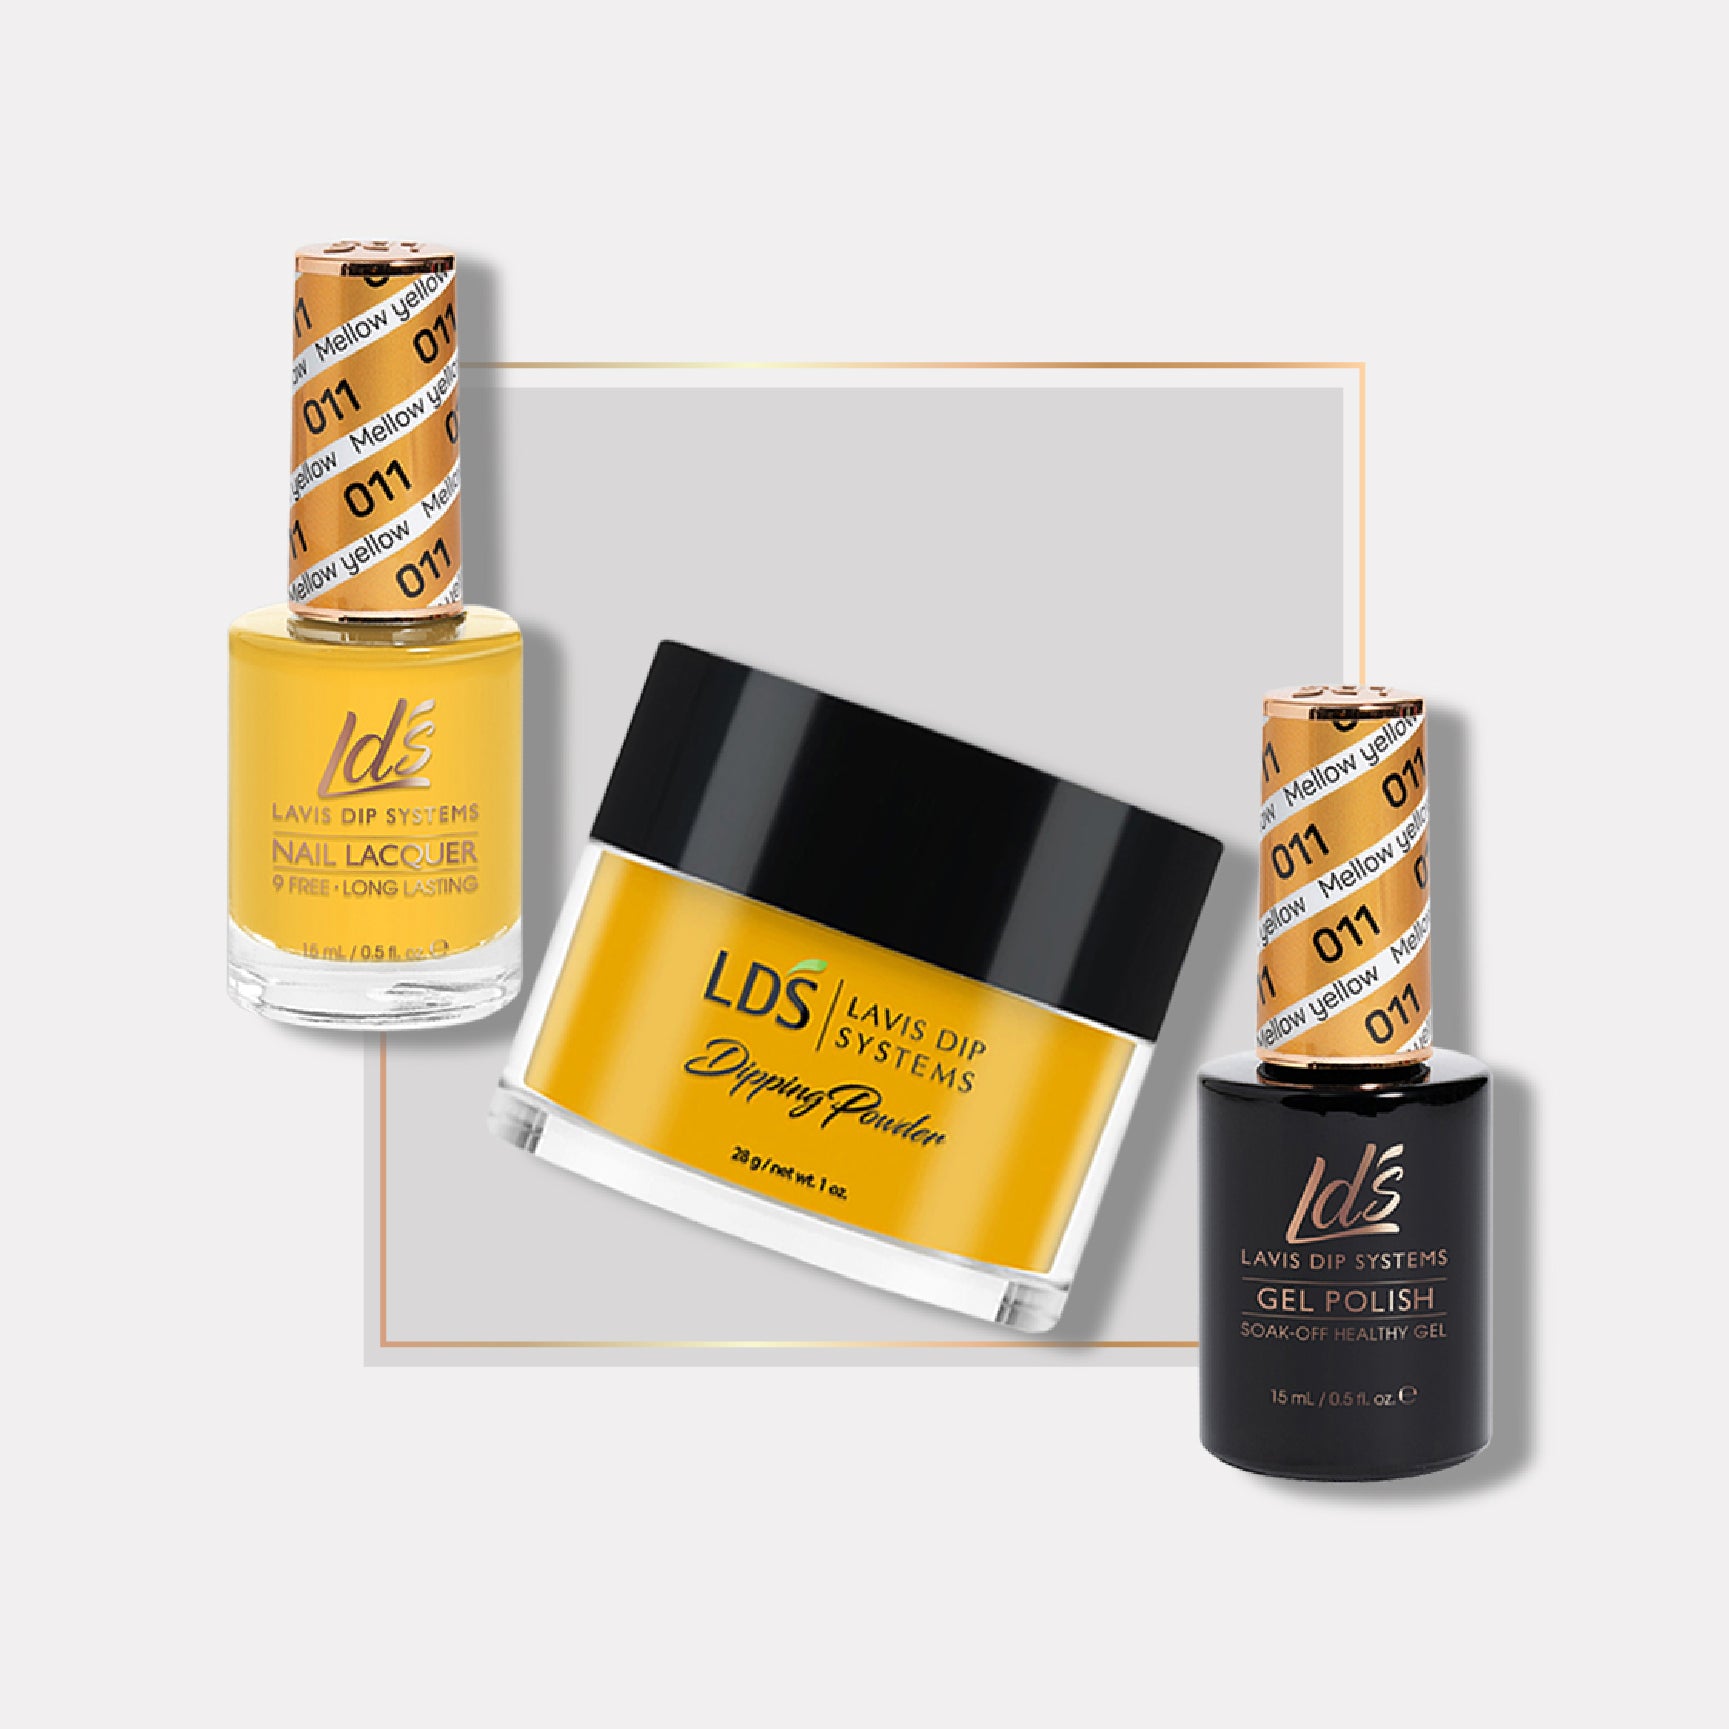
LDS Dipping Powder Nail - 063 Appleblossom

LDS Confetti Glitter Nail Art (6 Colors): CF01-CF06

LDS Glitter Nail Art DFG Kit: DFG01, 02, 03, 04, 05, 06, 07

How to Do Reverse Ombre Glitter Nails with Dip Powder
It’s a little trickier to get an ombre look with glitter near the cuticles instead of on the tips. For one, you’ll need a nail art brush for the glitter, as you won't be able to dip the nails directly into it.
Begin by prepping the nails and applying the bonder coat and base. Dip the nails in the base color and repeat as needed.
When it’s time to apply the glitter, brush the base coat on the part of the nail closest to the cuticle. Avoid painting the skin.
Then, dip the brush into the powder and dab a light coat of glitter on the upper half of the nail. Blend it toward the middle part of the nail.
Apply a little more base coat near the cuticle and concentrate more glitter there.
When you're satisfied, apply the base coat again to the entire nail, followed by clear powder. Wrap up with dry sealer and top coat according to the manufacturer's instructions.

LDS Dipping Powder Nail - 010 Lavender Ballad

LDS Glitter Purple Dipping Powder Nail Colors - 164 We Could Runaway

Pro Tips for Achieving Amazing Ombre Glitter Nails
Beautiful manicures start with perfect nail prep. It's not enough to lightly buff the surface before applying dip powder. Be sure to remove the natural shine from the nails and wipe off the dust. Then the bond coat will act as a dehydrator and remove the excess oil.
Moreover, brush cleaner is worth the investment. Dip powder and the associated liquids will wreck nail art brushes in record time. The fine powder can also contaminate the liquids. Use the brush softener and wipe your brush after each use.
However, you might prefer using an old, frizzy brush for blending gradient designs with dip powder.
When caring for dip powder, think of it like polish. Just as you would roll a polish bottle between your hands to mix the pigment before using it, roll a jar of dip powder to break up clumps. It's also wise to use a separate container for dipping if more than one person uses the same powder. Double-dipping can lead to cross-contamination.
What’s more, thin layers are the key to the perfect dip powder manicure. You can always apply more.
If you want to build a beautiful C-curve and strengthen the nails, start by painting only the center of the nail with the base coat. Use clear powder to create the shape by gradually walking the layers out to the edges and eventually covering the entire nail.
Glitter powder turns out spectacular if you apply clear powder on top. The clear layer provides extra protection when filing, plus more depth for stunning results.
Conclusion
We’re glad you stopped by today! We’d love to see how your ombre glitter nails turn out!
While you’re here, check out our new arrivals with glorious new colors. See what’s trending, too!