Have you seen Kylie Jenner's and Kerry Washington's exquisite water droplet nails? Those 3D designs are incredibly lifelike!
Sure, they had professional nail artists to do their manicures. But it turns out that water drop nails aren’t hard to create. That’s right – you can do 3D water droplet nails at home and get in on this trend that’s making a splash!
The Art of 3D Water Droplet Nails
There are various ways to mimic water droplets on your nails. Different supplies, tools, and techniques will create unique looks.
Supplies Needed
Here's a shopping list with the essential items you need to do 3D water drops on nails:
Nail art dotting tool - a dual-ended nail art pen for placing the droplets. It's ideal for creating intricate designs and adding detail to a manicure. Use this tool if you want similar-sized small drops or an organized pattern. It’s easy to clean with acetone afterward. Conversely, you could experiment with a toothpick.

Emboss gel clear - a gel paint with a thick consistency for designs with a raised texture. It sets to a durable, glossy finish that resists smudging and smushing when cured.

Classy nail art sealer gem gel - this rhinestone adhesive can also create transparent water drops on nails. It's easier to remove than builder gel as it soaks off with acetone.

Base and top coats plus a nail lamp for a gel manicure.

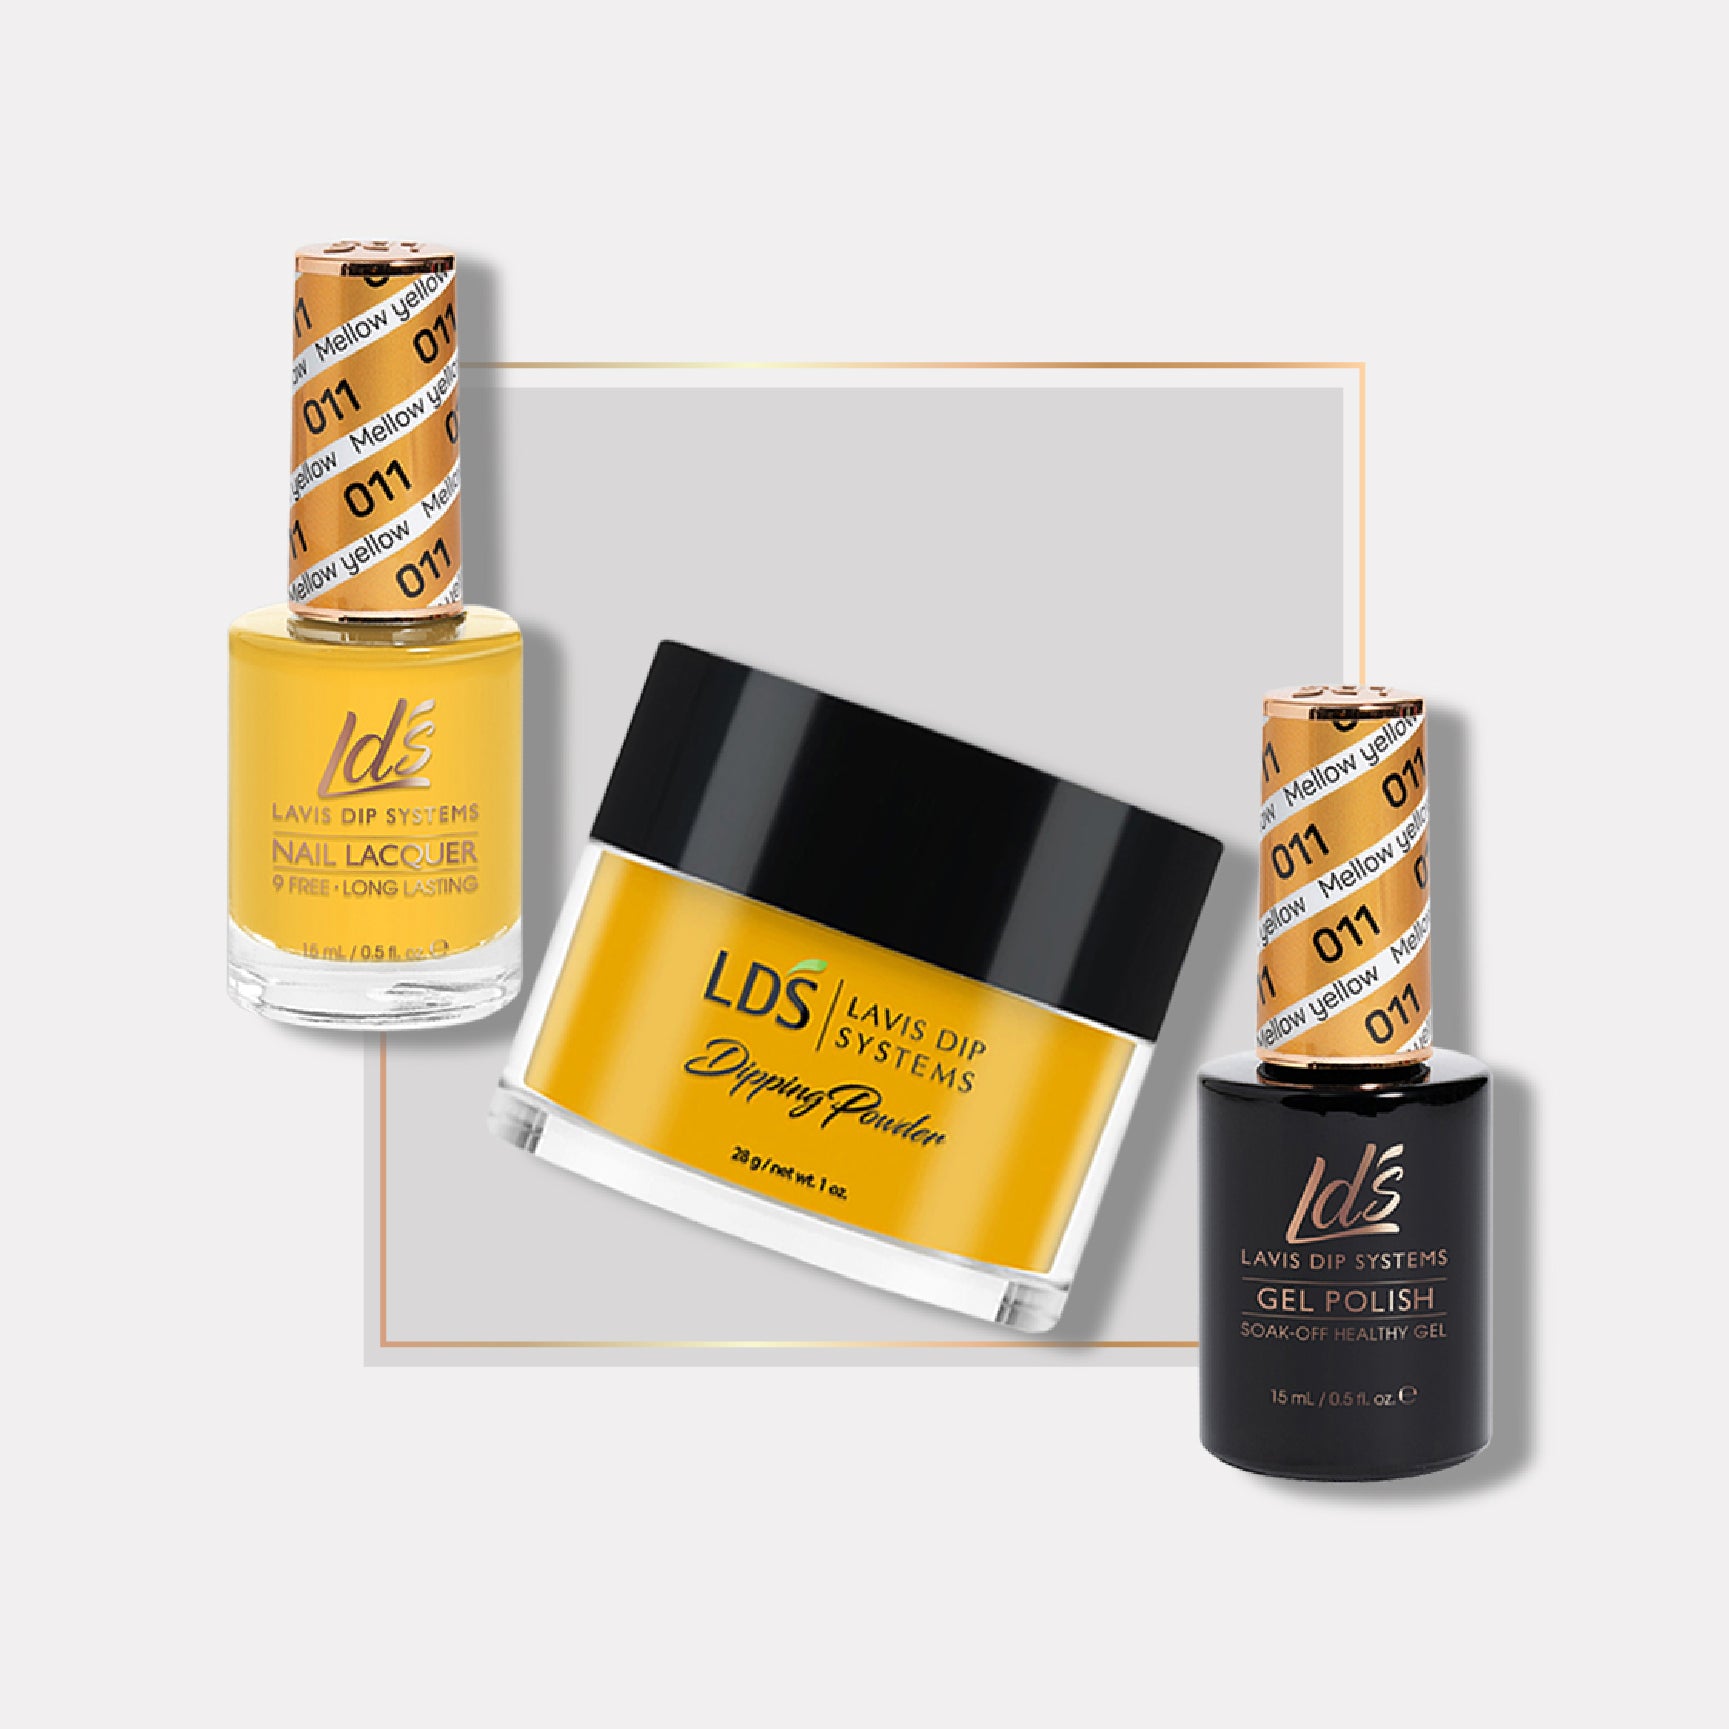
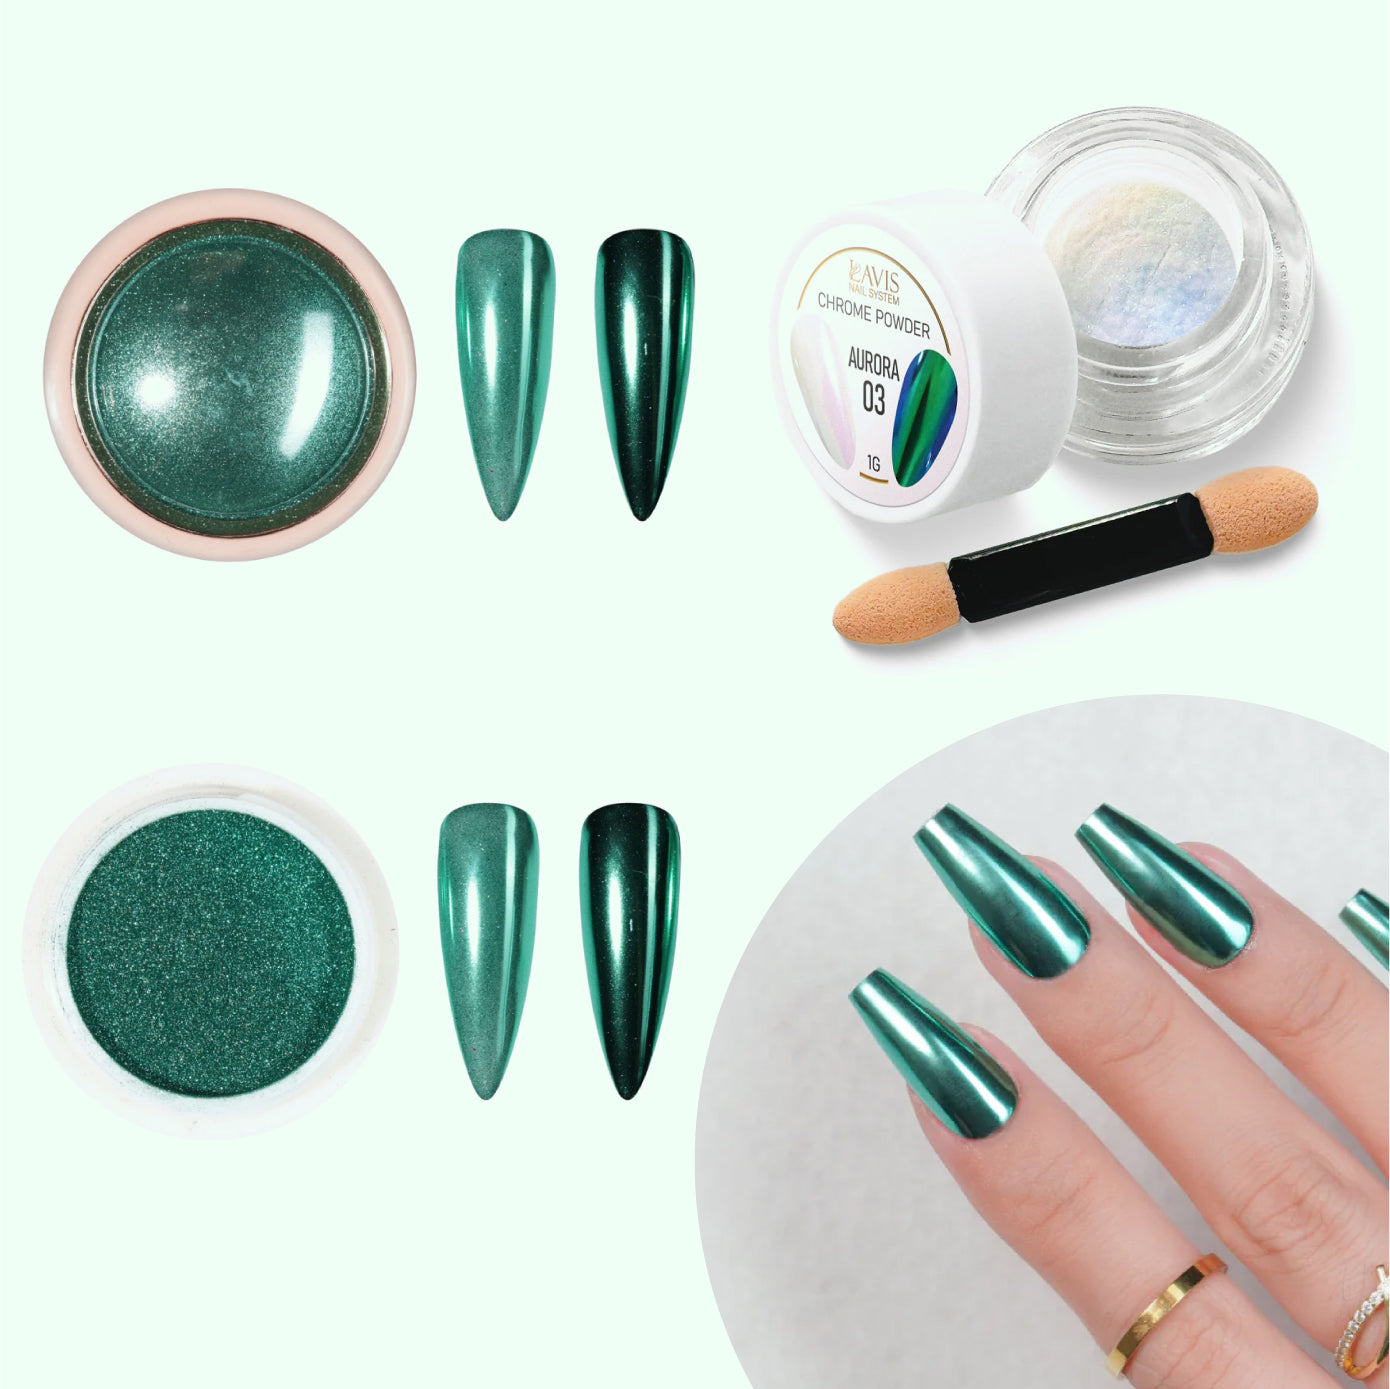
You can also use builder gel and acrylics to make the water droplets.
Moreover, if you’re working with nail lacquer, not gels, pick a transparent, glossy top coat. You can make drops with polish that has a thick consistency. Avoid the thin, fast-drying type.
How to Do 3d Water Droplet Nails
There are lots of places to get inspiration for doing water droplet nails. One of our favorites is this little video tutorial. It shows how to do 3D drips on cat eye nails.
As you can see, the most realistic water drops come in different sizes. So grab your favorite nail art brush and dotting pen, and let's start!
Nail Prep
The water drops will look best on a smooth background. Therefore, trim and shape your nails first. Push back the cuticles and lightly buff the surface to remove the shine. Use a ridge filler to smooth the nails if you have deep grooves. Consider wearing nail extensions to make the water drops stand out more.
Once they are shaped and ready, wipe off debris and excess oil with a lint-free wipe and alcohol or acetone.
Base Coat and Polish
Brush on the base coat and a layer or two of the colored polish and dry them.
Use any shade you like including sheer neutral, jelly colors, cat eye polish, or chrome. The bolder and shinier the color, the more the water droplets will show up.
Also, think about using a matte polish for a stronger contrast. If you don’t have a non-glossy shade in the color you want to use, apply a matte top coat.
Apply the Water Droplets
It’s time to choose what you’ll use for the effect. First, it’s a choice between builder gel, emboss gel, gem sealer gel, or a glossy transparent top coat. All of these liquids will create 3D water droplets.
Second, pick your nail art tool. Some nail artists prefer a dotting pen for drops because it's precise. It creates little droplets that fit perfectly on small nails.
Other artists prefer to use a brush for large droplets. Plus, using both tools to get different-sized drops that look realistic is a great idea.
For results that look like authentic water drips, let the droplets fall from the tool onto the nail.
Do one nail at a time. Once you're satisfied, cure the drops in a nail lamp if you're using gels. Otherwise, let the nail lacquer dry completely.
Then apply a top coat for extra protection if desired.
The Advantage of Using Gels Versus Acrylics or Nail Lacquer for 3d Water Droplet Nails
If you’ve used gel polish, you know it won’t dry until it’s cured in a nail lamp. So, if you don't like how the drops turn out, you can wipe them off and try again before curing them.
Also, gel polish is odorless and durable. It resists chipping and peeling for two weeks or more if properly applied.
If you use lacquer or acrylics, you must work faster because they air-dry. Also, acrylic water droplets aren't easy for beginners to master. But they are very durable, unlike regular nail polish.
Nail polish or lacquer may be the most affordable option as it requires the least amount of accessories to apply. However, large drops of lacquer will take a long time to set. Even if you use a fan or a hair dryer on low, the drops will be prone to smudging. To avoid waiting hours, apply quick-drying drops to quickly set the polish.
Versatility of 3D Water Droplet Nails
Water droplet nails are dripping in so many ways right now! It's because they can be styled to suit any occasion or outfit. And it’s also because they are so stunning. It doesn’t matter whether you place a few drops on an accent nail or cover every fingertip in watery glory. You're bound to get compliments!
Experiment with different nail designs like milk bath nails, mermaid nails, and marbled nails. Each one of these styles looks outstanding with 3D water drops on top.
Here’s a chrome French manicure with droplets. Doesn't it look like someone had just dipped their fingertips in the pool? It could be your next manicure, so go have fun!

Conclusion
We hope you enjoy expressing yourself with nail art as much as we do. Water droplet nails look fantastic and are simple to do at home. Give them a try, and get ready for compliments! You're sure to make a splash with this 3D nail trend.
While you’re here, check out our bestsellers and catch the season's best prices. Remember, we offer free shipping on orders over 100 dollars.