What happens if you put nail polish in water? You can end up with mesmerizing results!
If you’re looking for a creative way to do your manicure, it’s right here. We’re going to show you how to do water marble nails.
Let’s talk about what you’ll need to get started.
What You Need for Water Marble Nails
The most important things you need for water marbling are water and nail lacquer. You can’t do this with gel polish, acrylics, or dip powder. Here’s the full list of supplies:
- White nail polish for a base coat and a transparent top coat
- A bowl or cup, preferably disposable
- Up to 3 colors of nail lacquer
- A toothpick or orange stick
- Nail polish remover like acetone
- Liquid latex, school glue, or petroleum jelly (optional)
- Cotton swabs and a nail art brush (optional)
- Paper towels to protect the surface where you’ll be working (optional)
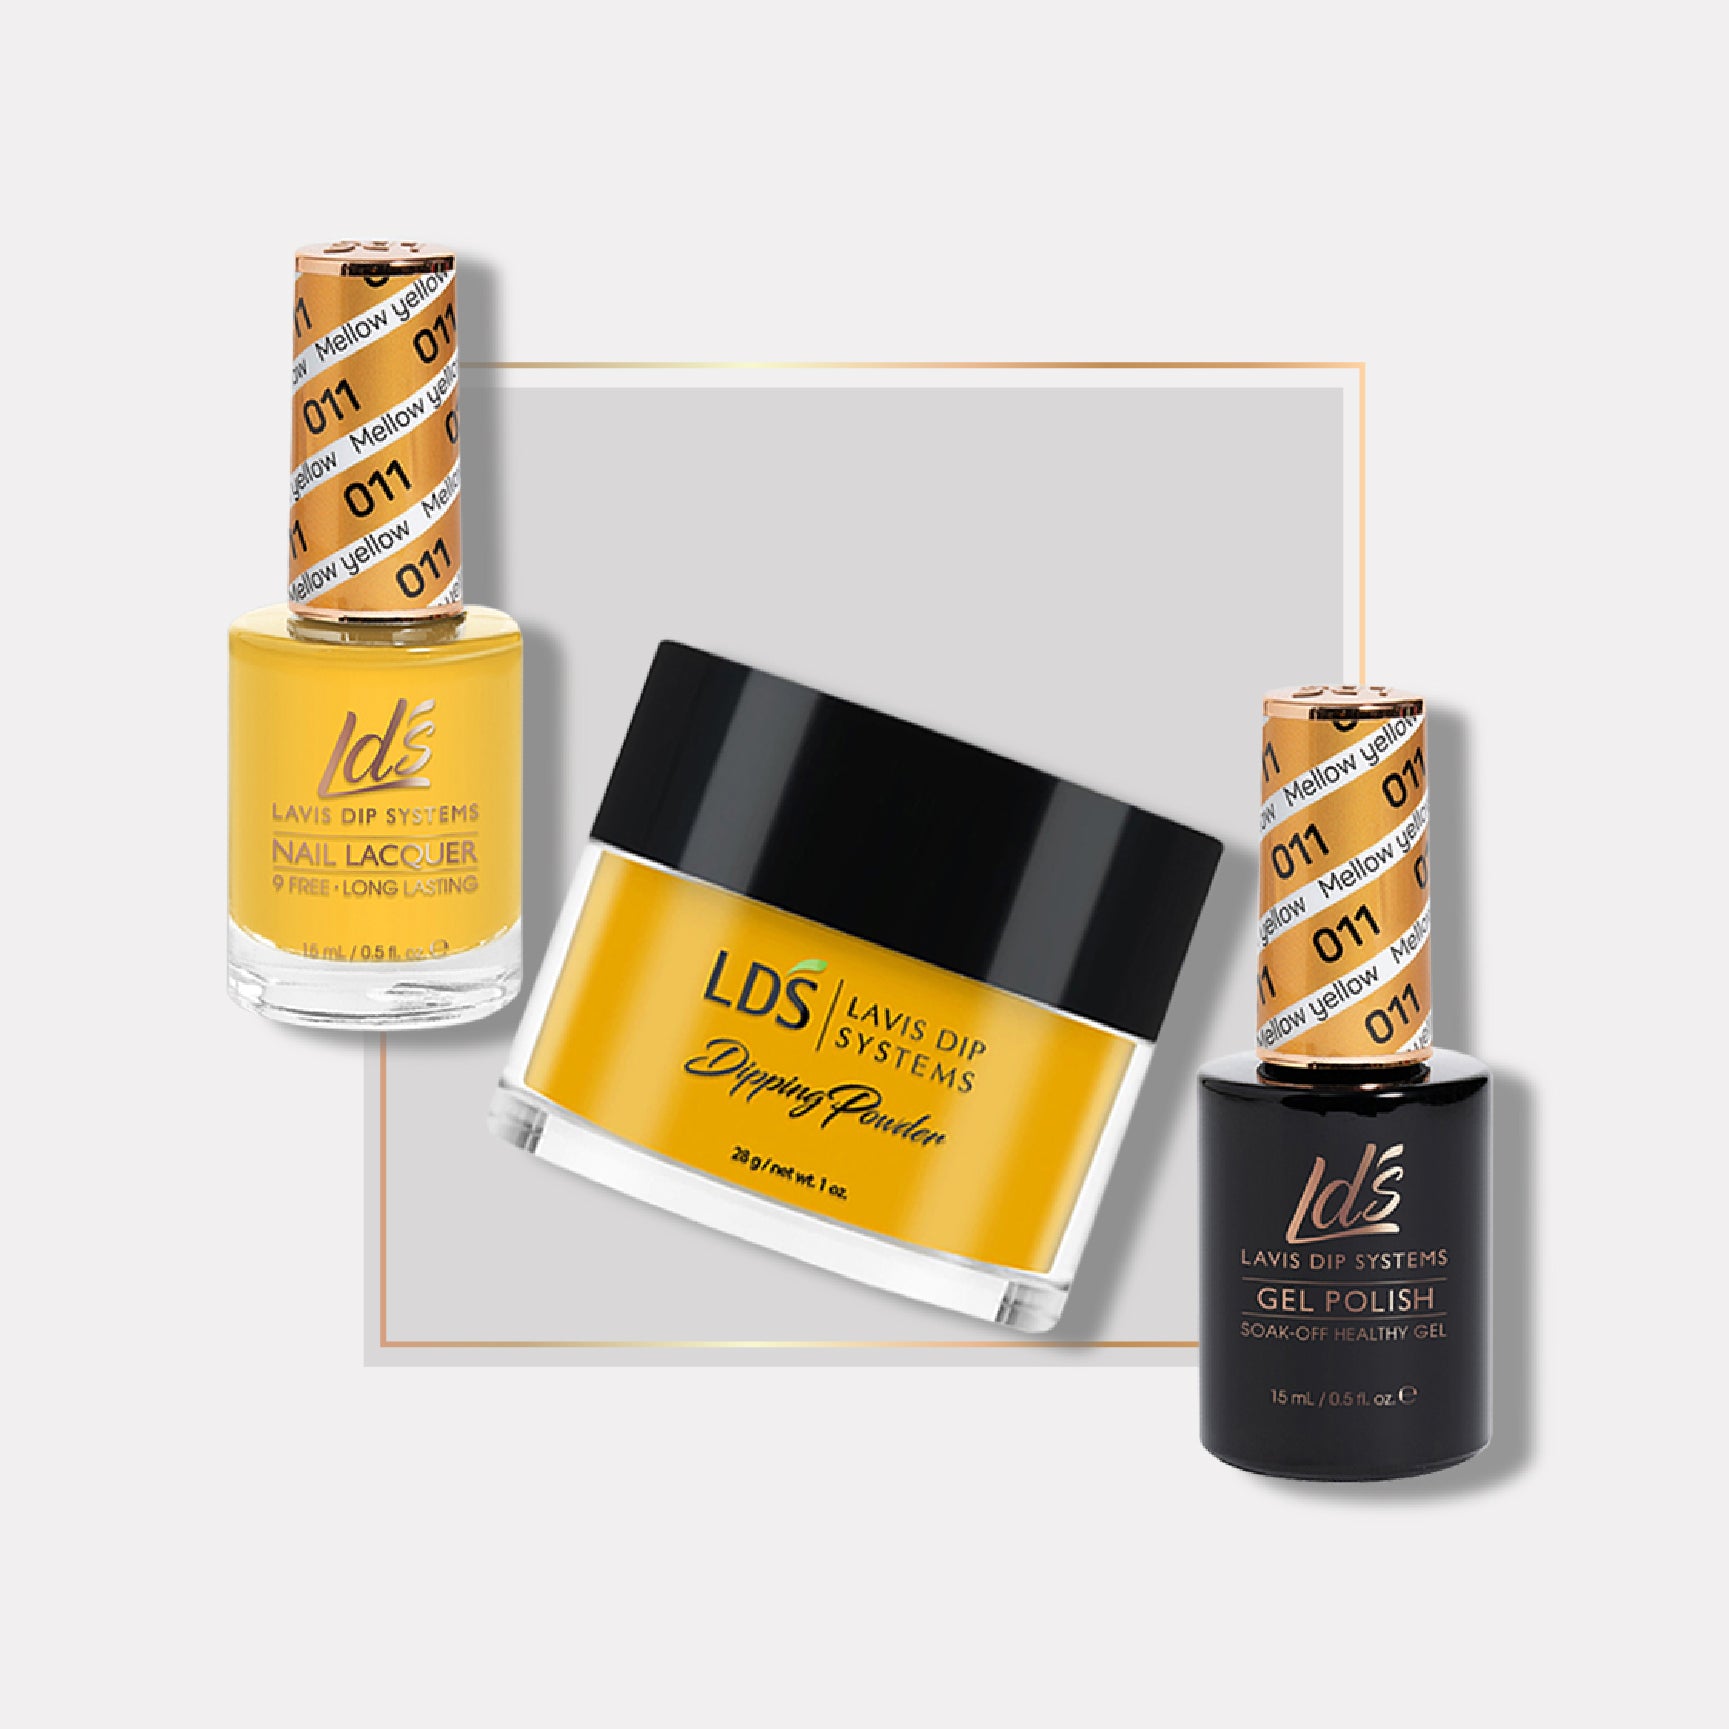
May we suggest a couple of colors to start with? We like Retro Mint Green with pink Lotus Flower. But feel free to experiment with any combination of nail lacquer colors that you desire.
FYI: we find it easier to marble nails using a polish with a thin consistency. Glitter lacquers work surprisingly well.
Also, it’s not a bad idea to test your polish ahead of time. We discovered that some sink right to the bottom of the bowl and those are useless for this technique. You need polish that floats on the surface of the water.
Now, let’s talk about the steps to follow to water marble nails.
Water Marble Nail Tutorial
Round up Supplies and Fill the Bowl with Room Temperature Water
Once you’re ready to dip the nails, things move fast. You’ll want to have everything handy.
Fill a bowl with room temperature or tepid water. Cold water will make the polish harden or “dry” too fast.
Prepare the Nails
Prep your nails as you would for any other manicure by trimming and shaping them and pushing back the cuticles. Wipe off the nails with acetone to remove the natural oil and buff the surface slightly to take off the shine.
Brush on a White Base Coat
You’re welcome to use a transparent base coat but white will make the marbled pattern stand out more. In the end, either white or clear will help prevent the colored polish from staining your nails.
Protect the Skin Around Not the Nails
Pick one hand or foot to start with. It’s easier to do one at a time instead of both at once.
Once the base coat is dry (or even before you apply it if you wish), apply liquid latex, glue, or Vaseline around the nail to mask off the skin. Don’t forget to do the sides and underneath the finger because the whole thing will be going in the water. Let latex or glue dry before the next step.
If you protect the skin, cleanup is much easier!
Prepare the Water with the Polish
This is where things start moving quickly. You’ll be glad you’re using room temperature water instead of cold because cold water hardens the polish too fast.
Unscrew the lids to your nail polishes. Are you ready?
Choose the first polish and hold the brush over the bowl of water. Let 2 or 3 drops fall. Quickly move on to the second polish and repeat. Try to overlap the drops from the different colors.
Grab the toothpick and swirl the colors together.
Dip the Nails
As soon as you’re pleased with the pattern, it’s time to dip your nail. Enter the clear water and lift up and out at a 45° angle. You’ll be scooping the polish on top of your nail. It only takes a second.
It might not look awesome at first because your whole fingertip will be dripping with water and polish. Not to worry, repeat the action with all the fingers.
Should you run out of polish in the water, it’s okay. You can add more drops to swirl and dip again.
Summary: Water Marbling Step by Step
Here’s a brief overview of how to do water marble nails:
- Fill a bowl with tepid water
- Apply a base coat and mask around the nails with liquid latex
- Unscrew the caps of the colored nail lacquers
- Drop the first polish into the water
- Add drops of the next color near the center of the first color
- Swirl the colors with a toothpick
- Dip your nail and scoop it out at a 45° angle
Once the polish dries, it's time to do clean-up.
Clean up Your Nails
If you’re using room temperature or tepid water, you might have time to wipe the excess off each finger while the polish is wet. But it’s also okay to do cleanup after they dry. Either peel off the glue or liquid latex or wipe off the Vaseline. A cotton swab soaked with acetone can help you remove unwanted traces.
Finish up by applying a clear top coat. Glossy is the most common choice, but a matte finish really stands out. In either case, the top coat helps even out the finish which might look a little textured.
Finally, remember to apply cuticle oil to make your fingertips look glorious.
Marble Nails with Gel Polish
Although you can’t do water marbling with gel polish, you can still do marble nails. You can paint them in a way that resembles real marble. This brief video tutorial will show you how.
Marble Nails with Dip Powder
Believe it or not, you can also do marble nails with dip powder. Check out the how-to video for details.
Conclusion
Water marble nails are fun to do! It only takes a few simple steps to make designs that look like works of art. The more you experiment with different colors and ways of mixing them, the more intricate and astonishing your manicure will be. Fortunately, we have an amazing selection of nail lacquers to get you started. Have fun!


