Is it possible to do hard gel overlays and extensions at home? Of course, it is! You'll need a few supplies and an hour or two to complete the manicure. If you've already worked with acrylics or builder gel to sculpt nails, you're a step ahead. But even if you're new to the experience, it just takes practice to get a professional finish. Let's talk about how to do hard gel nails at home.
The Difference Between Hard Gel Overlays and Extensions

Before we begin with instructions, here’s a brief overview. If you’ve never used hard gel before, it’s easier to do overlays versus extensions. An overlay is simply a thick coat to strengthen the natural nail. Then, an extension is exactly what it sounds like – it adds length to the tips. If you want to do extensions with hard gel, you’ll need a form or mold to shape them. Check out the list of supplies to learn more.
What Do You Need to Do Hard Gel Nails at Home?
The first thing you’ll need is hard gel, obviously. It’s often called builder gel or sculpting gel. Since there are different brands and colors available, which one should you choose?
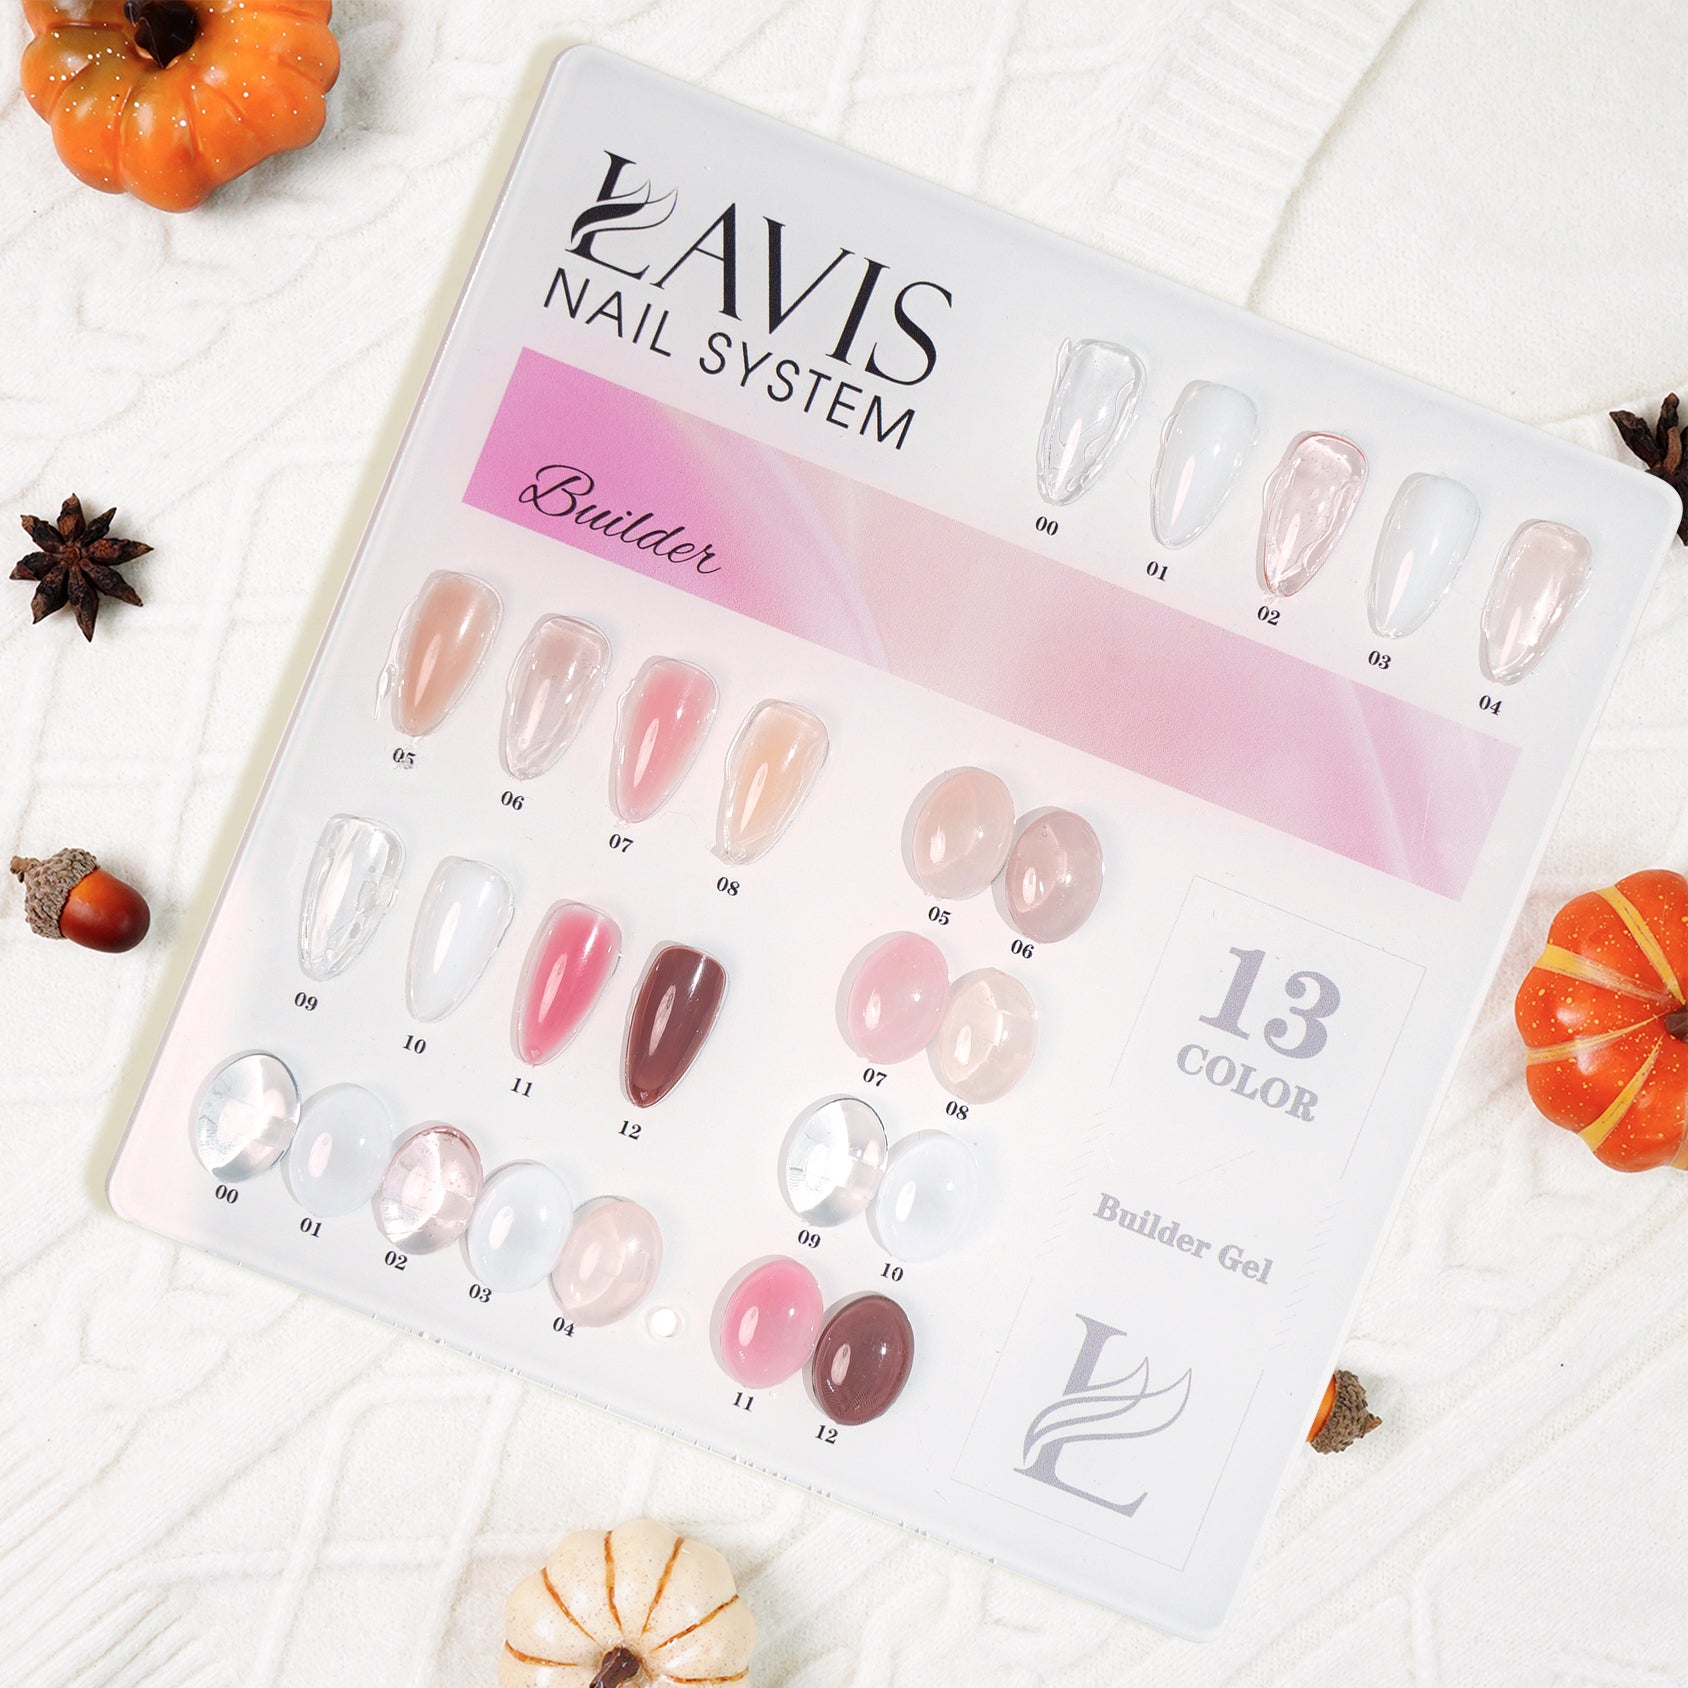
Lavis Builder Gel - Bare Necessities Collection

This hard gel isn’t “hard” at all. It’s thick but smooth and easy to work with. Plus, you won’t need a nail art brush with this builder gel because it comes with one in the bottle.
Moreover, it’s odorless and won’t damage the natural nails. It cures in just 60 seconds in an LED nail lamp.
The durable yet flexible formula is made to stay chip-free for up to three weeks. All you need to do is decide which color to use. It’s available in clear, light pink, and pale peach, for starters.
You might also enjoy using IBD HARD GEL. Some types of IBD are best for overlays while others are suitable for extensions. You can also choose clear or neutral colors like the LAVIS brand.
Here are other essential items to do hard gel nails at home:
- Nail file or nail drill to shape the nails and remove the excess.
- Skin with a cuticle pusher or wooden cuticle stick.
- Nail brush and cleansing wipes to clean the debris from the nails and later wipe the gels.
- Dehydrator or dehydrating cleanser to remove oil and moisture (if necessary).
- Protein bond/primer or base coat.
- Nail art brush for applying the hard gel unless it comes with a brush like LAVIS builder gel.
- Forms (only if you’re doing extensions).
- Nail lamp to cure the hard gel (and colored gel polish if you apply it, too).
Once you have all the things you need, here’s how to do hard gel nails.
DIY Hard Gel Nails
Here are the steps to follow to apply hard gel. Don’t skip the nail prep – it’s crucial.
Step 1: Prep and Prime
Do you know what makes gels lift and peel after only a few days? Chances are it’s a lack of preparation. Even if you’re just experimenting with hard gel nails, take the time to do it right. You’ll get better results and it’s good practice for the future.
Shape the nail and push back the cuticle. Remove the shine from the nail plate. Then remove the debris and cleanse the nails. At this point, you can apply a dehydrator to further reduce the oil and moisture.
Next, apply protein bond and primer. Since it air dries rapidly, you can apply a second coat by the time you finish both hands.
Step 2: Apply Hard Gel
Hard gel is surprisingly fun to work with. It has a nice texture that’s easy to manipulate. There are just a few things to watch out for as you apply it.
First, be careful not to switch the brush too much and make air bubbles in the gel. Bubbles create weak spots where the enhancement may crack later.
If you’ve done acrylics, you’re probably used to forming a bead and then working it across the nail. Hard gel (despite the name) self-levels and doesn’t need to be worked so hard. You can even turn your hand upside down and let gravity help you form the perfect C-curve.
Avoid getting the gel on the skin. If you do, wipe it off with a cuticle pusher before you do the curing. Otherwise, it may cause the finish to lift.
If you’re going to work on extensions, sticker nail forms will help you get the right shape and length. After you cure the first layer for 30 seconds, remove the form and finish curing. Otherwise, the UV light may not penetrate all the way through the gel.
Lastly, if it feels sticky after curing, wipe it off with a nail cleanser or rubbing alcohol.
Once you’ve cured the hard gel, you can apply colored gel and a top coat.
Did you know that acetone can dissolve regular gel polish but not most kinds of hard gel? This fact allows you to fill your nails after a few weeks and replace the color on them without removing the entire manicure.
How to Remove Hard Gel Nails at Home?
Since hard gel is acetone-resistant, you’ll need a nail drill to grind most of it off before soaking your nails in acetone. There’s nothing wrong with going to the salon to get hard gels removed. In fact, it’s a great idea if you don’t have a lot of experience using a nail drill. Although you can probably file the hard gel off by hand, it will take a long time.
The hard gel won’t harm your nails if it’s left in place. Instead of removing it, take off the colored polish and fill in with a little hard gel where the nails have grown out.
Conclusion
Give yourself gorgeous nails with hard gel. It’s not hard to do at home if you have the right supplies. Check out our weekly deals to stock up on the things you need. We also invite you to browse our articles library to learn about the latest trends and get how-to tips for the hottest looks.


