Are you ready for all the compliments? Once you know how to apply jelly nail polish at home, everyone will want to know where you got your nails done!
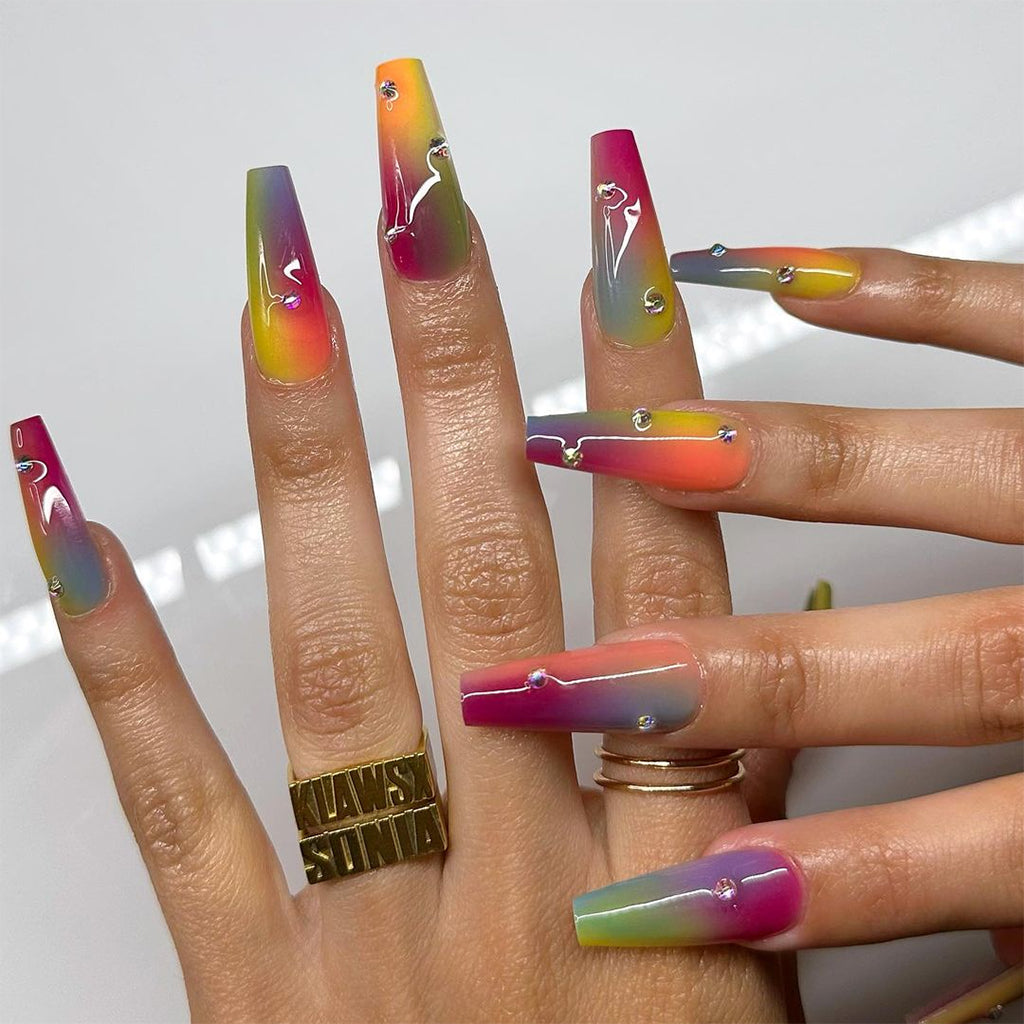
Jelly nails re-create the translucent colorful look of jelly shoes from the 90s. They are playful and downright gorgeous, especially if you have long nails to show them off.
Let’s talk about what you need for a jelly nail manicure.
Supplies Needed for Jelly Nails
You have lots of options when it comes to jelly nails.
First, you can use jelly nail polish. It’s premade (no mixing needed) and ready to go right out of the bottle. Here’s one of our favorites:
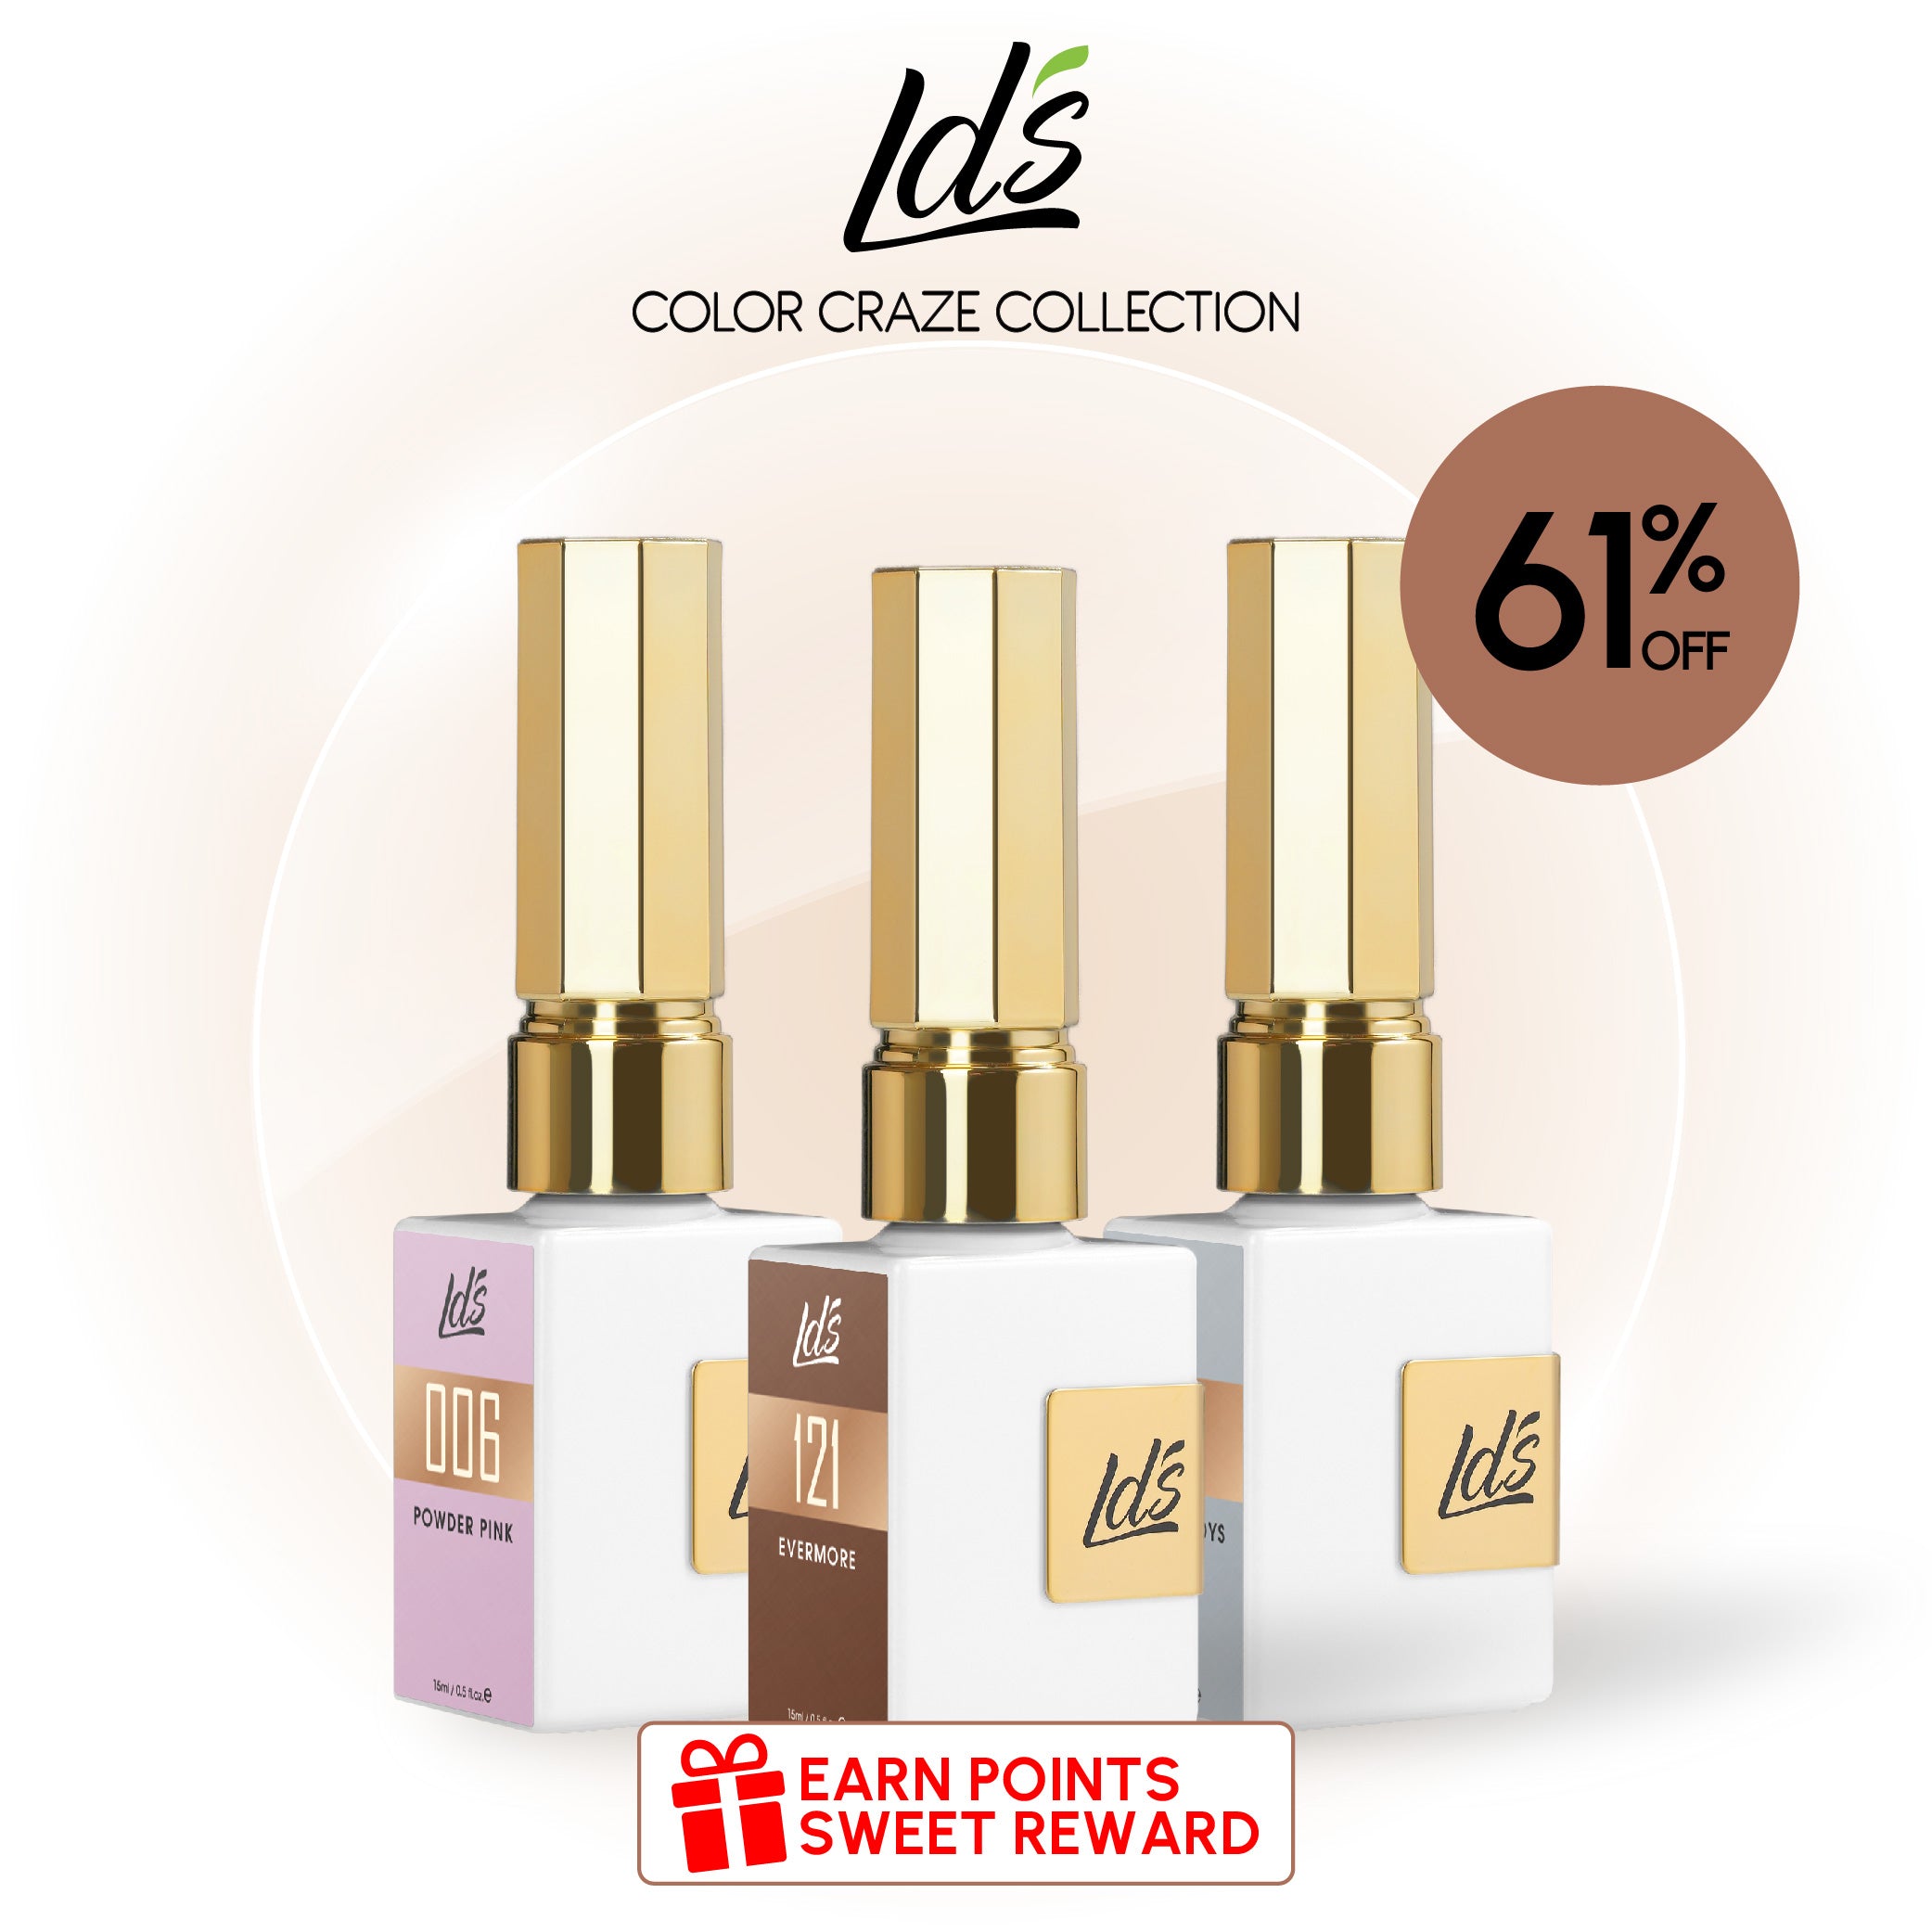
LDS 11 Mulberry Frost Jelly Nude Gel

This translucent lavender shade looks delicious, doesn’t it? The more coats you apply, the deeper the color. If you want sheer nails with a glassy shine, this is the right place to start.
LDS gel polish features a high-performance formula that lasts up to 3 weeks. It’s easy to apply and even smells nice!
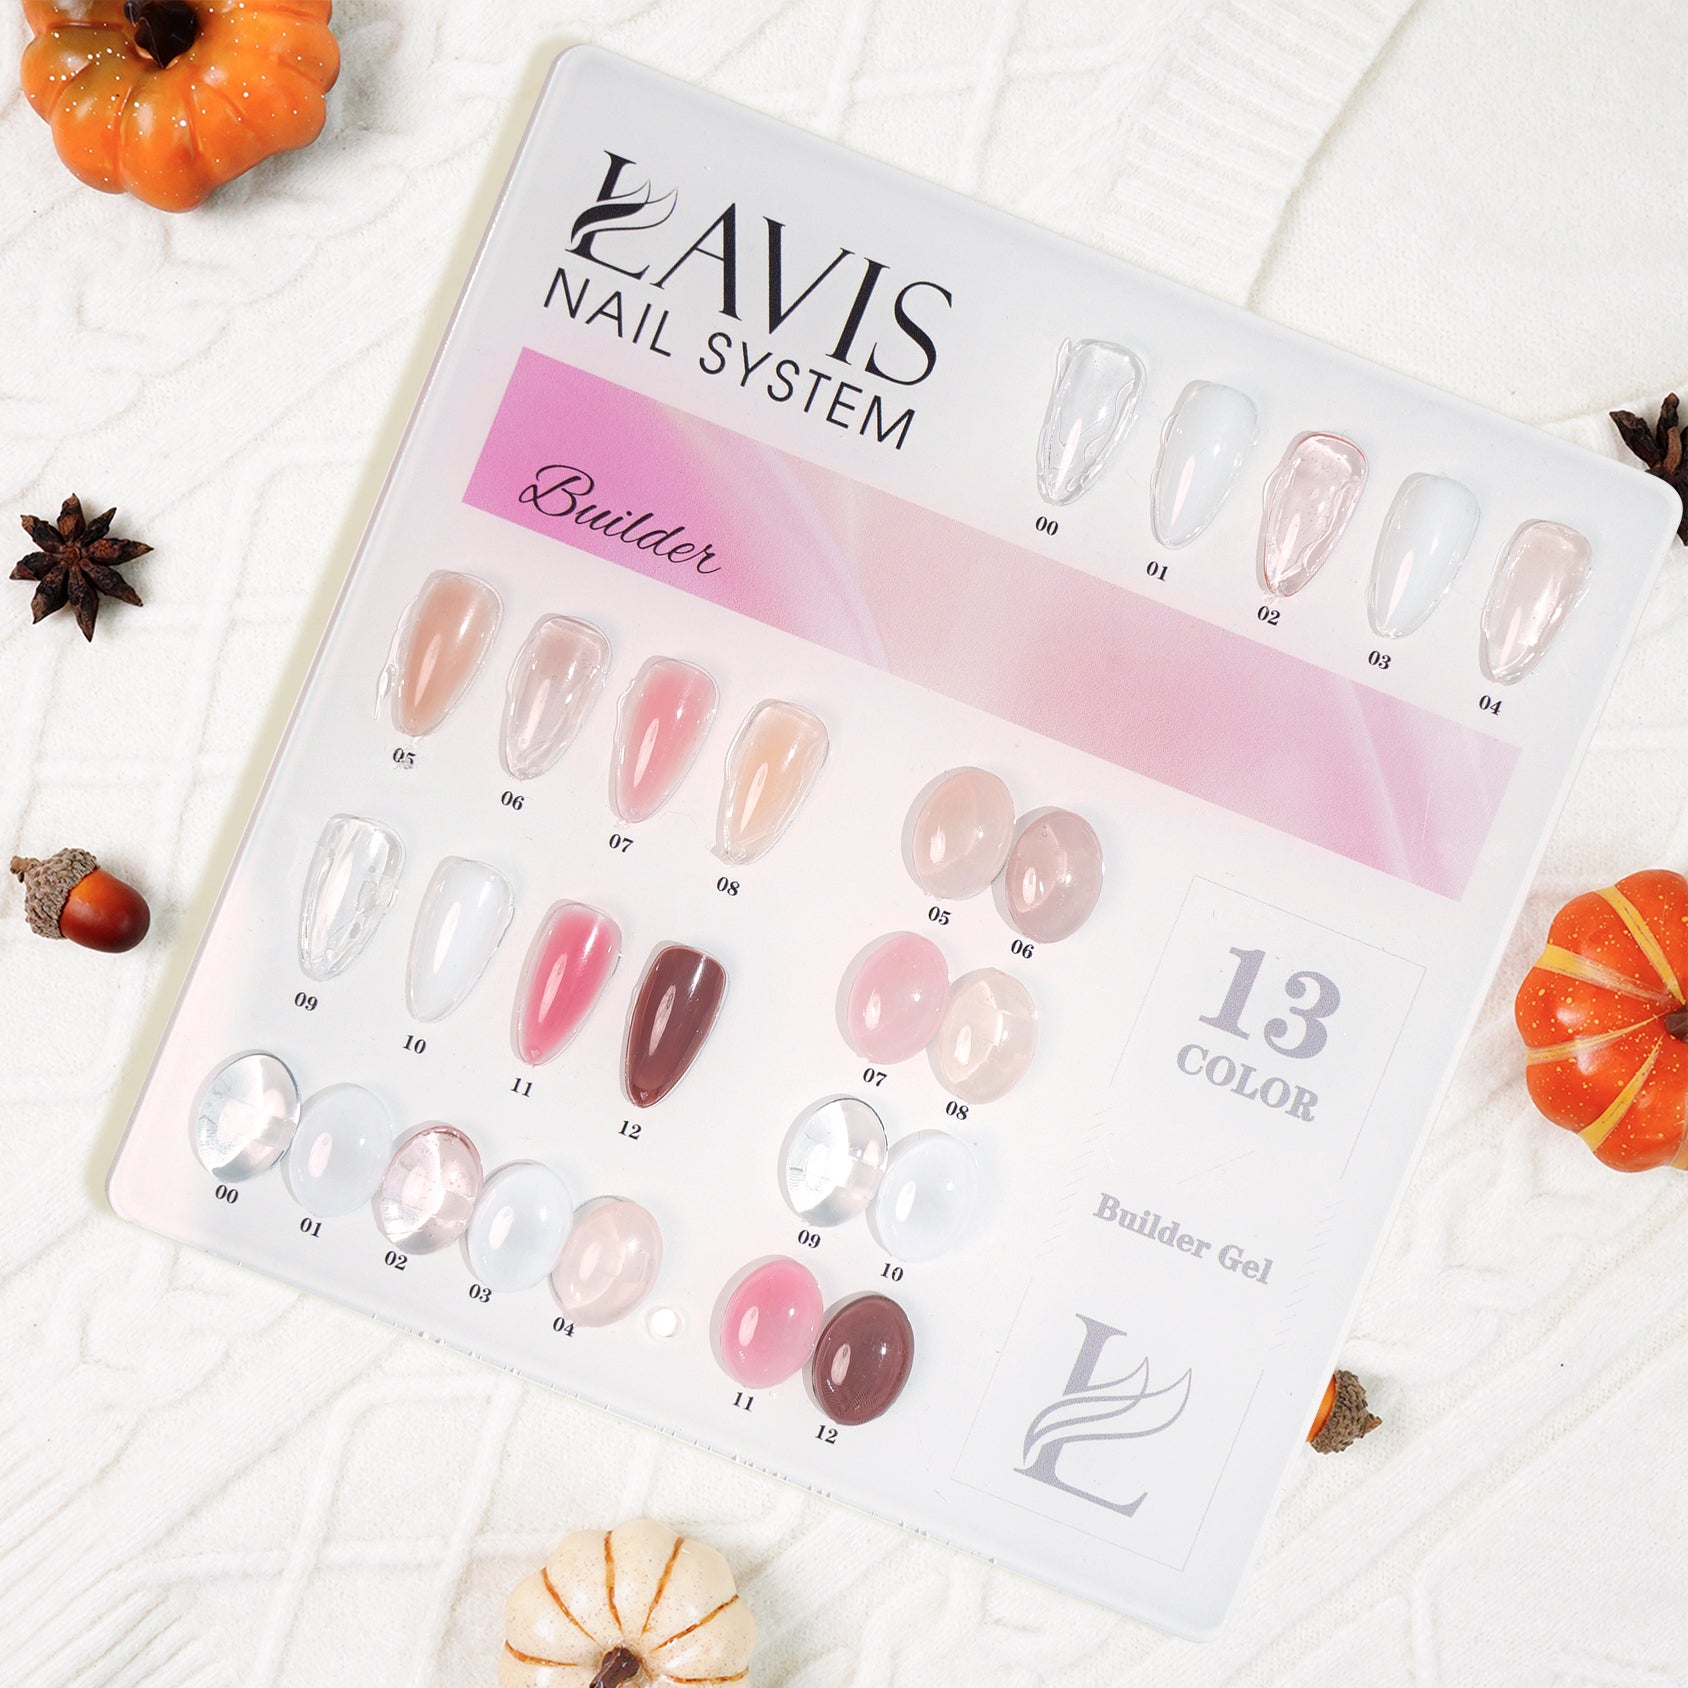
But LDS isn’t the only brand of jelly polish available. We also love the soft shades in the Lavis jelly nude gel collection. Get the whole set or purchase them individually.
On the other hand, it’s also possible to do jelly nails by mixing polishes. In that case, you’ll need a colored polish and a clear top coat. We’d like to recommend our favorite glossy top coat:
LDS Gel Diamond Top

This is a no-wipe top coat with an incredible shine. It really brings out the color of the polish underneath. Moreover, a single coat protects the manicure for 3 weeks or longer.
Also, if you'll be doing a gel manicure, you'll need a base coat and a nail lamp to cure all the polish.
However, you can also do jelly nails with nail lacquer. You’ll need either jelly nail polish or your favorite shade and a clear top coat to dilute it. More on that in a moment.
Steps for Applying Jelly Nail Polish at Home
Before applying the polish, you’ll need to prepare your nails.
Nail Prep
This includes trimming, shaping, and removing the shine from the surface. Push back those cuticles, too! You’ll need manicure tools like clippers, a nail file, a cuticle pusher, and cuticle oil for when you finish.
Since jelly nails are transparent, you’ll need to make sure your nails are clean and neat to begin with.
If you apply nail tips, make sure you use clear ones with transparent adhesive. We’re fans of the Lavis Soft Gels. They are soft yet strong and pre-shaped to cut down on filing time. Plus, they are absolutely perfect for jelly nails.
If you’re into sculpting extensions instead, jelly nails are compatible with both hard gel and acrylics.
Apply Base Coat and Cure
A base coat is recommended for gel polish to improve adhesion and make the manicure last longer. It’s not as necessary for nail lacquer, but it does keep the nails from getting stained and can make the polish stay chip-free for a few days more.
Apply Jelly Polish
Since jelly polishes are very sheer, you’ll probably want to apply at least two coats. Cure gels under a nail lamp or let the nail lacquer dry completely between layers. (If you get too eager with nail lacquer, the top layer may dissolve the lower layer and create a bumpy texture. If you’re impatient, have a fan handy to help the nails dry.)
If you’ll be mixing your own jelly colors instead of using a pre-formulated jelly polish, follow the steps below.
Mix a Custom Jelly Color and Apply It
If you've opted for creating your own shade, you'll need a bright color and a top coat. Combine two parts of a clear, glossy top coat with one part of a high-gloss colored polish (ratio 2:1).
Here’s an example of what we would use:
Lavis Gel Nail Polish Duo - 087 Broccoli Knockoli

This duo set includes the same hot pink shade in both gel and nail lacquer. Depending on which type of polish you use, combine it with the same type of top coat to create a transparent jelly color.
When you mix polish to create jelly colors, try to stick to the same brand of colored polish and top coat.
Once you’re pleased with the jelly color, brush it on and let it dry. Apply a second coat if needed. It’s better to apply thin layers because you can always add more and the polish is less likely to bubble.
You can use a different nail brush to avoid mixing the colors inside the bottles. A brush made for gel polish is easy to clean with a nail wipe.
It’s not recommended to use a Kolinsky sable hair brush for nail lacquer. Use a brush with synthetic bristles that can resist cleaning with acetone. An old makeup brush can serve in a pinch. Don’t be too distressed if the brush leaves a little texture. A high-quality top coat will smooth over the surface.
Seal It with a Top Coat
If you've just mixed a top coat with polish to make a jelly color, do you really need to add a top coat again? It depends on how long you want the manicure to last. One more coat of top coat should give it more durability and extra gleaming shine.
How to Do Glitter Jelly Nails
Make your jelly nails even more stunning with encapsulated glitter under the tips. This tutorial video will get you excited to try it!
How to Do Swirly Jelly Nails
Have you ever used blooming gel polish? It’s a transparent polish that allows other colors to spread and blossom on your nails. It’s a fun way to do jelly nails with swirls of color. They are like marble nails, but sheer instead of opaque.
Conclusion
We hope you have a blast doing jelly nails at home!
Check out our new arrivals page to see the latest trends and hottest products. Remember, we offer free shipping on all orders over $100!


