Do your nails look dull? It happens. Sometimes we can't settle on the right look. We want a manicure that’s different and daring. That's why we explored gem nail design ideas. There’s nothing like extra sparkle to make a bold statement. Plus, gem nails are luxurious and make us feel like a million bucks! Come scroll through these bejeweled nails to find the design that matches your mood.
Gem Nail Designs
Long and Luxurious

Although press-on nails are the quickest way to decorate your fingertips, start with soft gels instead to customize the look. Add a base coat and a sheer shade that matches your skin tone. Then bring on the bling with glitter, rhinestones, and charms.
LAVIS J03 - Set 36 Colors - Gel Polish 0.5oz - Bare With Me Collection

Rhinestones

Square and Sparkly

But you don't need long nails to have a lot of sparkle. These gorgeous gems are color-coordinated with the rest of the manicure. They are tightly packed into a precise pattern for maximum visual impact.
LDS Rubber Base Collection

Encapsulated Gems

Remember milk bath nails? Here’s a lavish spin with jewels emerging from a milky white base. Next to that, there are glimmering diamonds floating on the surface of the next nail. And finally, holographic glitter gleams on the pinky fingers. It’s just so lush!
Massive Gem

Go big with a giant gem on your ring fingernail. This one is literally dripping with gold and glitter. The shimmery nude cat eye base somehow reminds us of expensive champagne.
Take Press-Ons to a New Level of Wow

This look is good enough to eat. It reminds us of those tasty nonpareils candies at the movies or Christmastime. Nail artist Gina Edwards designed these gem nails for a fashion show with press-ons as the base. She said her inspiration came from 1970s glam.
Bejeweled Tips

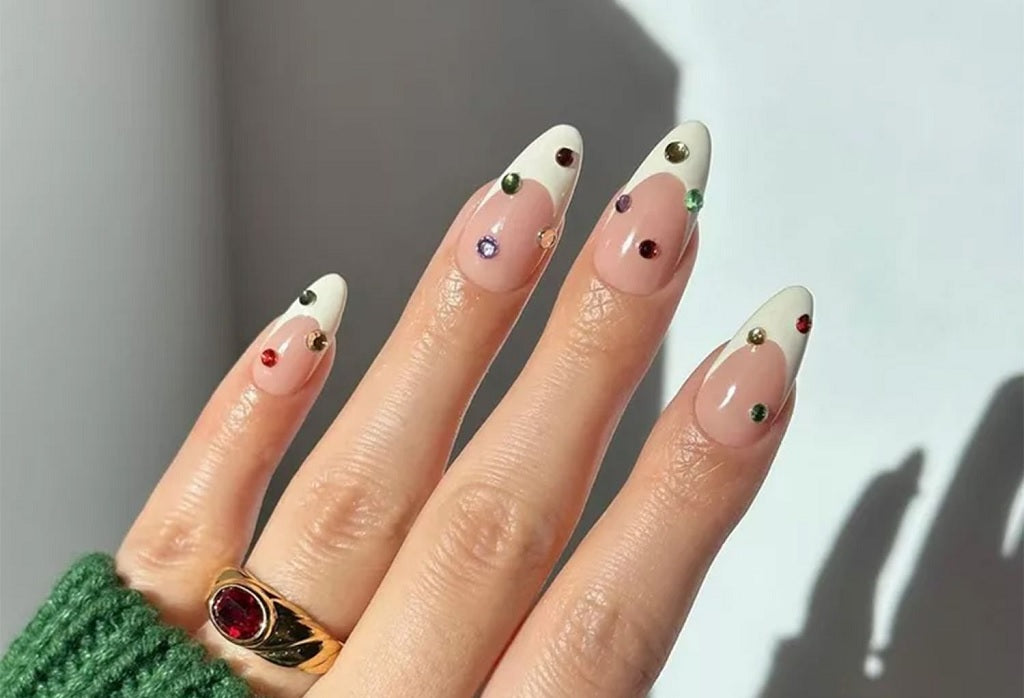
Here’s a glamorous take on the ubiquitous French tip. But how do you secure large, clear crystals on gem nails? Should you use gem gel, nail glue, or some secret third way? More on that in a moment.
How to Do Gem Nail Designs That Last
As you know, there’s more than one way to stick gems onto nails. Some methods will stay put longer than others. Let’s discuss the pros and cons of various adhesives that nail artists use.
Nail glue: This inexpensive option does not require additional equipment to use, and it dries in seconds. Although it has a strong hold, it might not be enough for large charms. Also, we recommend you test the glue before using it to see if it dries as clear as you need it to be. Some people are allergic to nail glue’s odor, and it could cause a skin rash as well. Removal should be as straightforward as a soak in acetone but double-check with the manufacturer’s instructions.
Adhesive Tabs: Press-on nail users are likely familiar with what is basically two-sided tape. This is not the best choice for gem nails unless you only need it to work for a day or two. It might dissolve if you soak the nails in warm, soapy water. On the bright side, it’s perfect for quick changeovers and easy to remove.
Lacquer: Although regular nail polish is not glue, it is sticky. It will hold tiny stones in place but needs a helping hand. Wait a few seconds for the polish to get tacky and press the decorations into place. You’ll need to add a top coat once the base is dry. Be careful as the topper might lift the rhinestone’s color or make it less shiny, and you might need two layers.
Super glue: No, this is not for natural nails. It doesn’t matter what you saw on TikTok. Don’t use super glue for nail art unless it is only on artificial nails, never your own.
Gem gel: This gel-based adhesive requires a nail lamp to cure. It provides a flexible, strong hold that can last for weeks. Remember to apply a gel base before anything else. You’ll get better performance if you tuck gel adhesive around the gems and not only apply it underneath. Avoid brushing it over top of rhinestones as it may dull them.
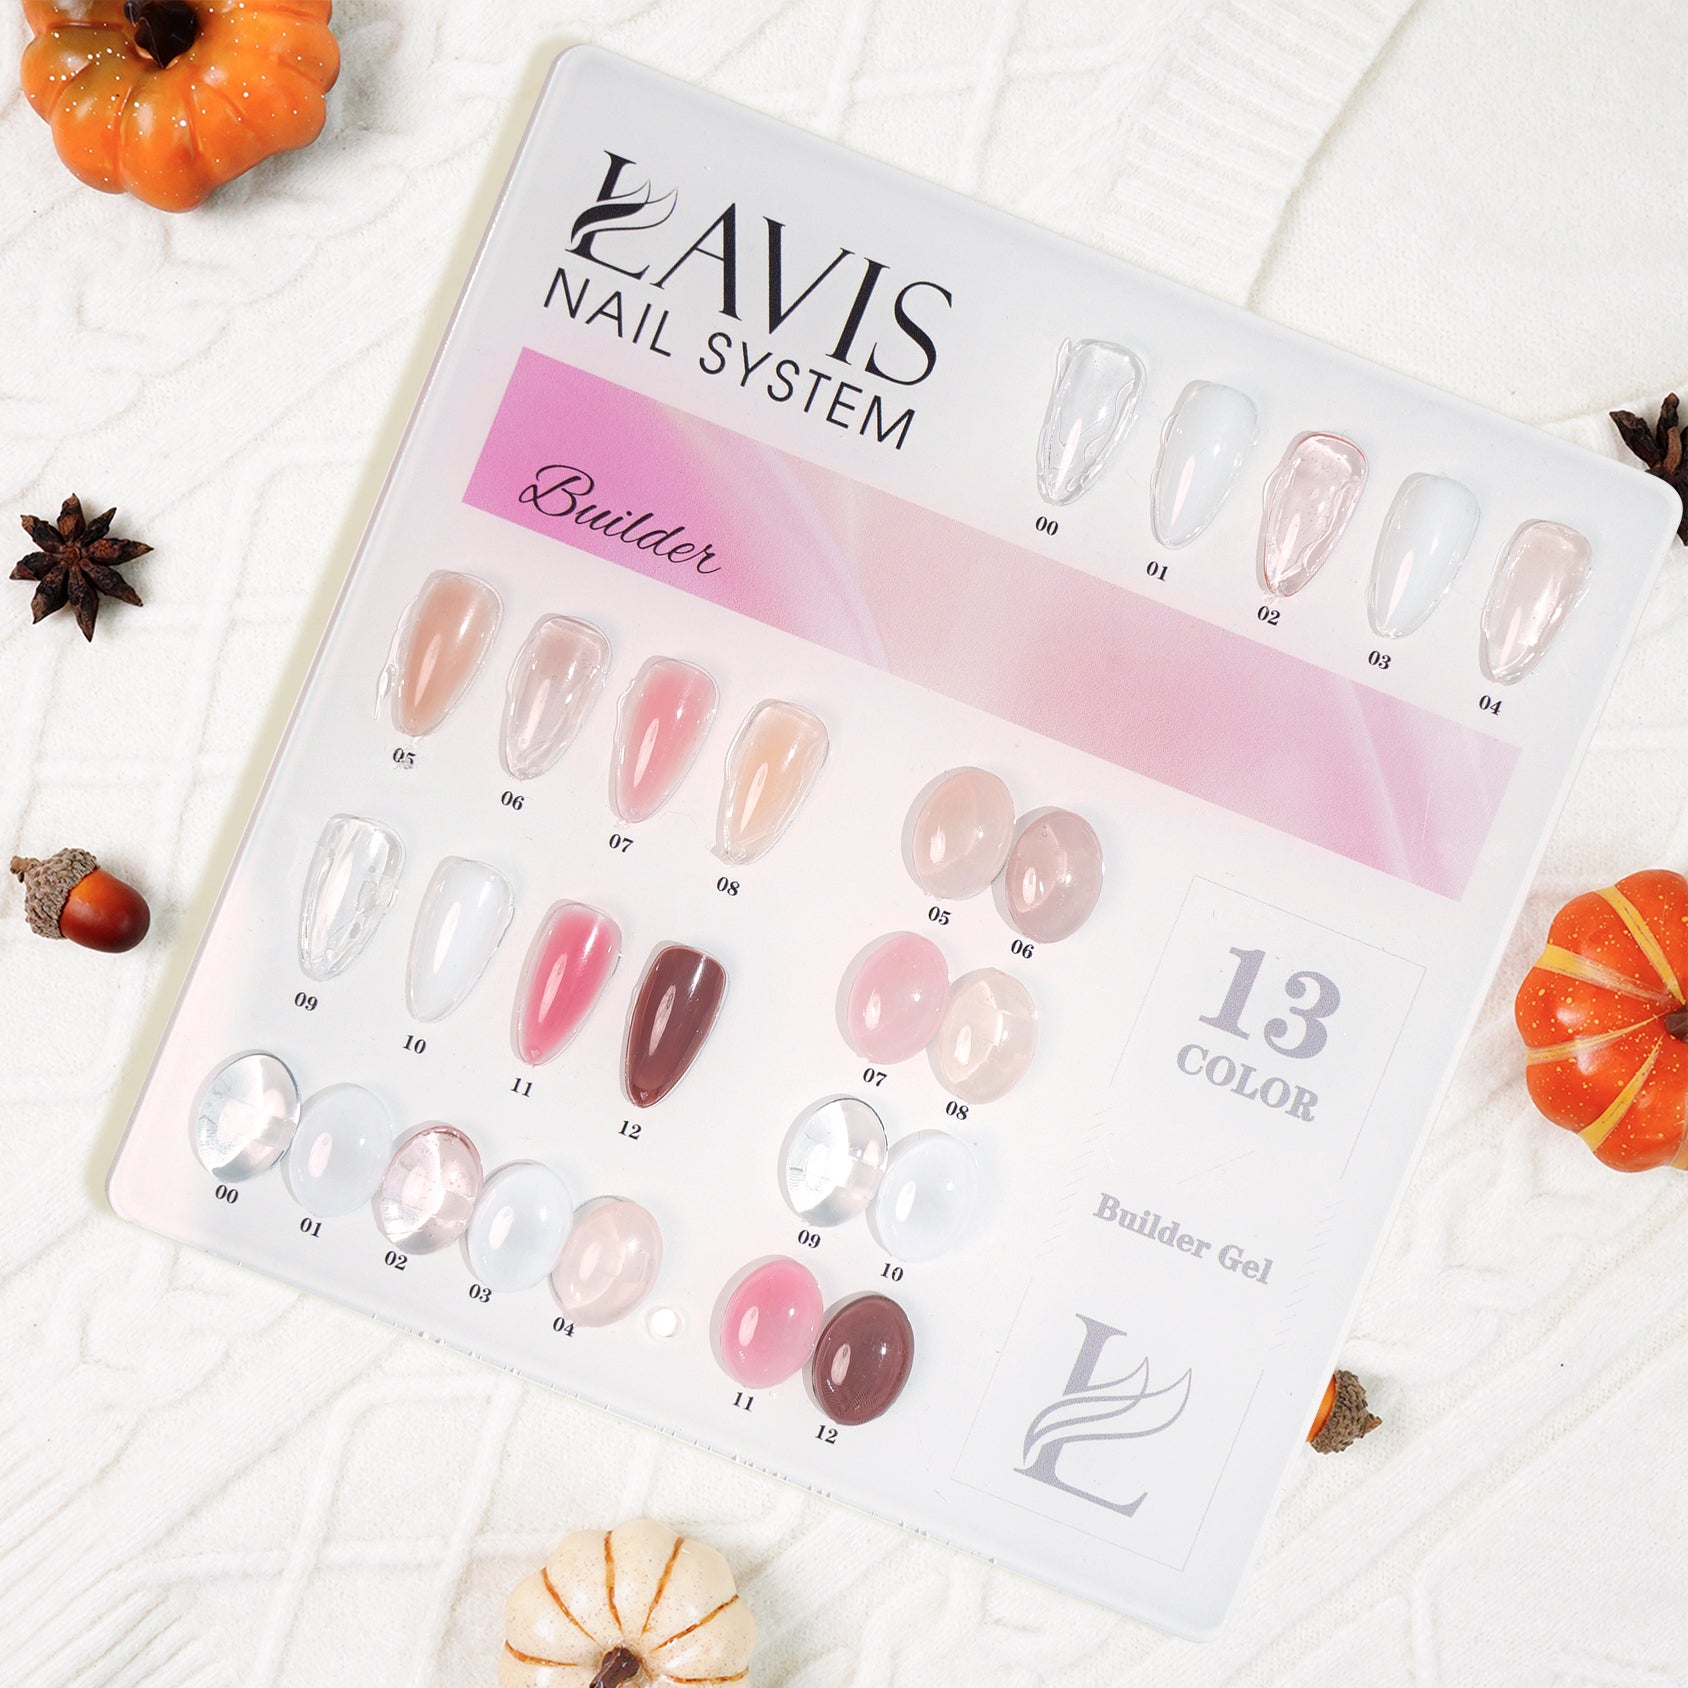
Builder gel: Hard gel or BIAB are both legitimate tools for gluing gems to artificial and natural nails. Like gem gel, apply a base coat and polish first because these are gel products. After curing, you have two options. You can cover the nail with builder gel and place the gemstones, then cure. Or you can dab the gel on the bottom of the gems and cure. Either way, use a thin brush afterward to fill gaps with gel and cure a second time to ensure maximum strength adhesion. Moreover, you might be able to encapsulate the gems for rock solid results.
Now you know how to do gem nail designs that last!

LAVIS Builder Gel In The Bottle - B00 Clear - Gel Polish 15ml

Marbled Glam Nails

Here’s a fun way to turn basic press-on nails into extraordinary nail art. The marbled effect comes from gently swirling a top coat with white polish. Pixie dust gives the index fingers a textured coat of glitter in seconds.
Press on Nails

Jeweled Nails

Who needs rings when your nails can have all this bling? If your gem nail design idea calls for large stones, look for curved back charms. Otherwise, they will be prone to popping off and you’ll need to fill in the gaps underneath with adhesive.
Go Big

Here’s another giant gem nail idea on a nude base.
Minimal Bling Maximal Impact

Betina Goldstein’s minimalist tendencies are shining through. You know you want to try this look.
Tiny Diamonds

Let’s finish with cute little diamonds reflecting pretty colors. These crystals won’t get in your way. Instead, they will cheer you up with their subtle sparkle. People will ask where you got your nails done.
Conclusion
Are you having visions of beautiful manicures to come? We hope these gem nail design ideas spark your imagination! Be sure to pamper your nails with organic cuticle oil that’s worthy of your efforts. And if you’re curious about what other nail fashions are hot right now, drop by our trending styles page and see.


