What are builder gel nails? They are a versatile choice for anyone seeking a durable manicure that strengthens nails. They provide a flawless look with minimal maintenance. This guide covers the advantages of builder gel nails, highlights a few considerations, and takes you through the steps for applying them. Let's begin with the things you need to know about builder gel.
What Is Builder Gel?
Builder gel is a thick gel polish that can be used on both natural and artificial nails to create a longer, stronger nail structure. It's cured under a UV or LED lamp like traditional gel polish. Builder gel comes in two forms: hard gel and liquid builder gel in a bottle (BIAB).
This unique coating acts like armor for your nails, making them more resistant to breakage and everyday wear and tear. With proper application and maintenance, builder gel nails last three weeks or more and can be backfilled instead of removed.
Unlike acrylics, builder gel offers a balance of strength and flexibility as it’s less likely to break yet feels flexible. It's perfect for creating various nail shapes and lengths and an excellent foundation for nail art and extensions. Moreover, it fills in ridges and gives your nails a smooth, glossy finish that looks professional and chic.
Who Can Benefit from Builder Gel?
BIAB and hard gel are excellent for anyone who has weak or brittle nails. It's also helpful if someone wants to stop biting their nails.
If getting your entire manicure redone every few weeks as a hassle, builder gel can put a stop to that. It only needs to be backfilled every three weeks or so instead of completely removed.
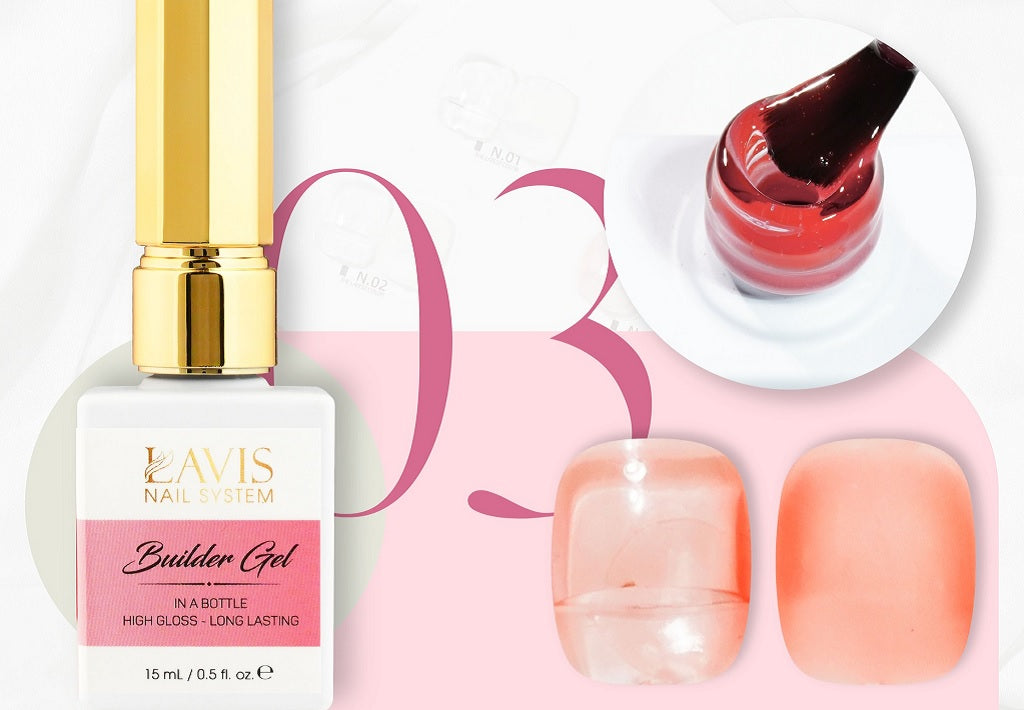
Lavis Builder Gel in a Bottle
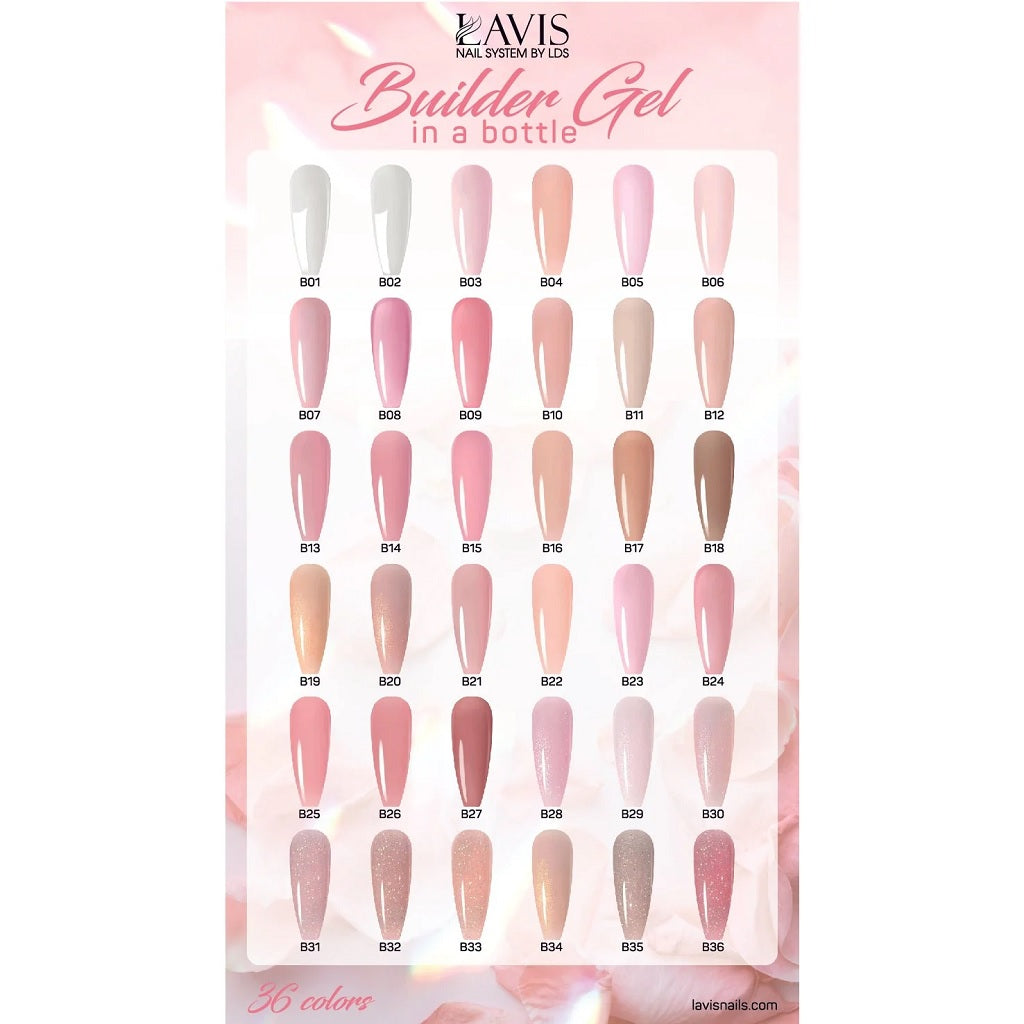
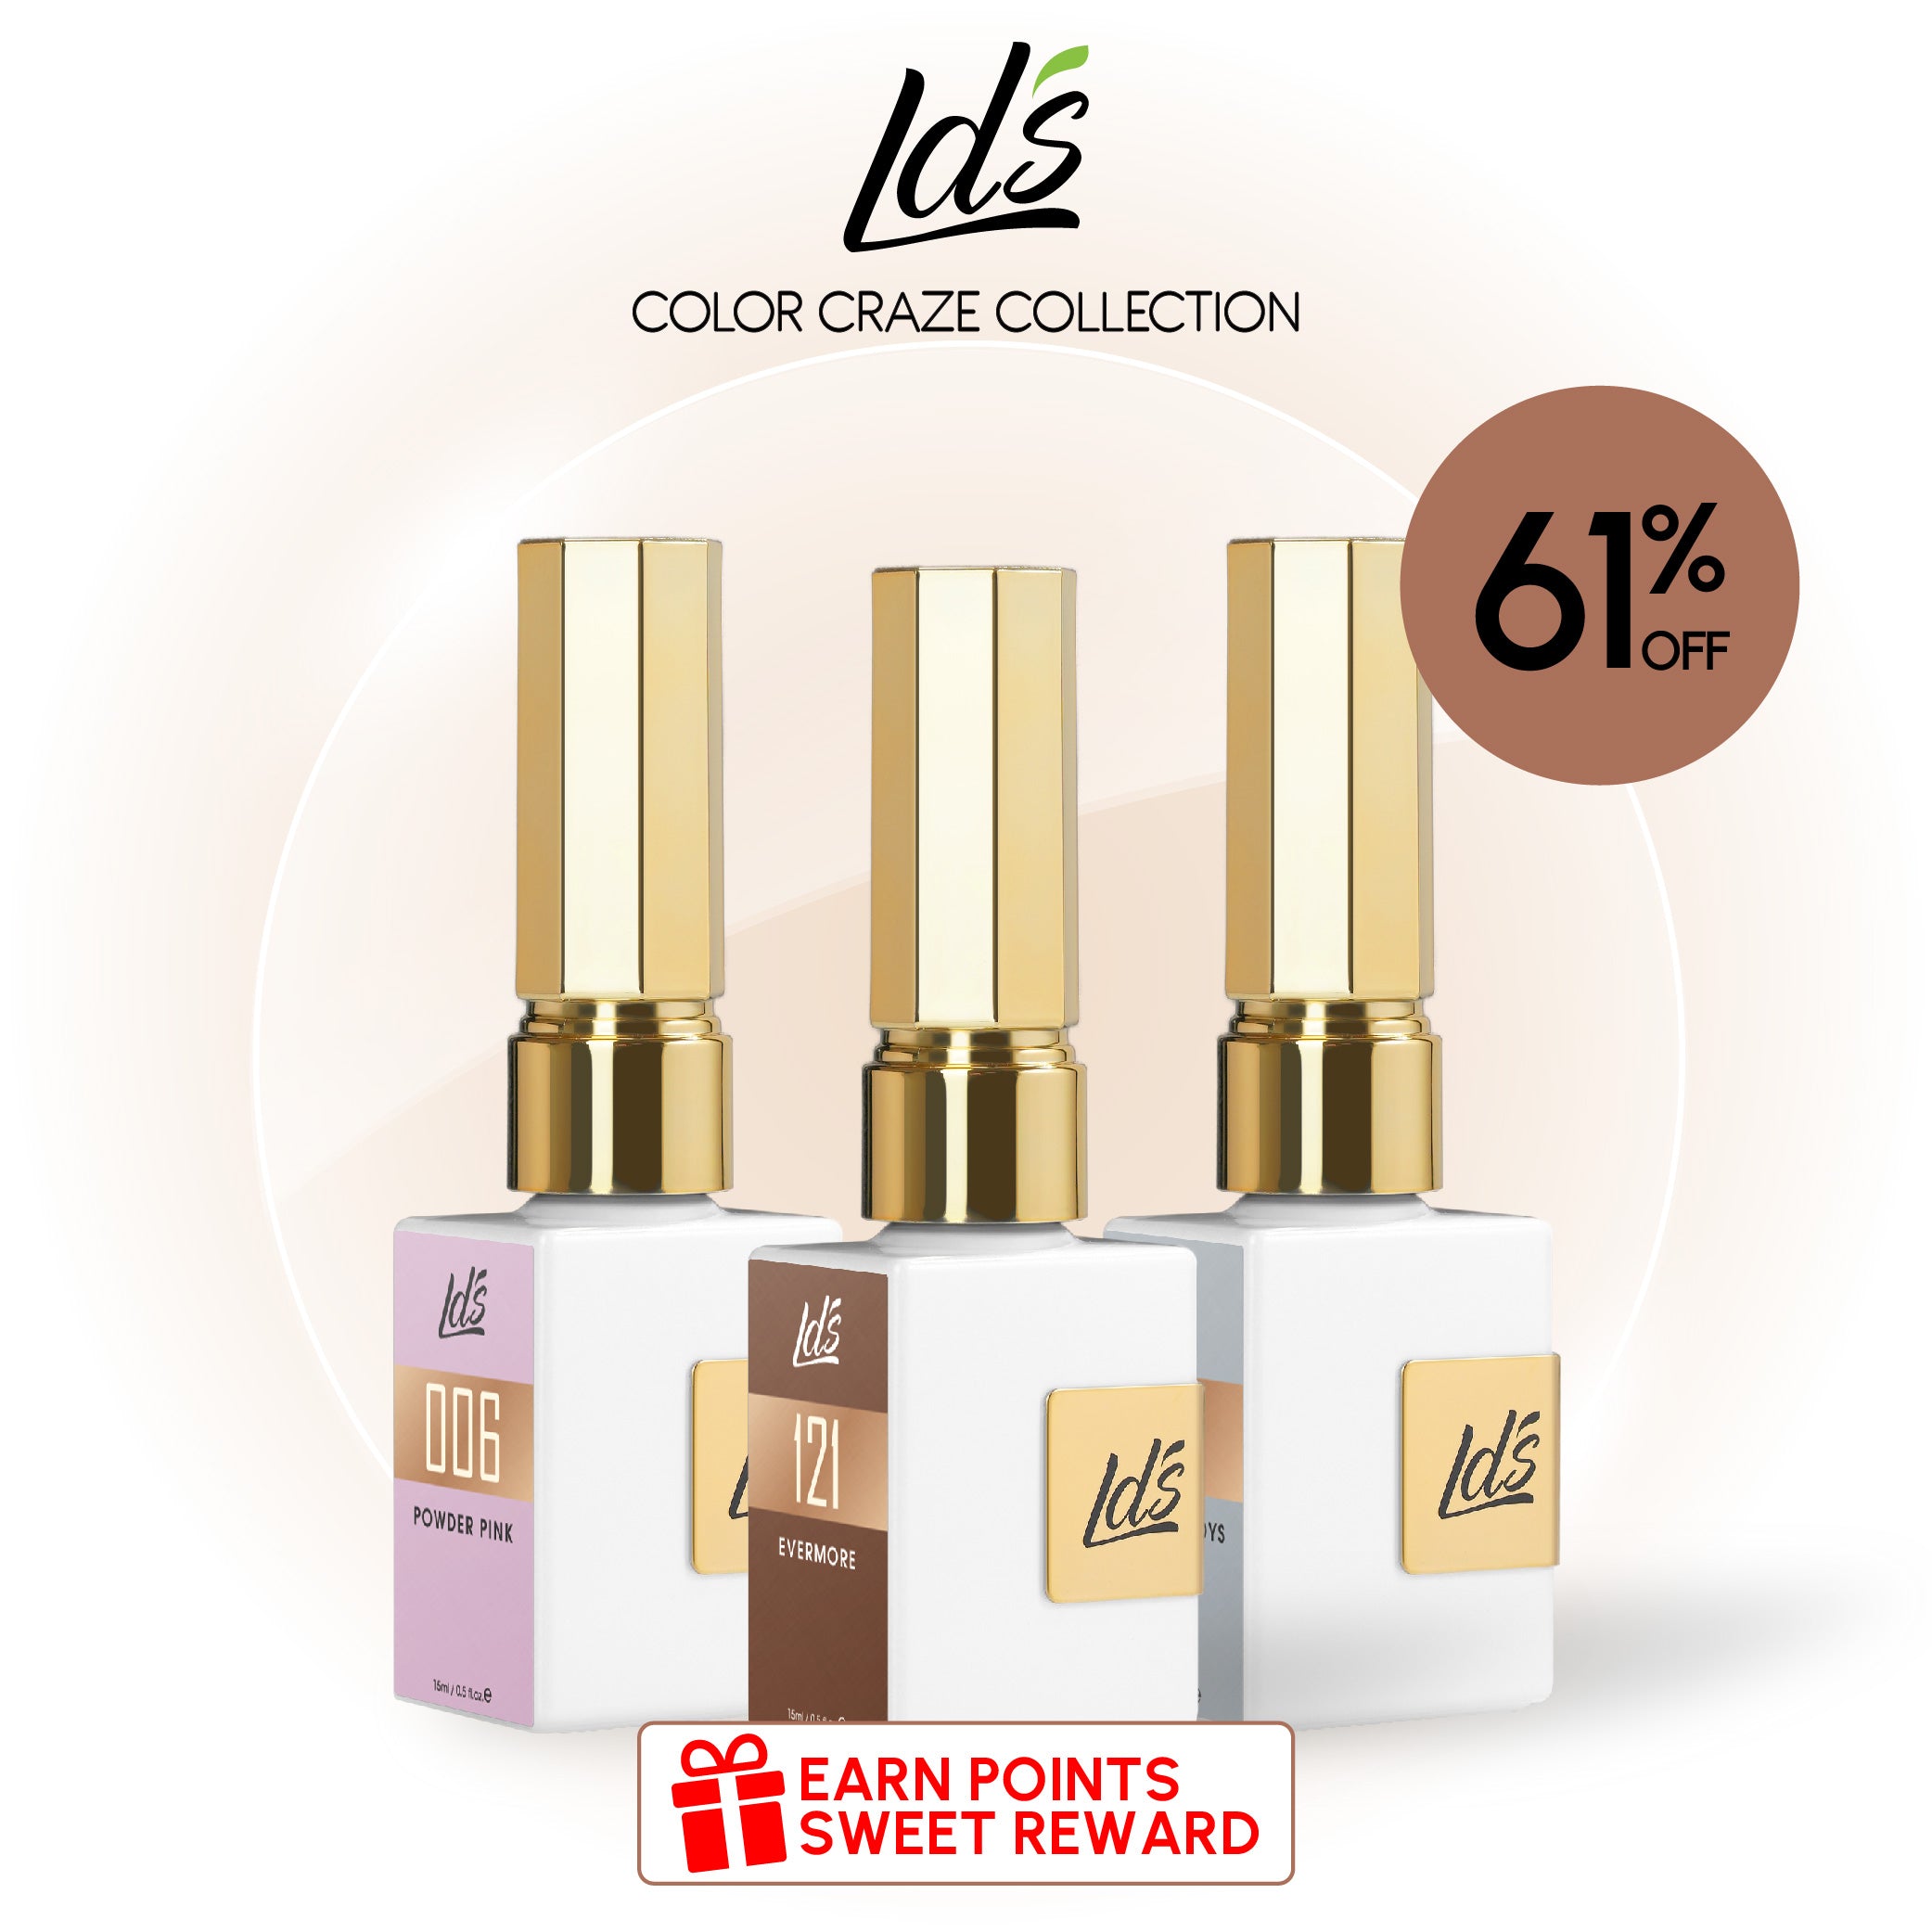
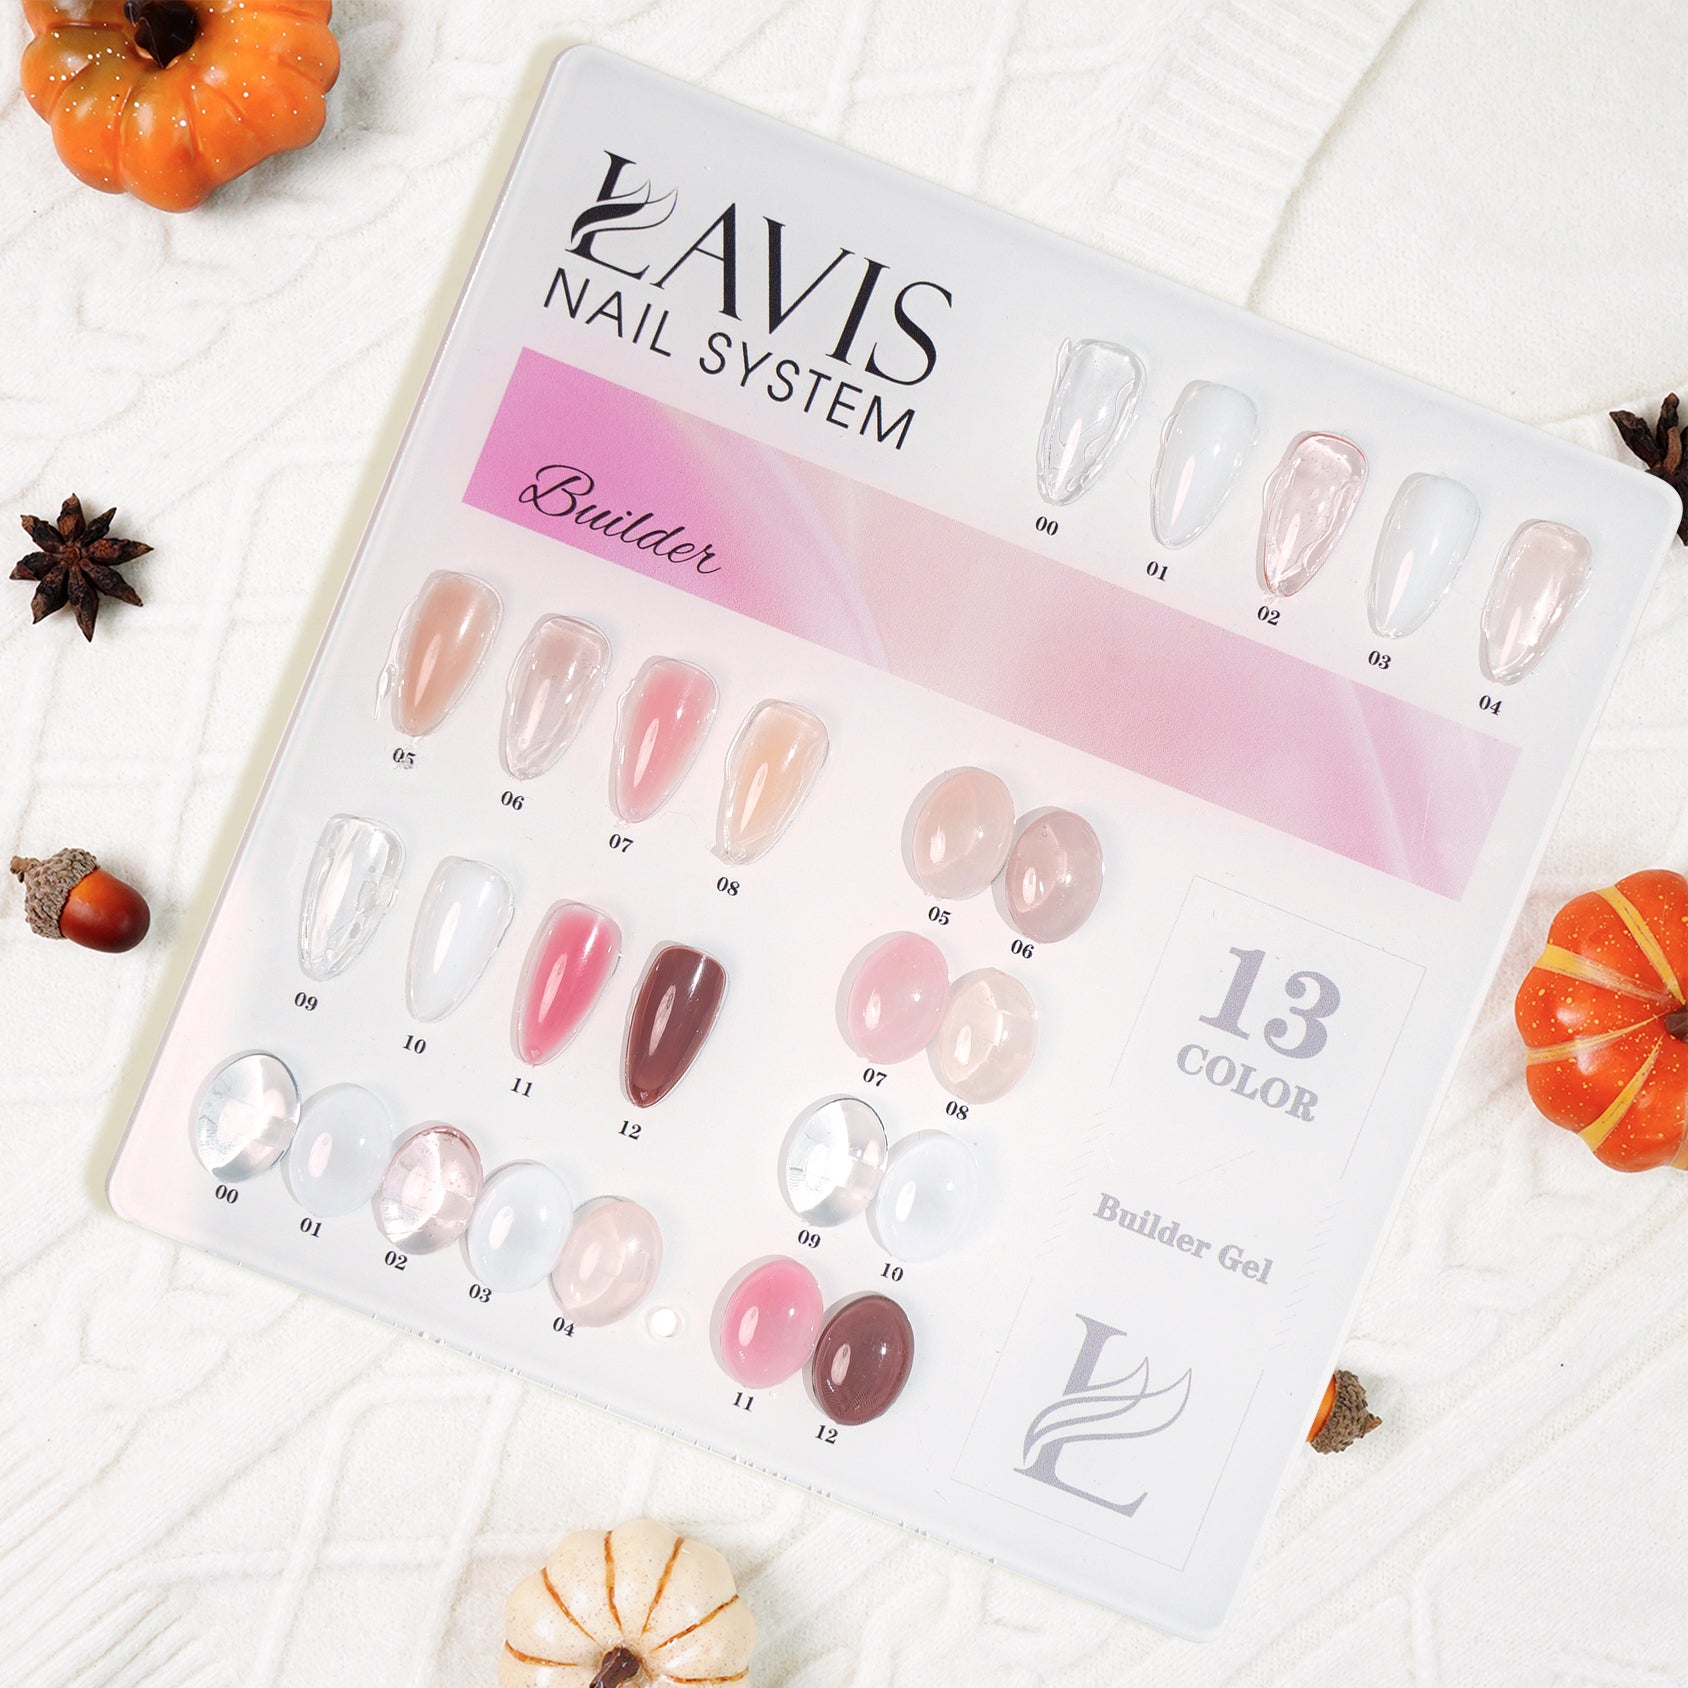
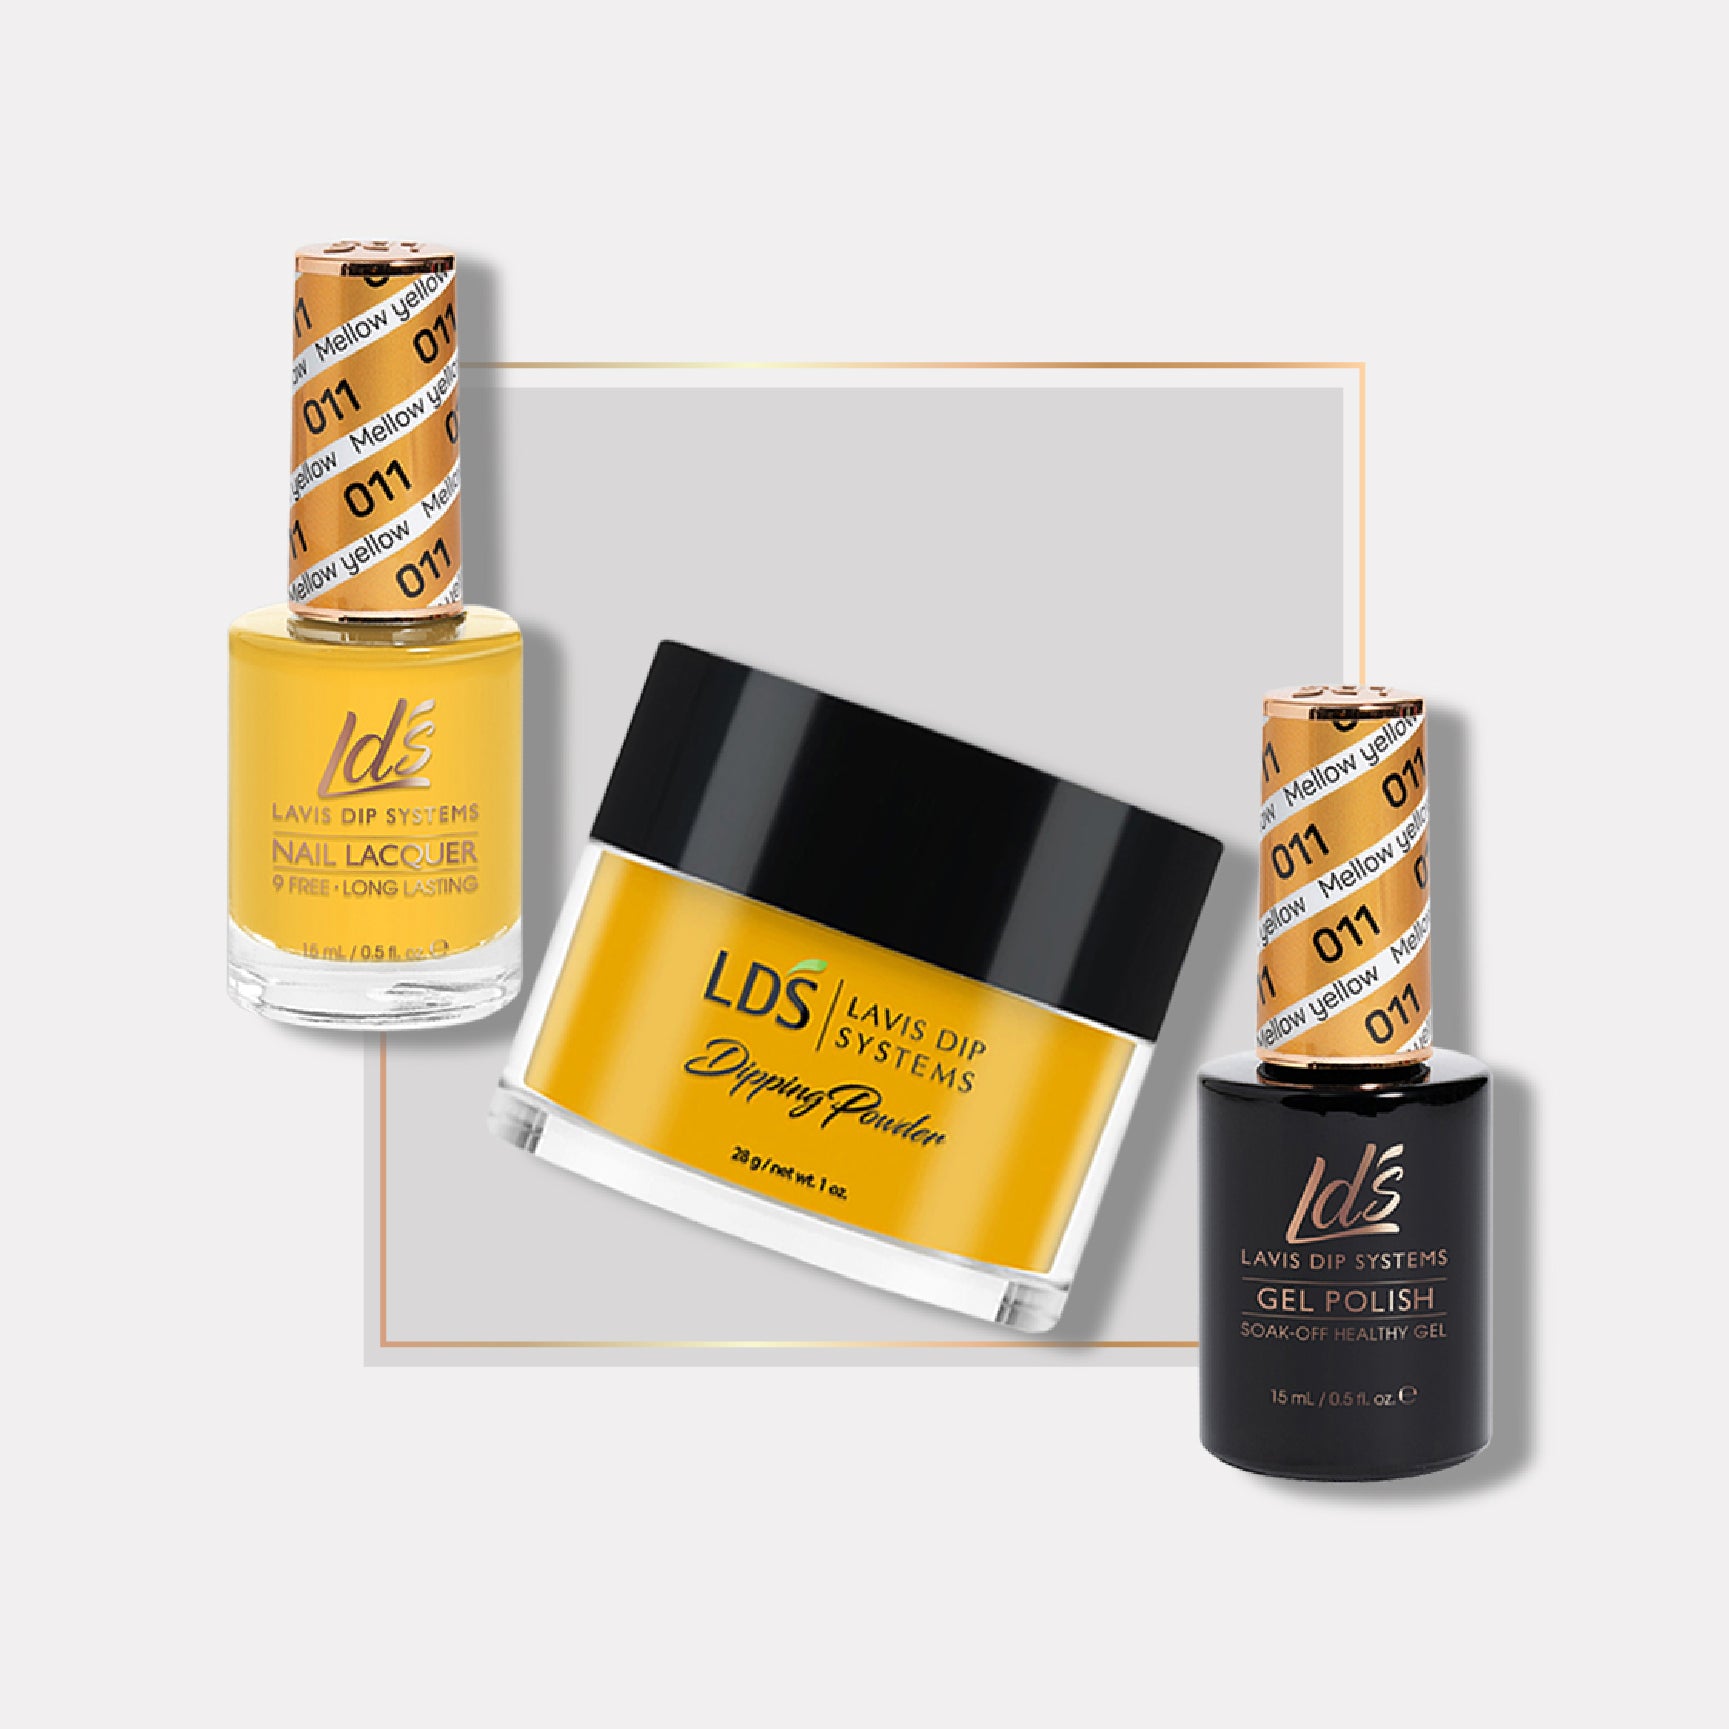
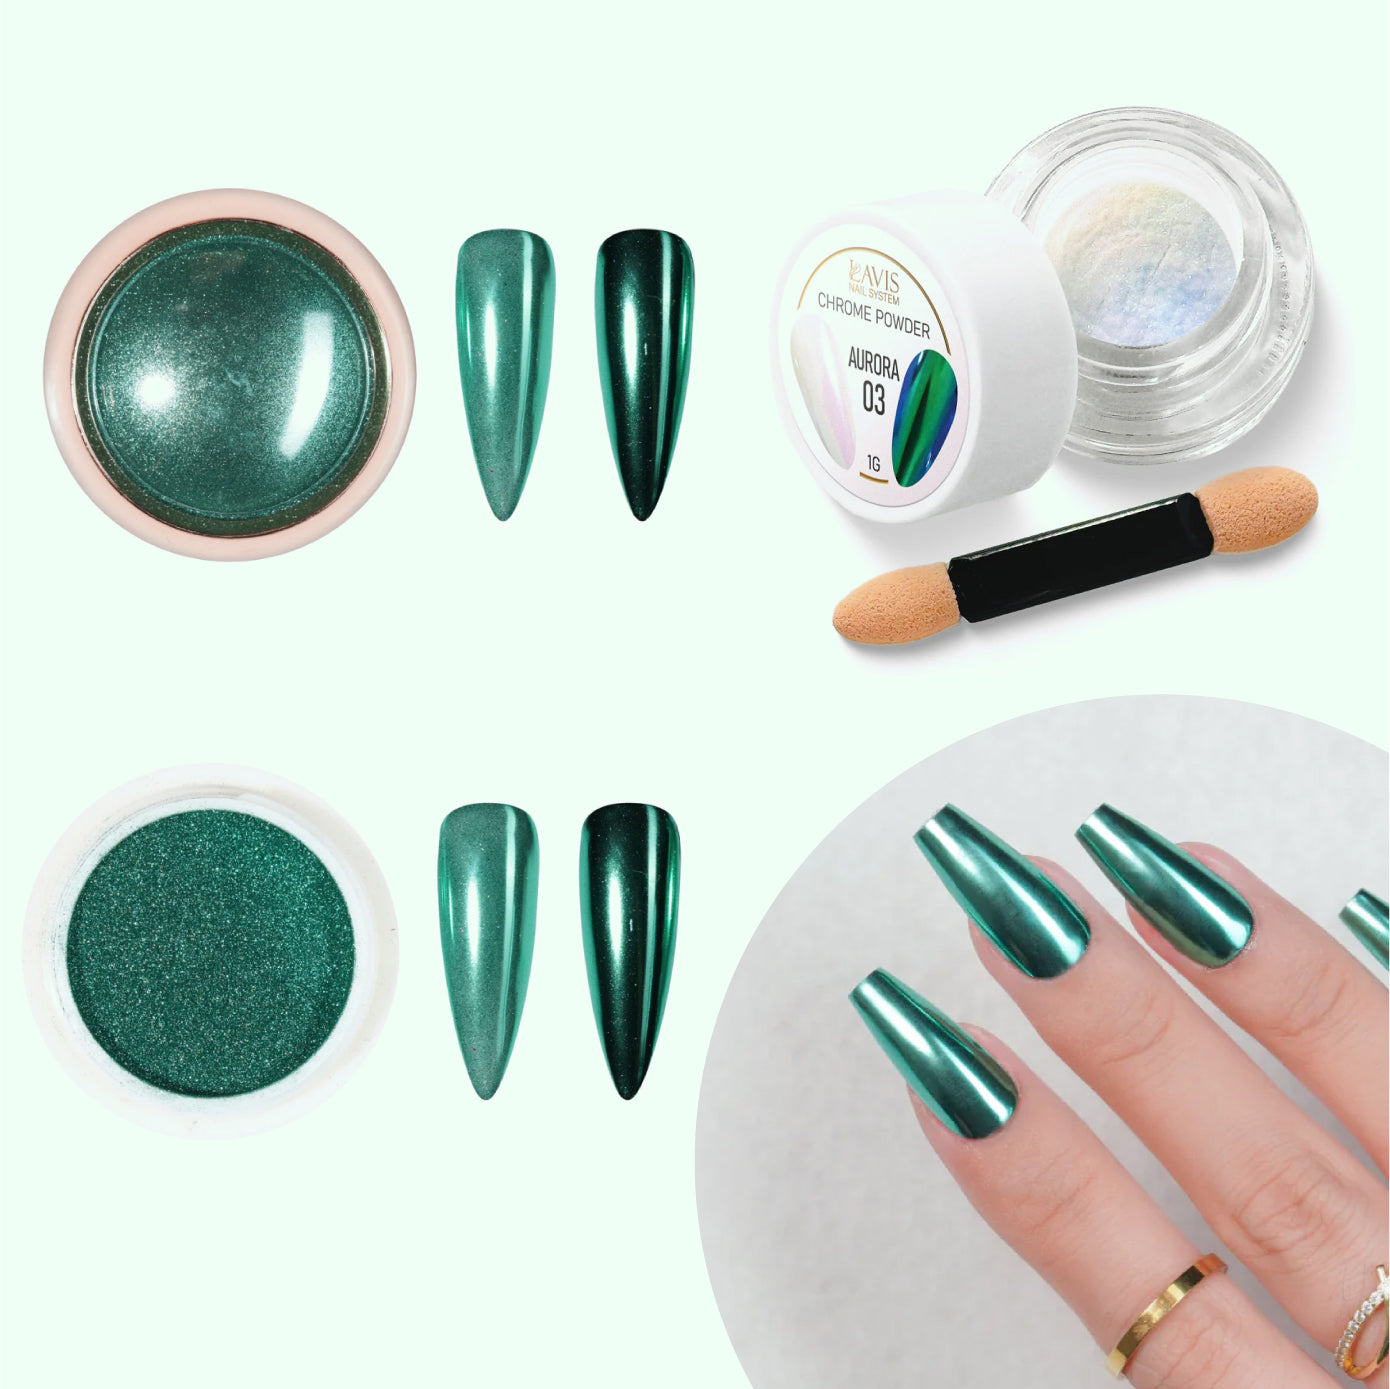
Finding builder gel in any colors beyond pink, white, and clear used to be difficult. But Lavis offers a set with thirty-six shades, including glitter colors! It's odorless and won't harm natural nails. Beginners find it straightforward to apply, and professionals love the durable, flexible finish.
What Are the Downsides of Builder Gel?
While builder gel nails offer many benefits, there are a few downsides to consider. For one, if you have hard gel nails, they can't be soaked off with acetone alone. They will need to be filed down. Fortunately, builder gel in a bottle can be removed at home with acetone, just like regular polish.
Also, if a person is allergic to methacrylate compounds, they won't be able to use builder gel.
Like any other nail enhancement, applying and removing builder gel correctly is essential to get the most from it.
Can Builder Gel Be Used Alone?
We can't speak for all brands of builder gel. Some require a base coat, and others don't. Most will have an inhibition layer after curing and will need a top coat. But the good news is that you can paint and embellish builder gel just like any gel polish. It’s also compatible with soft gel extensions.
Can Builder Gel Double as a Base Coat?
Check the instructions for the builder gel brand. You might need a separate base coat underneath it.
However, builder gel is excellent as a ridge filler, and it can patch a torn or broken nail so it can be painted again.
Gelish Foundation Flex

Fans of Gelish like Foundation Flex because of its rubber base that fills in ridges, structures uneven nails, and conceals discoloration. This American-made product is 10-free, cruelty-free, and vegan. It's fortified with vitamins and cures in only 30 seconds.
How to Apply Builder Gel in a Bottle
You'll need a few supplies to apply builder gel. Check the manufacturer's instructions in case we've missed anything.
- Manicure tools like a cuticle pusher, clippers, and lint-free nail wipes
- Gel base and top coats (with colored polish and nail art supplies if desired)
- An application brush if using hard gel in a jar instead of builder gel in a bottle
- A precision brush
- A nail lamp, either UV or LED (UV will cure slower)
- 240-grit file for prepping the natural nails and 180-grit for shaping the builder gel after curing
- Alcohol for nail prep and acetone for cleanup
The first step is to prepare your nails properly for the builder gel. The number one reason builder gel lifts is that the nails were oily, unbuffed, or didn’t have the required base coat. Make sure that the builder gel isn't on top of the cuticles or skin around the nails, either. Take your time to make your cuticles look lovely, buff off the shine, and cleanse debris with rubbing alcohol on a lint-free wipe (Please don’t use cotton as it leaves fluffies).
After that, apply a thin layer of the base coat and cure it according to the directions. For instance, the Lavis base coat only needs 60 seconds in an LED nail lamp. You can do all the fingers at once if you wish.
This is where things get a little tricky because this is a different process from applying gel polish. Many nail artists prefer to do a single nail at a time.
Brush on a thin layer of builder gel with long vertical strokes, but don't cure it. Be sure to cap the free edge of the nail. Then, use a precision brush to smooth the sides and ensure it's not bubbling or overlapping the cuticle.
Brush on another thicker layer of builder gel and work the bottle brush side to side in little curves to distribute the polish. Take the precision brush to smooth it again, then cure.
Feel free to embellish and finish with a top coat.
After a few weeks, when your nails grow out, you can backfill the gap. Or if you choose to remove the builder gel, you can rough up the surface with a file and use nail wraps to soak off the finish. After fifteen minutes, the gel should be soft enough to push off with a cuticle stick.
Steps to Apply Hard Gel
After you've prepared the nails, apply the dehydrator or primer if required. Follow that with the base coat.
Hard gel is a little more challenging for beginners because it's quite thick. Scoop it out and brush on a thin coat with horizontal strokes. Next, flip the hand upside down and allow gravity to help you build the apex of the nail. Since builder gel is self-leveling, this makes the job easier.
Cure and apply a second coat the same way. Then, remove the sticky inhibition layer with alcohol and file the nails if they need shaping. Cleanse the dust and finish with a top coat.
When removing hard gel, it's easiest to grind it down with a nail file. Therefore, it might be simpler to allow a professional to help you.
IBD Builder Gel
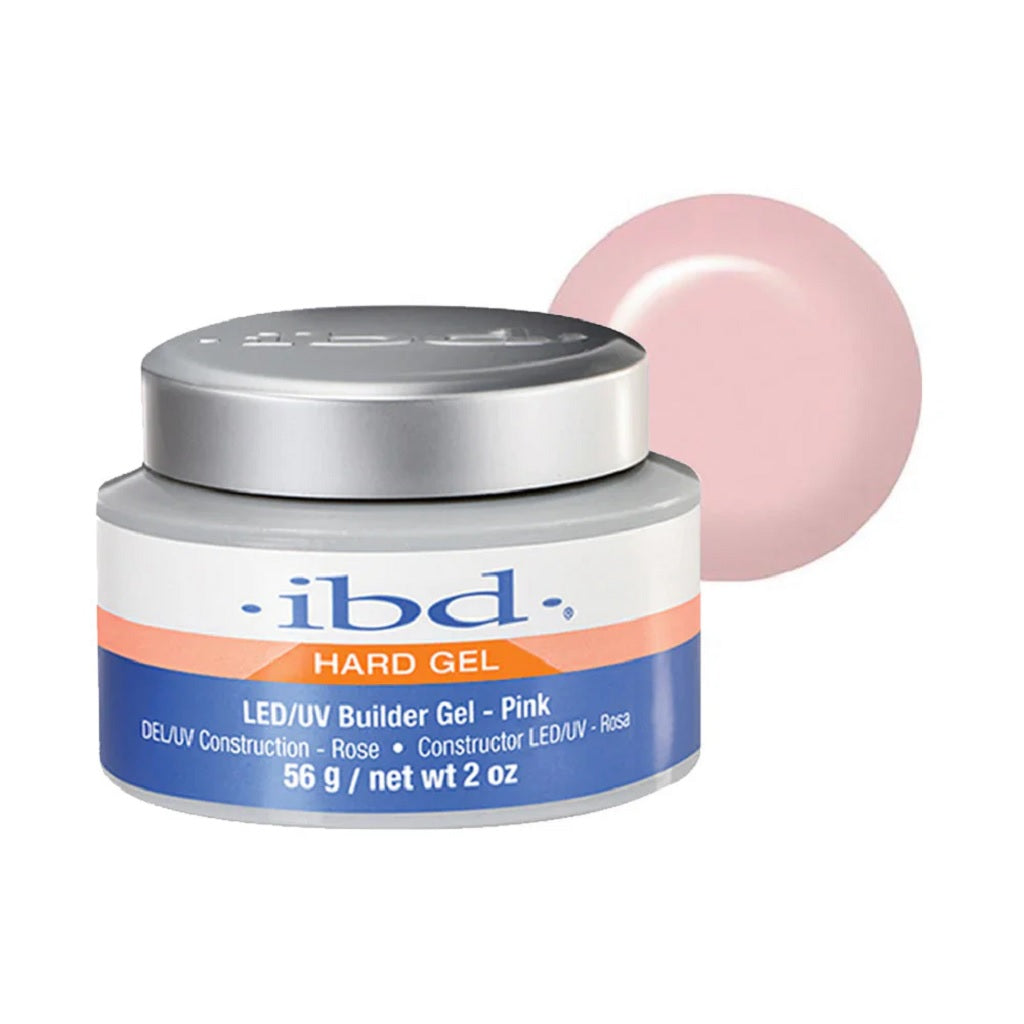
When nail pros think of hard gel, it’s the iconic blue and white pots of IBD builder gel that come to mind. This product is free of harsh chemicals like toluene and formaldehyde, plus it's odorless. If you’re doing durable overlays and extensions, this hard gel comes highly recommended.
Conclusion
Today's perfect for trying something new. Treat yourself to builder gel nails while taking advantage of our sales. Tell your friends and get a special discount on bulk purchases, plus free shipping on orders over $100.