Press-on nails are a cheap and easy way to get a gorgeous manicure without visiting a salon. You can pick up a pack at Target or Walmart while shopping.
However, you probably know by now that not all press-on nails offer the same quality or benefits. Maybe you've heard about Red Aspen Nail Dashes and checked reviews to see if they're any good. Now you want to know how to apply Red Aspen nails to see if they are more user-friendly than the competition. Well, you're in the right place!
What Are Red Aspen Nails?
Red Aspen Nail Dashes are press-on nails that come in various styles and designs. They come in different lengths:
- Extra, long, medium, short, and petite.
and diverse shapes:
- Almond, square, round, ballerina, coffin, and squoval.
as well as various finishes:
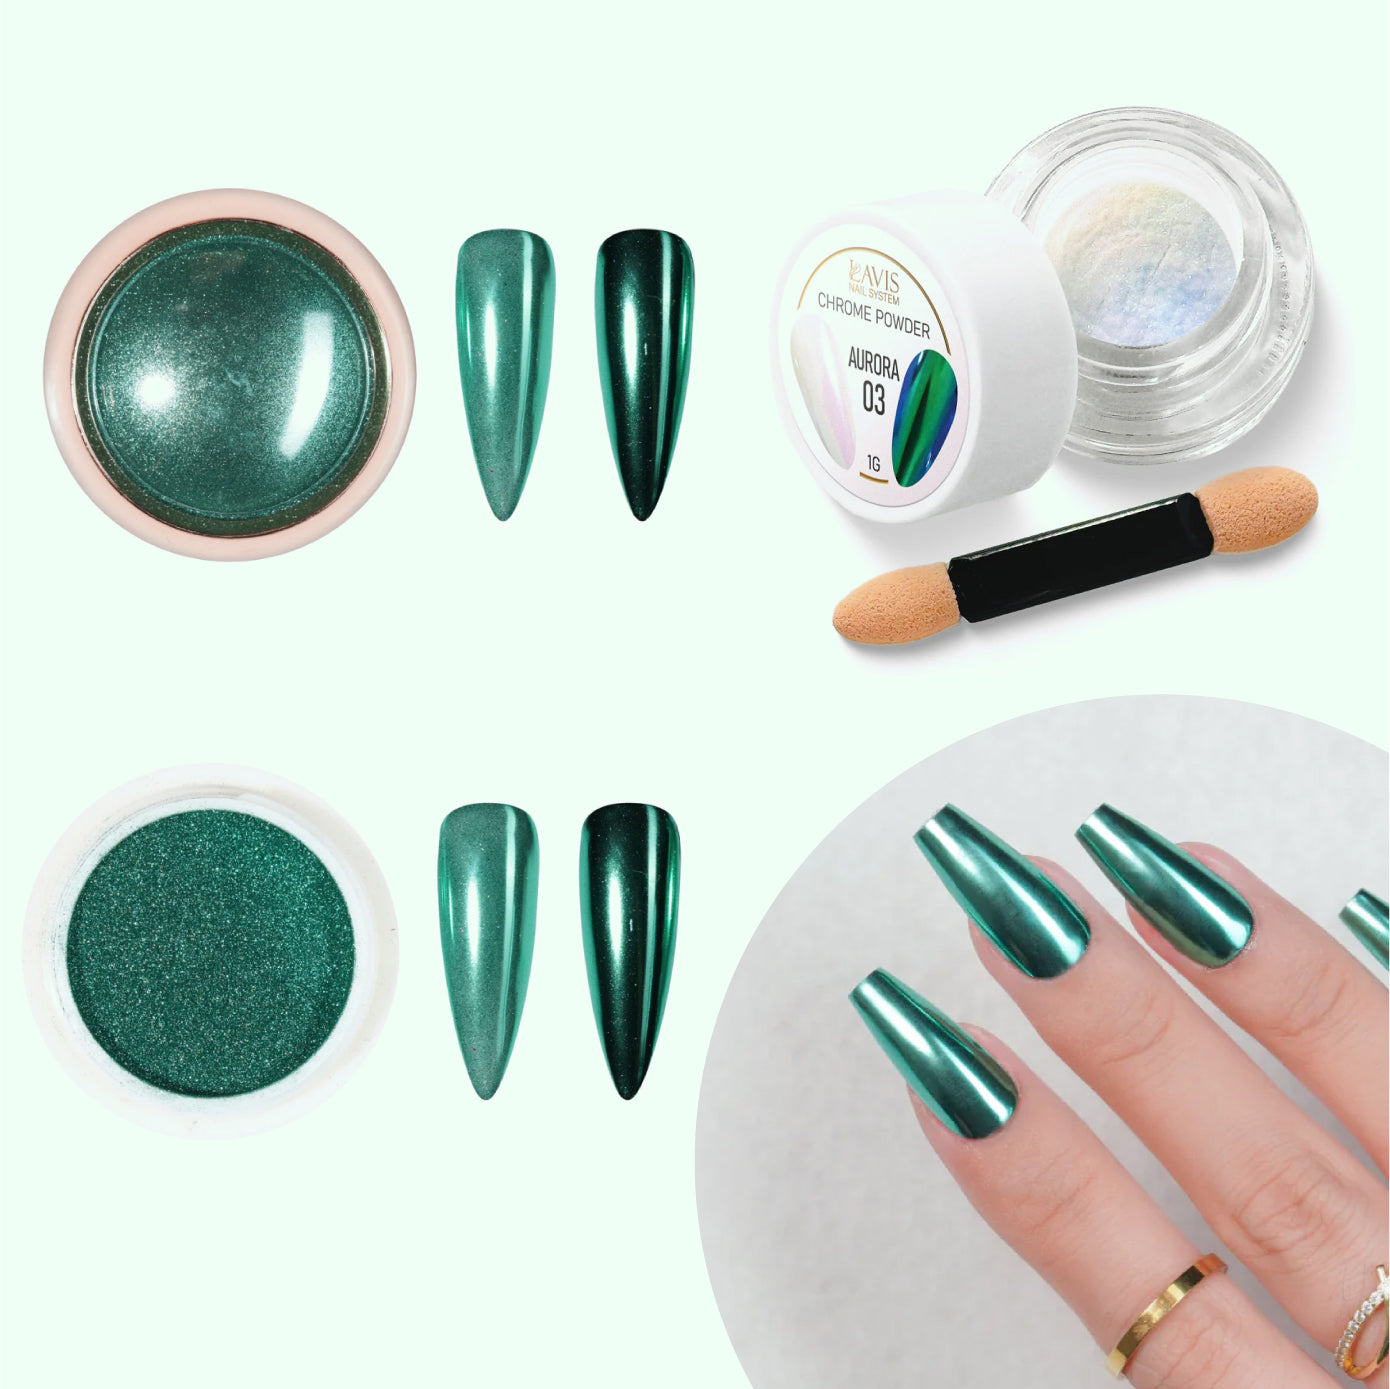
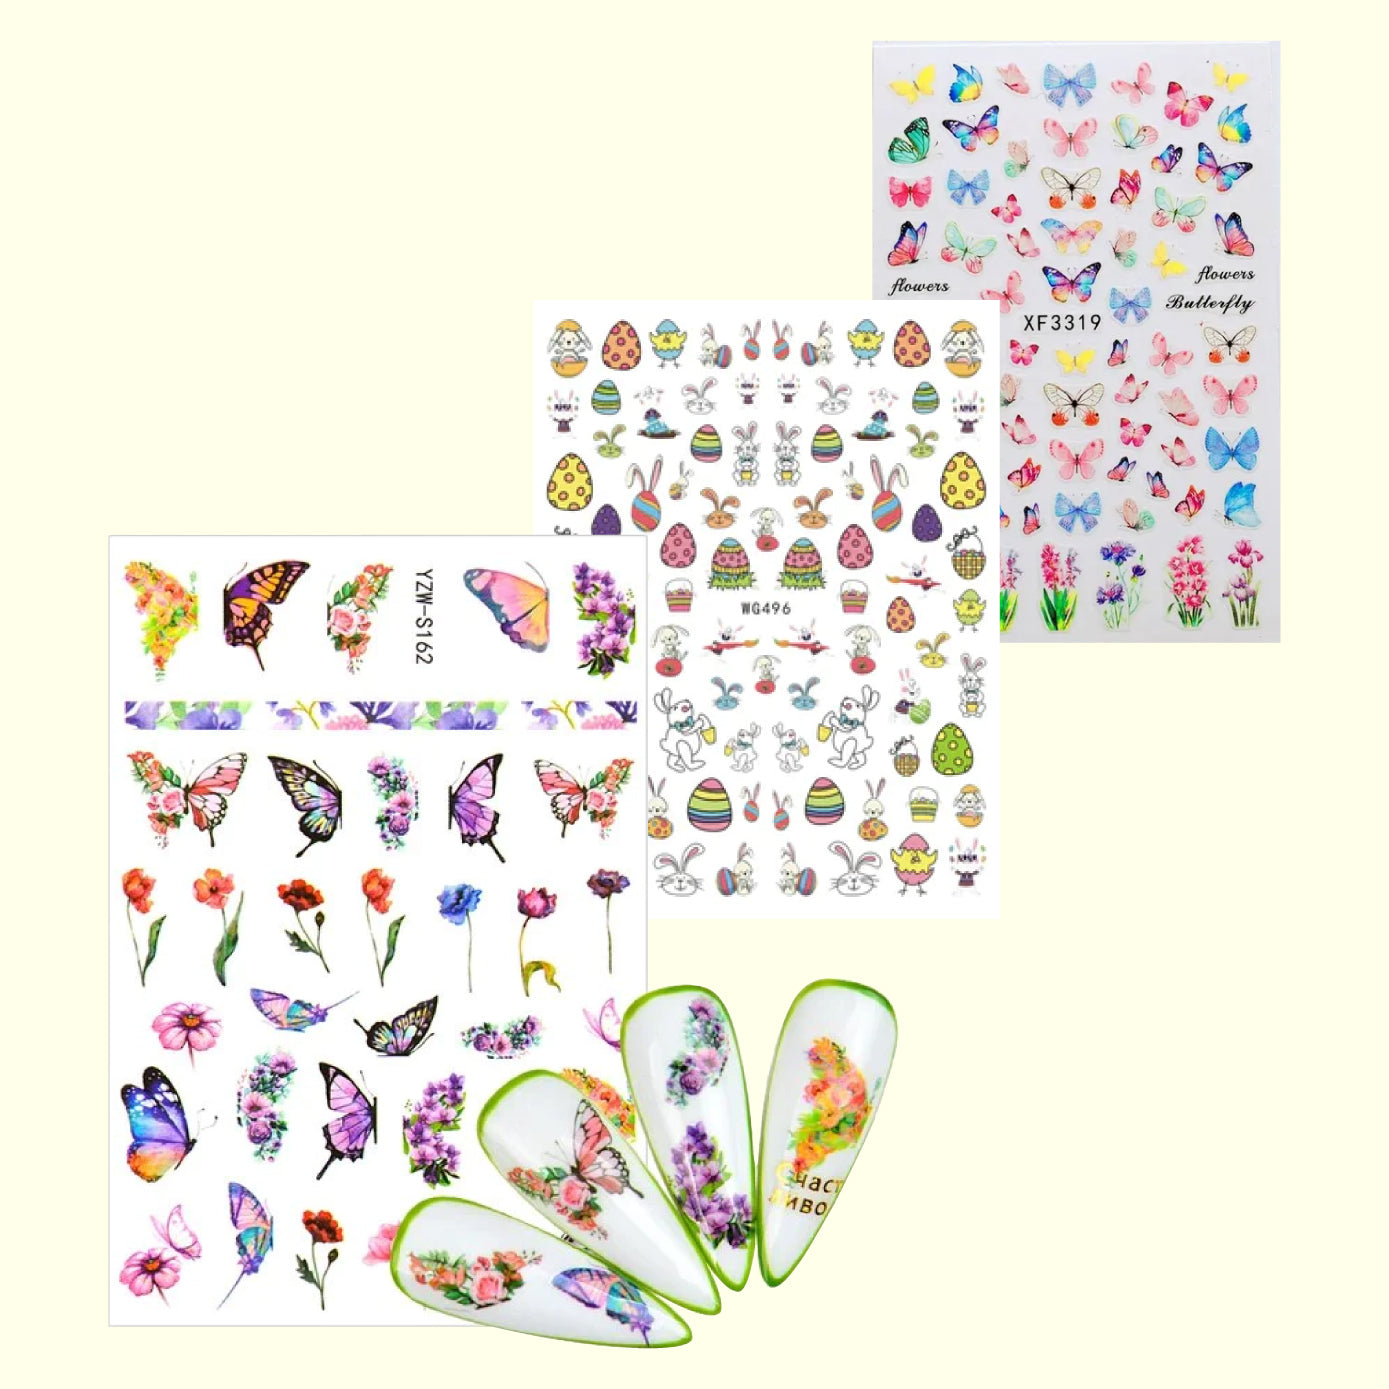
- Glossy, glitter, chrome, printed, and matte.
No wonder they are so popular!
Moreover, Nail Dashes and the accompanying glue contain no phthalates or parabens; they are vegan and cruelty-free. It's even possible to remove the adhesive with vinegar instead of acetone.
What’s in the Package of Red Aspen Nails?
Each pack includes 24 nails to ensure you can find the right size for each finger. Also, each package includes glue, a miniature cuticle stick, a silver-colored mat, and a combination nail file/buffing block.
There's enough nail adhesive in the 7g tube for more than one application, and the glue is good for 3 months after it's opened. That's ideal, as the Nail Dashes are reusable. They stay on for about two weeks, and then you can wear them again and again!
How to Choose the Right Nail Dash Sizes for Your Nails?

The official Red Aspen directions say to use short and square nails if you have small nail beds. Otherwise, you can customize the length and fit with the included nail file. You can trim and file these press-on nails to suit your size and preference.
When you open the box, sort the Dashes by size and compare them to your natural nails. Each Dash has a number printed on the inside.
Press them into place without the adhesive and see how they look. They should span the top without gaps on the sides. You'll likely find a perfect fit for each nail. Furthermore, the press-on nails can be trimmed and filed to reshape them.
How to Apply Red Aspen Nail Dashes?
After choosing the sizes you need, the next step is to prepare your own nails. Trim them, file them, and lightly buff the surface to remove the natural shine. Push back the cuticles, too. Then clean your nails with rubbing alcohol or a nail wipe with acetone to remove debris and oil.
Next, if you’ve never used press-on nails, you may want to practice with the glue. (On the bright side, it’s low odor.) The tube has a brush applicator for convenience. All you need is a small dot of adhesive on your nail and a thin layer on the back of the Nail Dash. Please refer to the official instructions and pictures for clarification.
Begin with the pinky finger. The glue goes on the side nearest your finger where the size number is printed.
- If you only need the Dashes to last for a few days, put a thin line of glue down the middle of your nail from the tip to the cuticle.
- Or, if you want the nails to last longer, place the glue on both the natural nail and the Dash.
After brushing on the glue, let it set for a few seconds. Then line up the Dash with the cuticle and approach at a 45° angle to press the Dash down onto the nail. It should fit snugly. You might feel a little bit of pressure when you let go.
Repeat the steps until all the fingers are done. It typically takes 20 to 30 minutes.
How to Remove Red Aspen Nails?
The glue should keep your new manicure in place for about 2 weeks. It's designed to break down eventually to protect the natural nails. Still, it's strong enough that you can wash your hands and go swimming without worrying that the nails will pop off.
To remove Nail Dashes, you don’t need nail polish remover. Instead, apply cuticle oil to soften the glue or soak your hands in soapy, warm water for 10 minutes. Try lifting the edge gently. If the Dash doesn’t move, wait 5 more minutes and try again. Once you dry your hands, if you see glue residue, use the buffing block to remove it.
Vinegar also removes Red Aspen nails glue. In fact, it's recommended for removing residue on Dashes with a matte finish, as acetone will damage the finish.
Economical, Professional-grade Alternatives to Read Aspen Nails
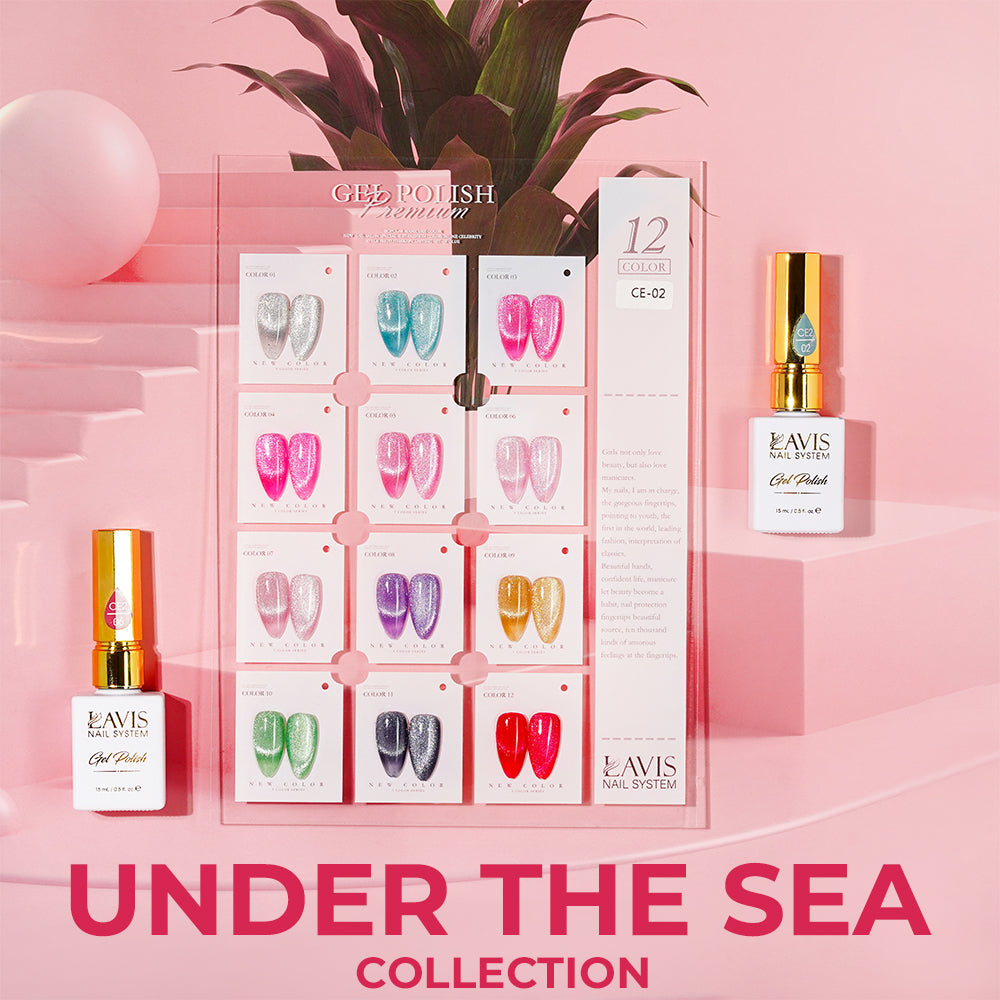
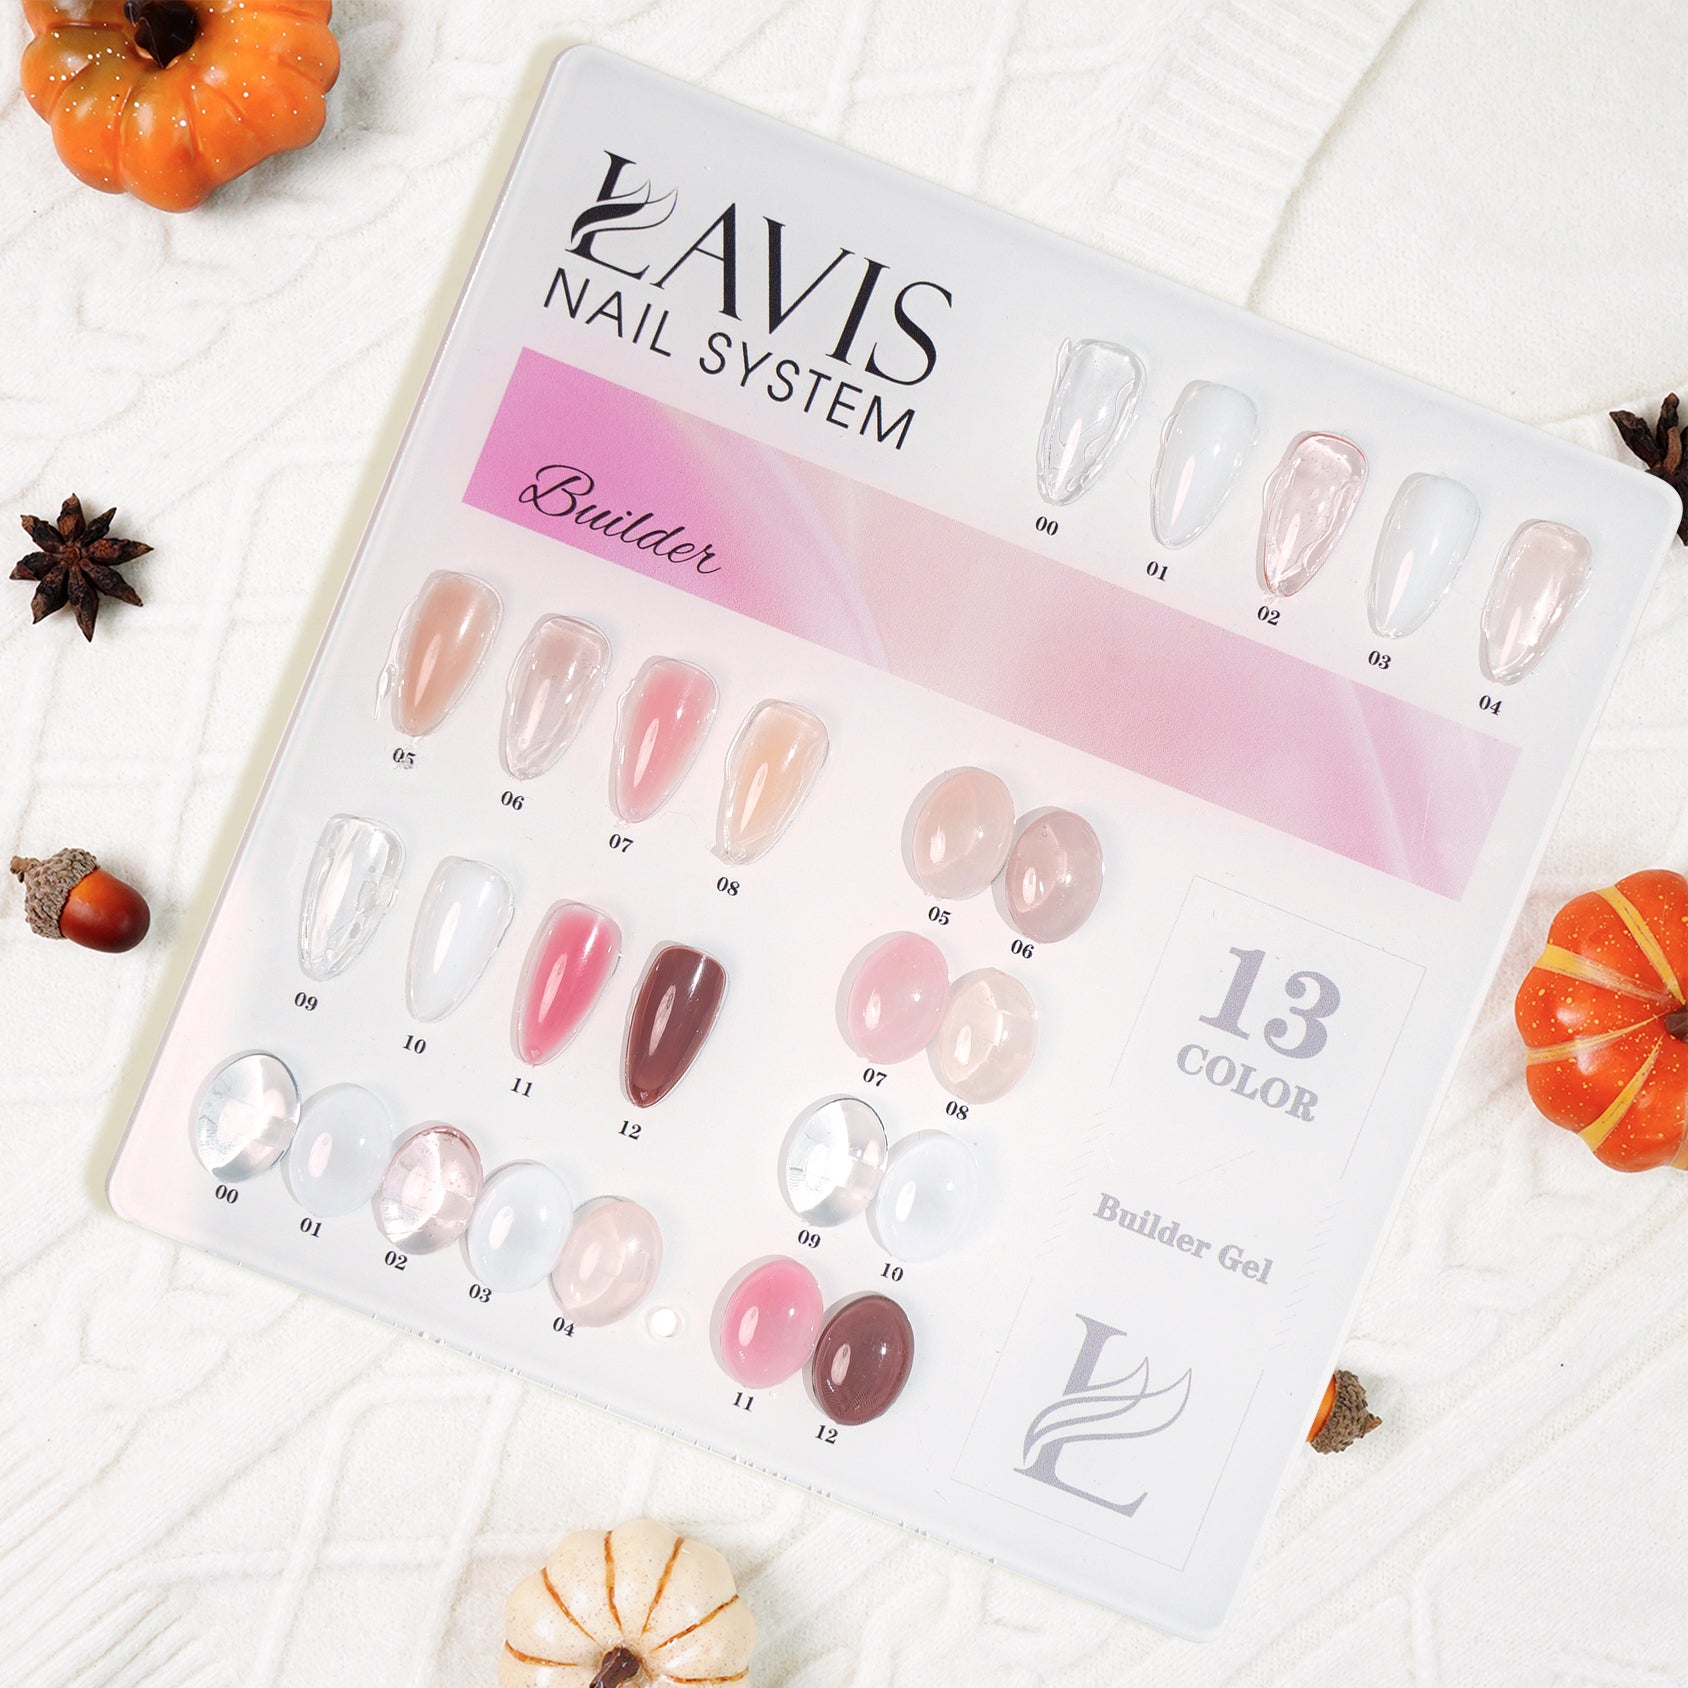
Red Aspen has been criticized because it's a multi-level marketing company. If you're interested in alternatives, we invite you to see our collection of press-on nails. Like Red Aspen, they come in various styles and sizes like almond, coffin, stiletto, and square. Although many beautiful designs are available, they can also be repainted in different styles. Plus, you can trim and shape them to suit.
Each kit comes with 24 pieces to make sure you find the right fit for every finger. The package also includes a cuticle stick, nail file, and adhesive.
These press-on nails are safe for natural nails. Moreover, they are compatible with acrylic, fiberglass, and gel enhancements. Of course, they are also reusable!
Here’s a video that shows how to choose the correct sizes and apply them like a pro.
Conclusion
We hope these tips about how to apply Red Aspen Nails helped you today. The hardest part about wearing press-on nails is just deciding which style to try first!
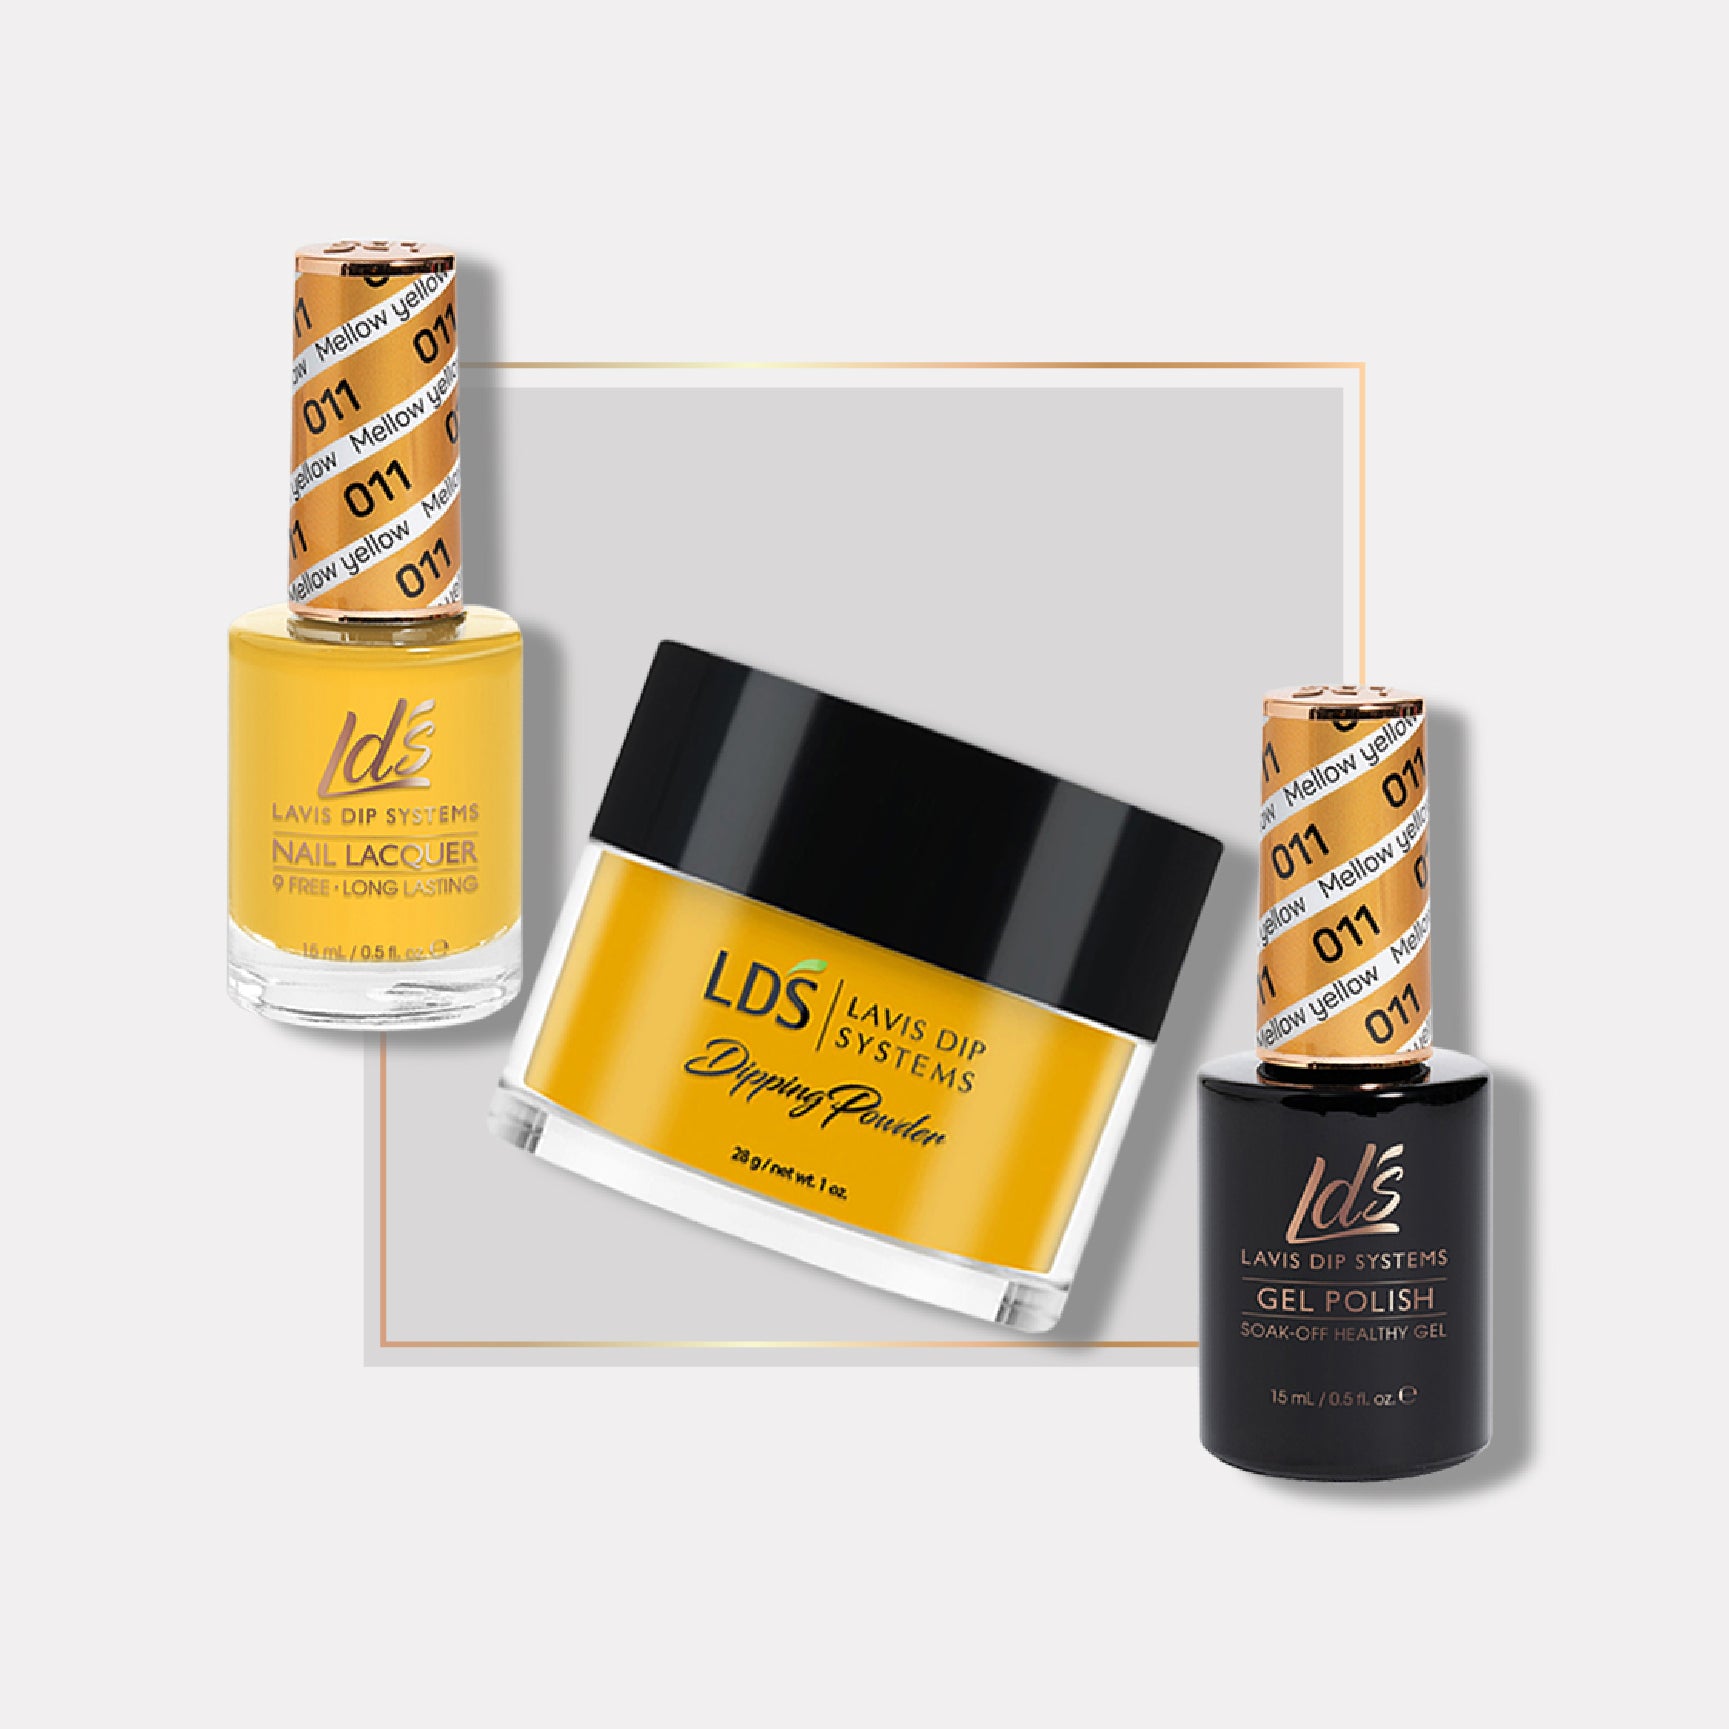
In the meantime, take advantage of our many deals to stock up on whatever nail supplies you need. And while you're here, enjoy our new arrivals to see what’s trending in the nail world. Remember, we offer complimentary gifts and free shipping on orders over $100!