How to Apply Press-on Nails with Glue?

Wouldn’t it be nice to have a flawless manicure that’s affordable and something you can do at home? The solution is to use press-on nails. You don’t need any special equipment, just a little time and patience. But it’s not as easy as it looks! You need insider knowledge to get the best results.
It’s time to master the art of applying artificial nails. It’s an essential skill for anyone who wants to do a salon-quality manicure at home. In this comprehensive guide, we’ll teach you how to apply press-on nails with glue so that your nails look amazing and stay put for as long as possible.
Step By Step Apply Press-on Nails with Glue
The First Step: Choosing the Correct Sizes
Before diving into the application process, it's crucial to select the correct sizes for your press-on nails. Look closely at the artificial nails. You’ll see that they are numbered. Zero is (weirdly) the largest – it’s made for the thumbs. Meanwhile, 11 is the smallest size designed for the pinky finger.
Take your time to try on different sizes and find the ones that fit your natural nails perfectly. Lay them on top and see how they look. Remember, it's always better to go smaller rather than having them overlap the skin, as it'll give a more natural finish and the nails will be less likely to pop off.
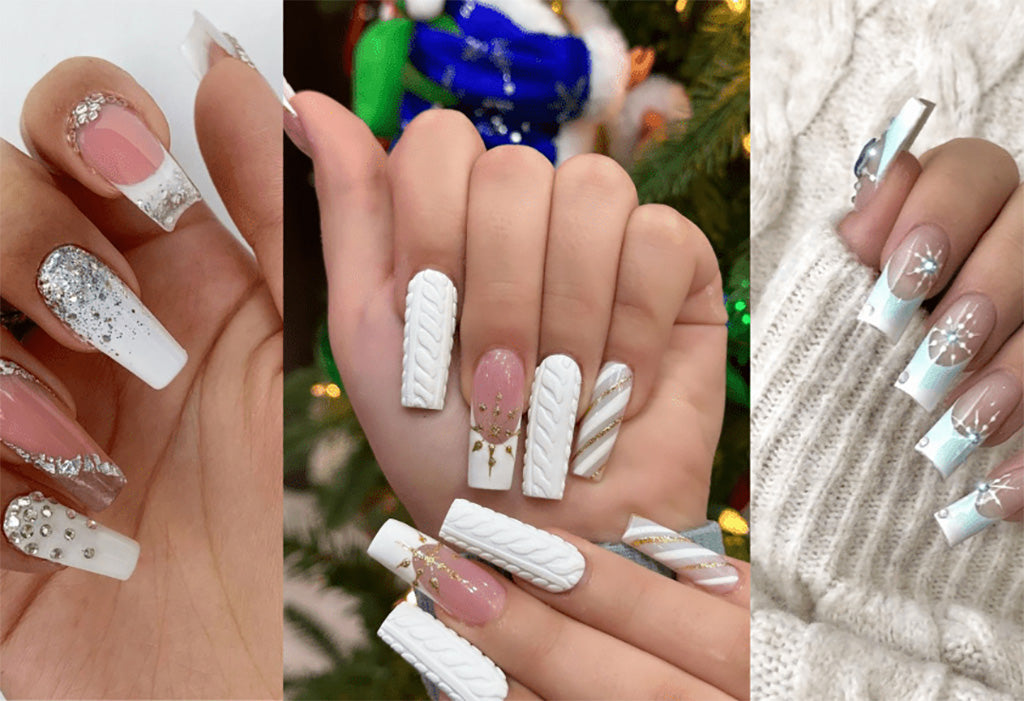
Press-on Nails 33-0058-27

Here’s the perfect example of a set of press-on nails. They have an almond shape, which is quite trendy right now. Plus, they are pre-shaped so that you don’t have to spend much time filing once you’ve applied them.
Although the nails come finished, feel free to paint them differently or add nail art. They’re compatible with acrylics, gels, and fiberglass.
Each box contains 24 pieces. Obviously, that’s more than you need to do a manicure. It’s because the set offers different sizes to make sure the nails fit as many different fingertips as possible. Examine the underside of the nail and you’ll see a tiny number printed there. That’s the size.
Soft gel nail tips are packaged in a similar fashion with the sizes printed on them, too.
Step 2: Prepare the Nails
Now that you have your sizes sorted, it's time to prep your nails for the application. Start by trimming your natural nails and gently pushing back the cuticles. This step is important, as it ensures a smooth, even surface for the press-on nails to adhere to. If you do this part right, the manicure will look better and last longer.
Next, cleanse your nails using rubbing alcohol to remove any oil or residue that might interfere with the glue's adhesion.
Pro Tip
Now you're ready to start putting on the nails. Do your dominant hand first, as this will make the application process more manageable.
Step 3: Apply the Glue to the Nails
When it comes to choosing an adhesive for your press-on nails, glue is definitely the superior option compared to the double-sided sticky tape that comes in the box. It provides a stronger bond for a more durable manicure.
To apply the glue, put a tiny dab of it on the natural nail near the cuticle and a little dab on the interior of the press-on nail near the wide base. Be careful not to use too much glue, as this can cause the adhesive to seep out when the nails are pressed together. It will look messy and may cause the nails to lift later.
KDS Nail Glue

What do the pros use to glue press-on nails? KDS, of course. It adheres to acrylics, fiberglass, and even silk. Since it dries in record time, all you have to do is press the nail tip in place for 5 seconds.
What’s more, it can be used to repair natural nails. If that’s the case, use tweezers to hold the split nail together with the glue, then buff the surface smooth once it’s dry.
Step 4: How to Place the Press-on Nails
Now, align the fake nail with your natural nail, making sure that the edges match up perfectly. If you come at it from a downward angle with the base settling into place at the cuticle line first, it’s easier to get things right.
Make sure everything is flush. Then press the nail firmly into place for ten seconds, allowing the glue to bond securely. Nail techs recommend pushing down on the center while pinching at the sides.
If you notice any excess glue around the edges, quickly wipe it off with a cotton swab before it dries.
Once it’s done, the press-on nails should last for 10 days or so. However, don’t soak your hands in water for at least a day after you apply them! Even though the glue is superficially dry, it’s still settling and curing.
Voilá! You've successfully mastered the art of applying press-on nails with glue!
Step 5: Shape and Polish
Once you've applied all your press-on nails, you can file and polish them for a smooth, flawless finish. Instead of filing them one by one, wait until you’ve finished them all to let the glue settle a bit more. Then when you file, shape the nails from the sides toward the center. Remember, press-on nails are durable so you may need a coarse grit file.
Guess what – you can also trim them. Your regular clippers or scissors aren’t up to the task. Trust us, you’ll need a fake tips cutter.
When you’re happy with the shape of the nails, feel free to paint them a different color or do nail art. We have an extensive collection of gels and lacquers in every color of the rainbow for your new manicure.
How to Remove Press-on Nails That You’ve Glued On
If you went ahead and used the tape to adhere the nails, it comes off with oil and warm water.
If you’ve used nail glue, there are proprietary glue remover products or you can simply soak in acetone for 10 minutes. By then, the glue should be soft enough for you to take off the nails and wipe off the residue. Remember to wash your hands and apply cuticle oil and moisturizer to counteract the dryness caused by the acetone.
Conclusion
With your newfound skills, you can now enjoy a stunning manicure done in the comfort of your own home! Go ahead, flaunt your beautiful nails, and let the compliments pour in! And while you’re at it, check out our deals to stock up on all your nail care needs.