DIY Press-On Nails with Soft Gel Tips: Simple and Affordable Way for Beauty Enthusiasts to Create Stunning Nail Styles

We sometimes find ourselves in a dilemma when it comes to press-on nails. On the one hand, they’re convenient and inexpensive. But, on the other hand, it’s challenging to find the perfect design. Not to mention, some brands of press-ons look and feel downright fake. This is where soft gel nails offer an ideal solution. Soft gel nails can be fully customized to any look we desire.
Moreover, they are thin, flexible, and lightweight, just like natural nails. These are the reasons why we created this guide to DIY press-on nails with soft gel tips. This is a simple and affordable way for beauty enthusiasts to create stunning nail styles.
Homemade press-ons allow you to play with colors, patterns, and textures and create exclusive, one-of-a-kind nail designs. Let’s begin with what you need to get started.
Supplies Needed
- Soft gel nails (full cover, not just tips)
- Gel base coat
- Gel top coat
- Gel Polish in various colors
- Buffer block for your nails and for the soft gels
- Nail file, fine grit for the natural nails, medium and fine for the soft gels
- Cuticle pusher>
- Clippers (for trimming any and all nails)
- Nail stands or a similar way of mounting individual soft gels for painting
- Mounting putty to secure the soft gels
- Alcohol to cleanse natural nails and soft gels
- Nail wipes (better than cotton because they don’t leave fuzzies)
- UV lamp for the gel polish
- Nail glue (safer for natural nails—see below)
Which Soft Gel Tips Are Best for DIY Press-On Nails?
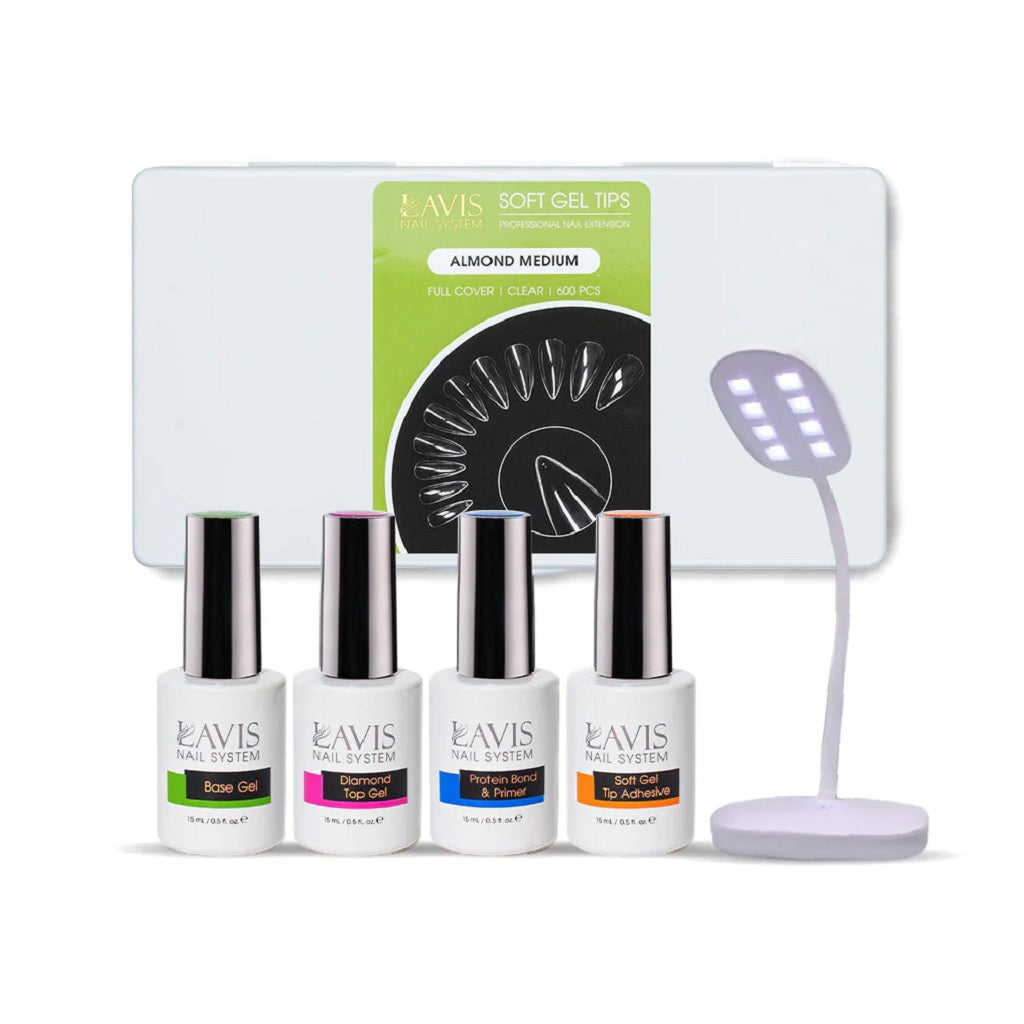
As we mentioned, you need full covers, not just extensions. If you explore the LAVIS soft gel collection, you'll see they come in many shapes and lengths. These include almond, ballerina, and stiletto in short, medium, and long sizes.
Moreover, each set includes 11 different nail sizes to ensure each fingertip fits perfectly. And you can get the soft gels in a professional kit that includes protein bond & primer, gel adhesive, a nail lamp, base coat, and top coat.
Lavis Almond Medium Nail Tips + Professional Kit
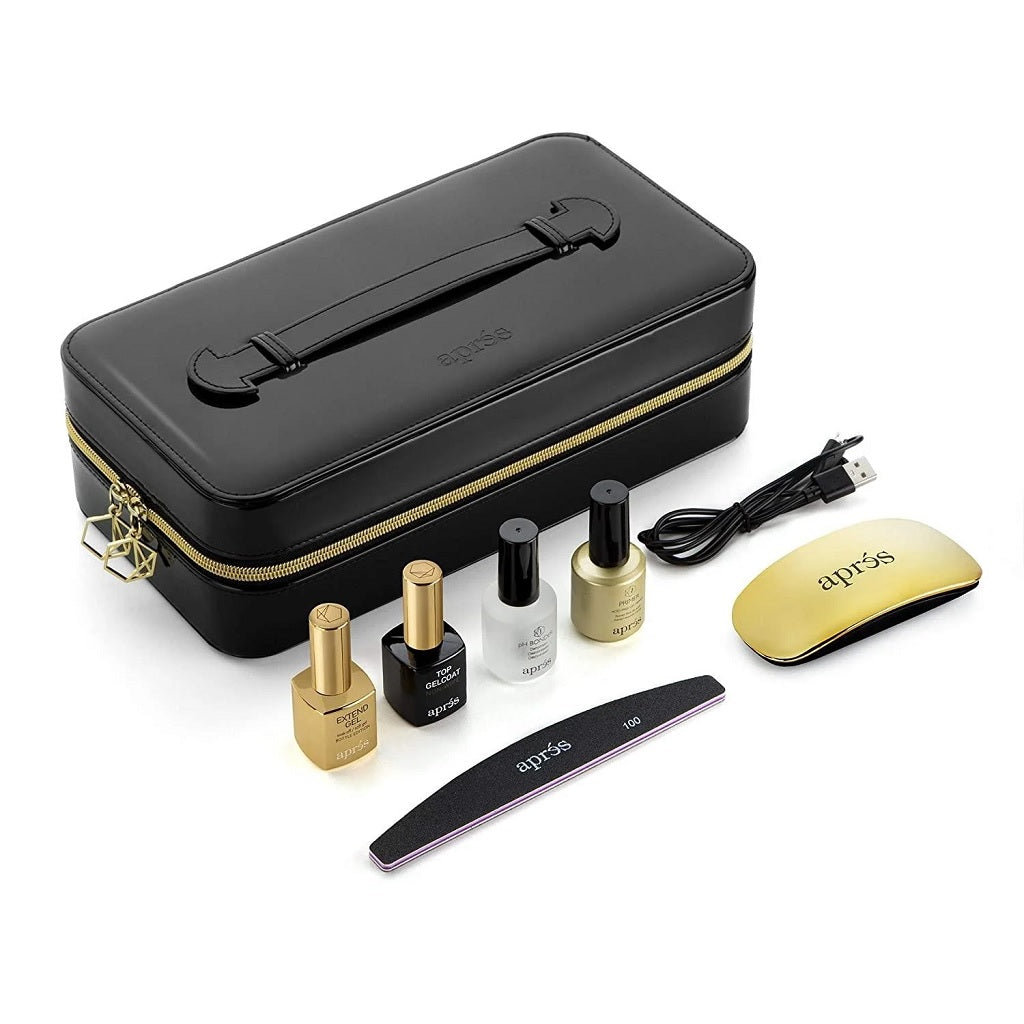
You might also like Aprés Gel-X nails or Kiara Sky soft gels that come in kits with all the basics to apply them.
Apres - Gel-X Nail Extension Kit
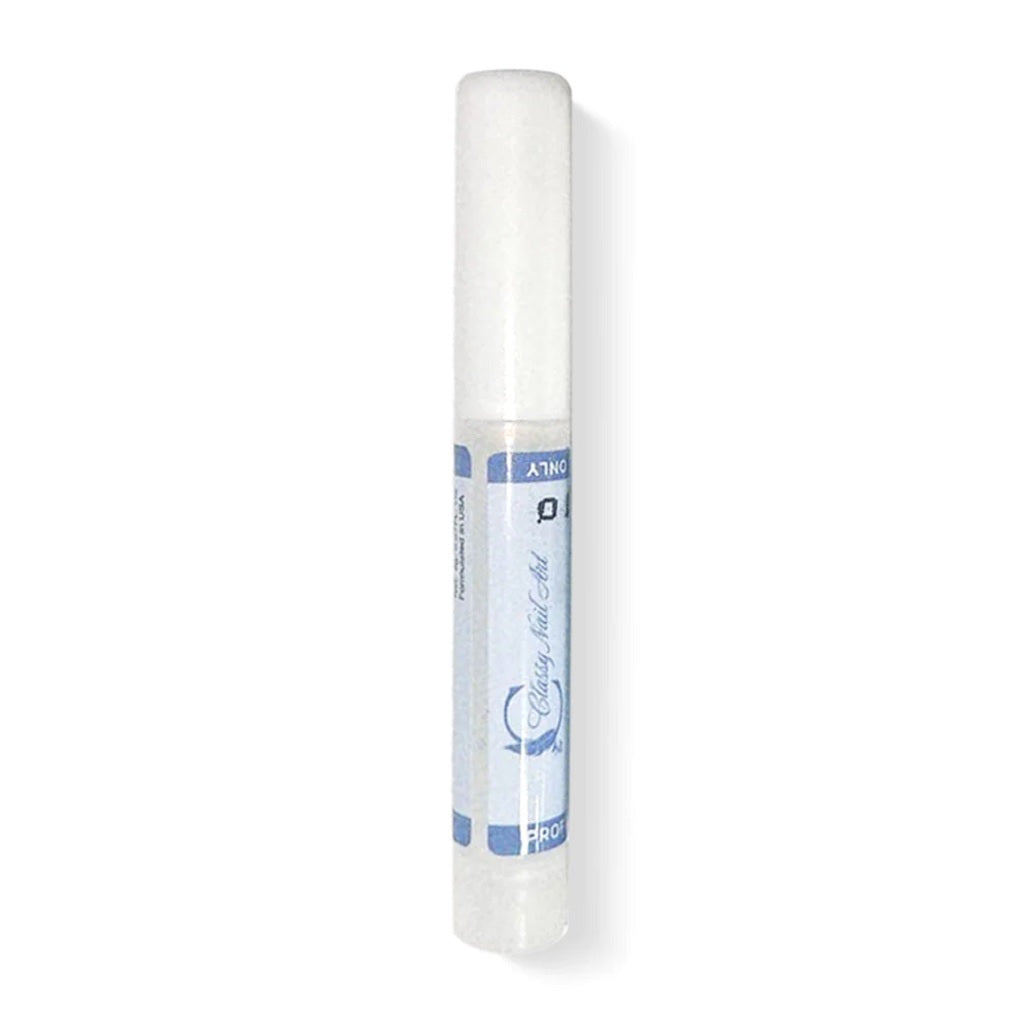
But as mentioned in the list above, you'll also require regular nail glue that air-dries without a nail lamp. We know the TikTok trend regarding gluing press-on nails with gel adhesive. But we don't recommend this method because UV light needs to penetrate to cure the gel. If the DIY press-on nails are painted a dark color, the adhesive might not cure properly. Worse, it can lead to allergic reactions and infections. Although nail glue might not last as long as gel adhesive, it's safer because it air-dries. Plus, it's easier to remove, so you can change up your customized press-ons whenever you like.
Classy Nail Art Nail Glue
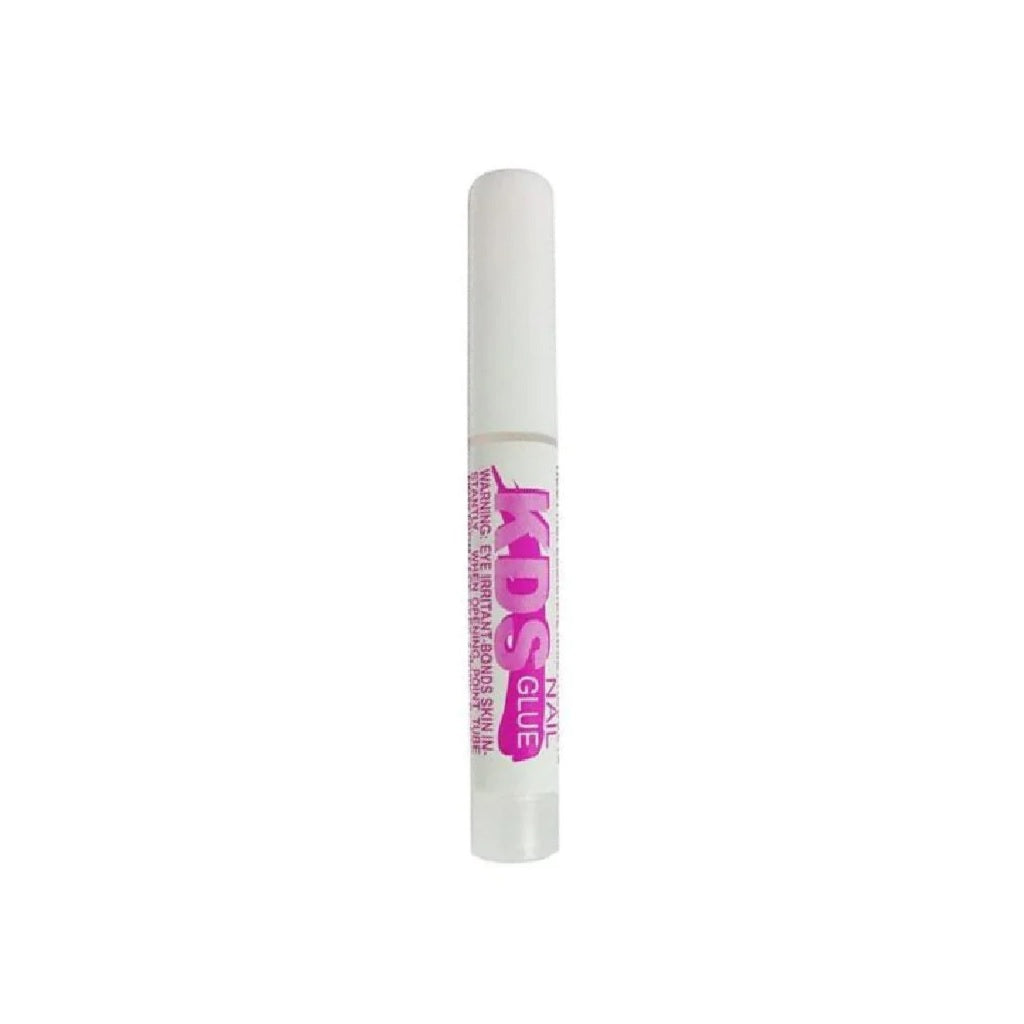
KDS Nail Glue
Now, here's the step-by-step guide to DIY press-on nails with soft gel tips.
How to Make Customized Press-on Nails with Soft Gels
Step 0: Prepare the Natural Nails
Prep your own nails first by trimming and shaping them. Pay close attention to pushing back the cuticles so the soft gels won't lift. Lightly buff the shine from the surface and wipe them with rubbing alcohol to remove debris and oil.
Step 1: Choose the Soft Gel Nail Shape and Size
You've probably already picked the style and length of the nails you'll customize. But now’s the time to open the box and select the perfect match for each fingertip. Look closely, and you'll see a tiny number etched into each nail cover. Zero is typically for thumbs, while 11 is sized for a pinky.
Match each nail cover to a finger and lay them out in order. Ensure there is no overlap over the skin so they won't pop off.
Step 2: Prepare the Soft Gels
Trim and shape the soft gels if desired. Rough up both sides a little with the buffer block them to improve adhesion. Then, wipe them with rubbing alcohol.
Mount them on the nail stands with poster putty and arrange them in the order you intend to paint them. If you don’t have nail stands, use the thumbtacks pressed into a cardboard box. You’ll still need something to secure them, and putty works better than tape.
Step 3: Apply the Base Coat and Decorate the Nails
Brush on the base coat just as you would for any gel manicure and cure it. Then, create whatever design you wish on the nails. Use thin coats and cure between them. Check to make sure no polish has spread underneath the soft gels before curing.
When you're satisfied with the design, apply and cure the top coat.
Step 4: Glue the Diy Press-ons to the Natural Nails
Please use nail glue instead of gel adhesive for this step, especially if the nail design is opaque. If you apply a glue drop to the press-on's backside and a drop to the natural nail, the covers should stay in place for a couple of weeks (if they aren't often soaked in water).
For best results, wipe the natural nails and the customized nails with rubbing alcohol. Don’t worry; it won't dissolve the gel polish. The alcohol makes sure that no oil will disrupt the adhesion.
Place a drop on the interior of the soft gel near the base and another drop on the natural nails in the same place. Use a tiny amount. If you’re worried about going overboard, just put a single drop on either piece instead of both.
Line up the press-on to match the edges and come in at a 45-degree angle. Squeeze the edges and press the base on first, working toward the tip. You'll be gripping the edges at the same time you're pushing down on the center. Hold it tight for 10 seconds while the glue sets. Then wipe off the edges if you see any excess adhesive.
Once the gluing is complete, please keep your hands dry for at least an hour, and don't soak them in hot water for at least a day.
How to Remove DIY Press-On Nails
Nail glue comes off with acetone, or you can try soaking your fingertips in hot, soapy water with oil. The first method takes about 10 minutes, while the second takes longer but is less dehydrating to the skin. Also, acetone will wreck the design because it dissolves the gel polish. If you’d like to reuse the customized soft gels, try the hot water removal method instead.
Conclusion
DIY press-on nails with soft gel tips let you endlessly experiment and conveniently switch up your manicure. Take a peek at what’s trending to find the season's top colors for your next manicure. Remember, we offer free shipping on orders over $100!


