It’s fun and affordable to do jelly nails at home. If you didn’t know, the jelly nail trend is inspired by the '90s fashion craze of jelly shoes that had a clear, jelly-like texture and came in bright colors. Due to specially formulated polish, jelly nails today have the same translucent, colorful look. But there's no need to spend a lot of money when you might already have everything you need at hand. In this post, we’ll show you how to make your own jelly nail polish at home. We’ll also share tips and tricks to make your jelly nails look amazing.
Supplies Needed for DIY Jelly Nail Polish

Look through your polish collection. Do you have a clear top coat? And are there a few bright colors, including glitters, that you love to wear? Then all you need is:
- Clear top coat (either gel polish or nail lacquer).
- Colored or glitter polish (of the same type as the top coat, either gel or lacquer).
- A shallow dish, a nail art palette, or another place to combine them.
You might also want to use a separate brush to avoid mixing the polishes. However, if you love the jelly color you create, you might want to mix up a whole bottle of it!
Method for Making Jelly Nail Polish at Home
This simple method allows you to create any color of jelly polish you desire. Here are the steps to follow:
- Prep your nails by trimming, shaping, and gently pushing back your cuticles. Remember, jelly nails are translucent, so the shape of your natural nails may be visible. If desired, apply a clear base coat to protect your nails and help the polish stick better and last longer.
- In a small dish, mix double the amount of clear top coat as colored polish. For example, if you use one drop of color, use two drops of top coat. Stir well (but not vigorously to avoid creating bubbles) until the mixture is smooth and even. How does it look? Add more top coat to make it more sheer or more color to deepen the hue.
- Using your mixture, apply a thin layer of jelly polish on your nails. Let it dry completely (or cure it) before applying another layer. Repeat until you get the desired opacity and finish with another layer of top coat.
- Remember the cuticle oil! Now, go show off your jelly manicure!
Make a Bottle of Jelly Nail Polish
You can also make your own custom jelly polish by adding a few drops of color into a clear polish bottle. This way, you can store your jelly polish for later use.
Add only one drop at a time and roll the bottle back and forth between your hands until it is well-mixed. Test the color and gradually add more until you’re satisfied.
Tips and Tricks for Jelly Nails That Look Stunning
Here are ways to make your jelly nails look even more spectacular:
- Jelly nails look best on long nails. Now is a great time to learn how to do soft gel extensions. This tutorial reveals how to choose the correct sizes, prep the nails, and apply them.
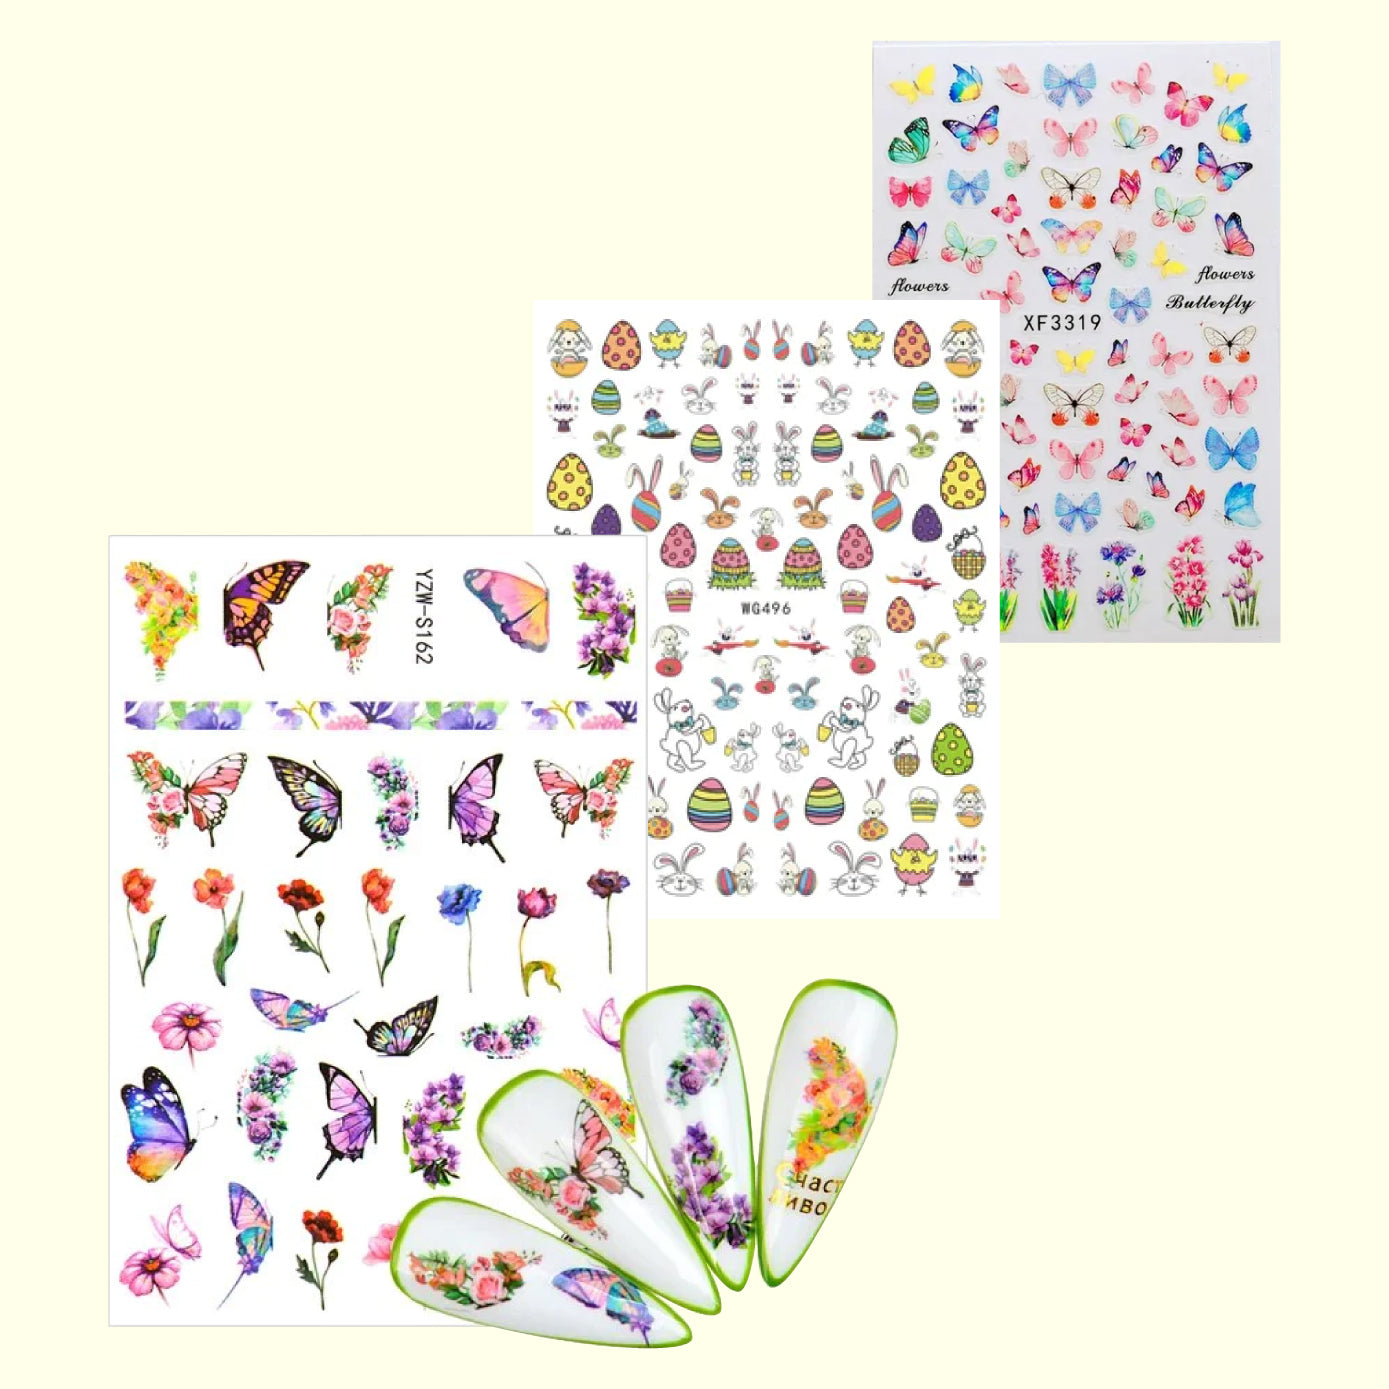
- Play with different colors and designs to create a unique jelly manicure like ombré nails. Or you can add glitter, stickers, decals, or rhinestones for extra sparkle and fun.
- You can also combine jelly nails with French tips, negative space, or geometric shapes. The contrast between the clear and opaque parts will make your nails pop!
- Make your jelly nails more dazzling with encapsulated glitter tips. This tutorial video shows how it’s done with gel polish.
Polish Recommendations for Jelly Nails
If you need to stock up on polish to do jelly nails at home, here are the ones that we love using:
Lavis Gel Diamond Top

A single layer of this top coat prevents peeling and chipping for 3 weeks or longer. Moreover, the diamond-like shine brings out the brilliance of your nails. This no-wipe top coat is ideal for blending jelly nail polish at home. You'll just need a nail lamp to cure it.
Lavis Gel Polish

With over 200 colors available, the hardest part is deciding which one to try first. These gels are easy to apply and won't shrink or bubble when cured. Nail novices adore them, and professionals depend on them.
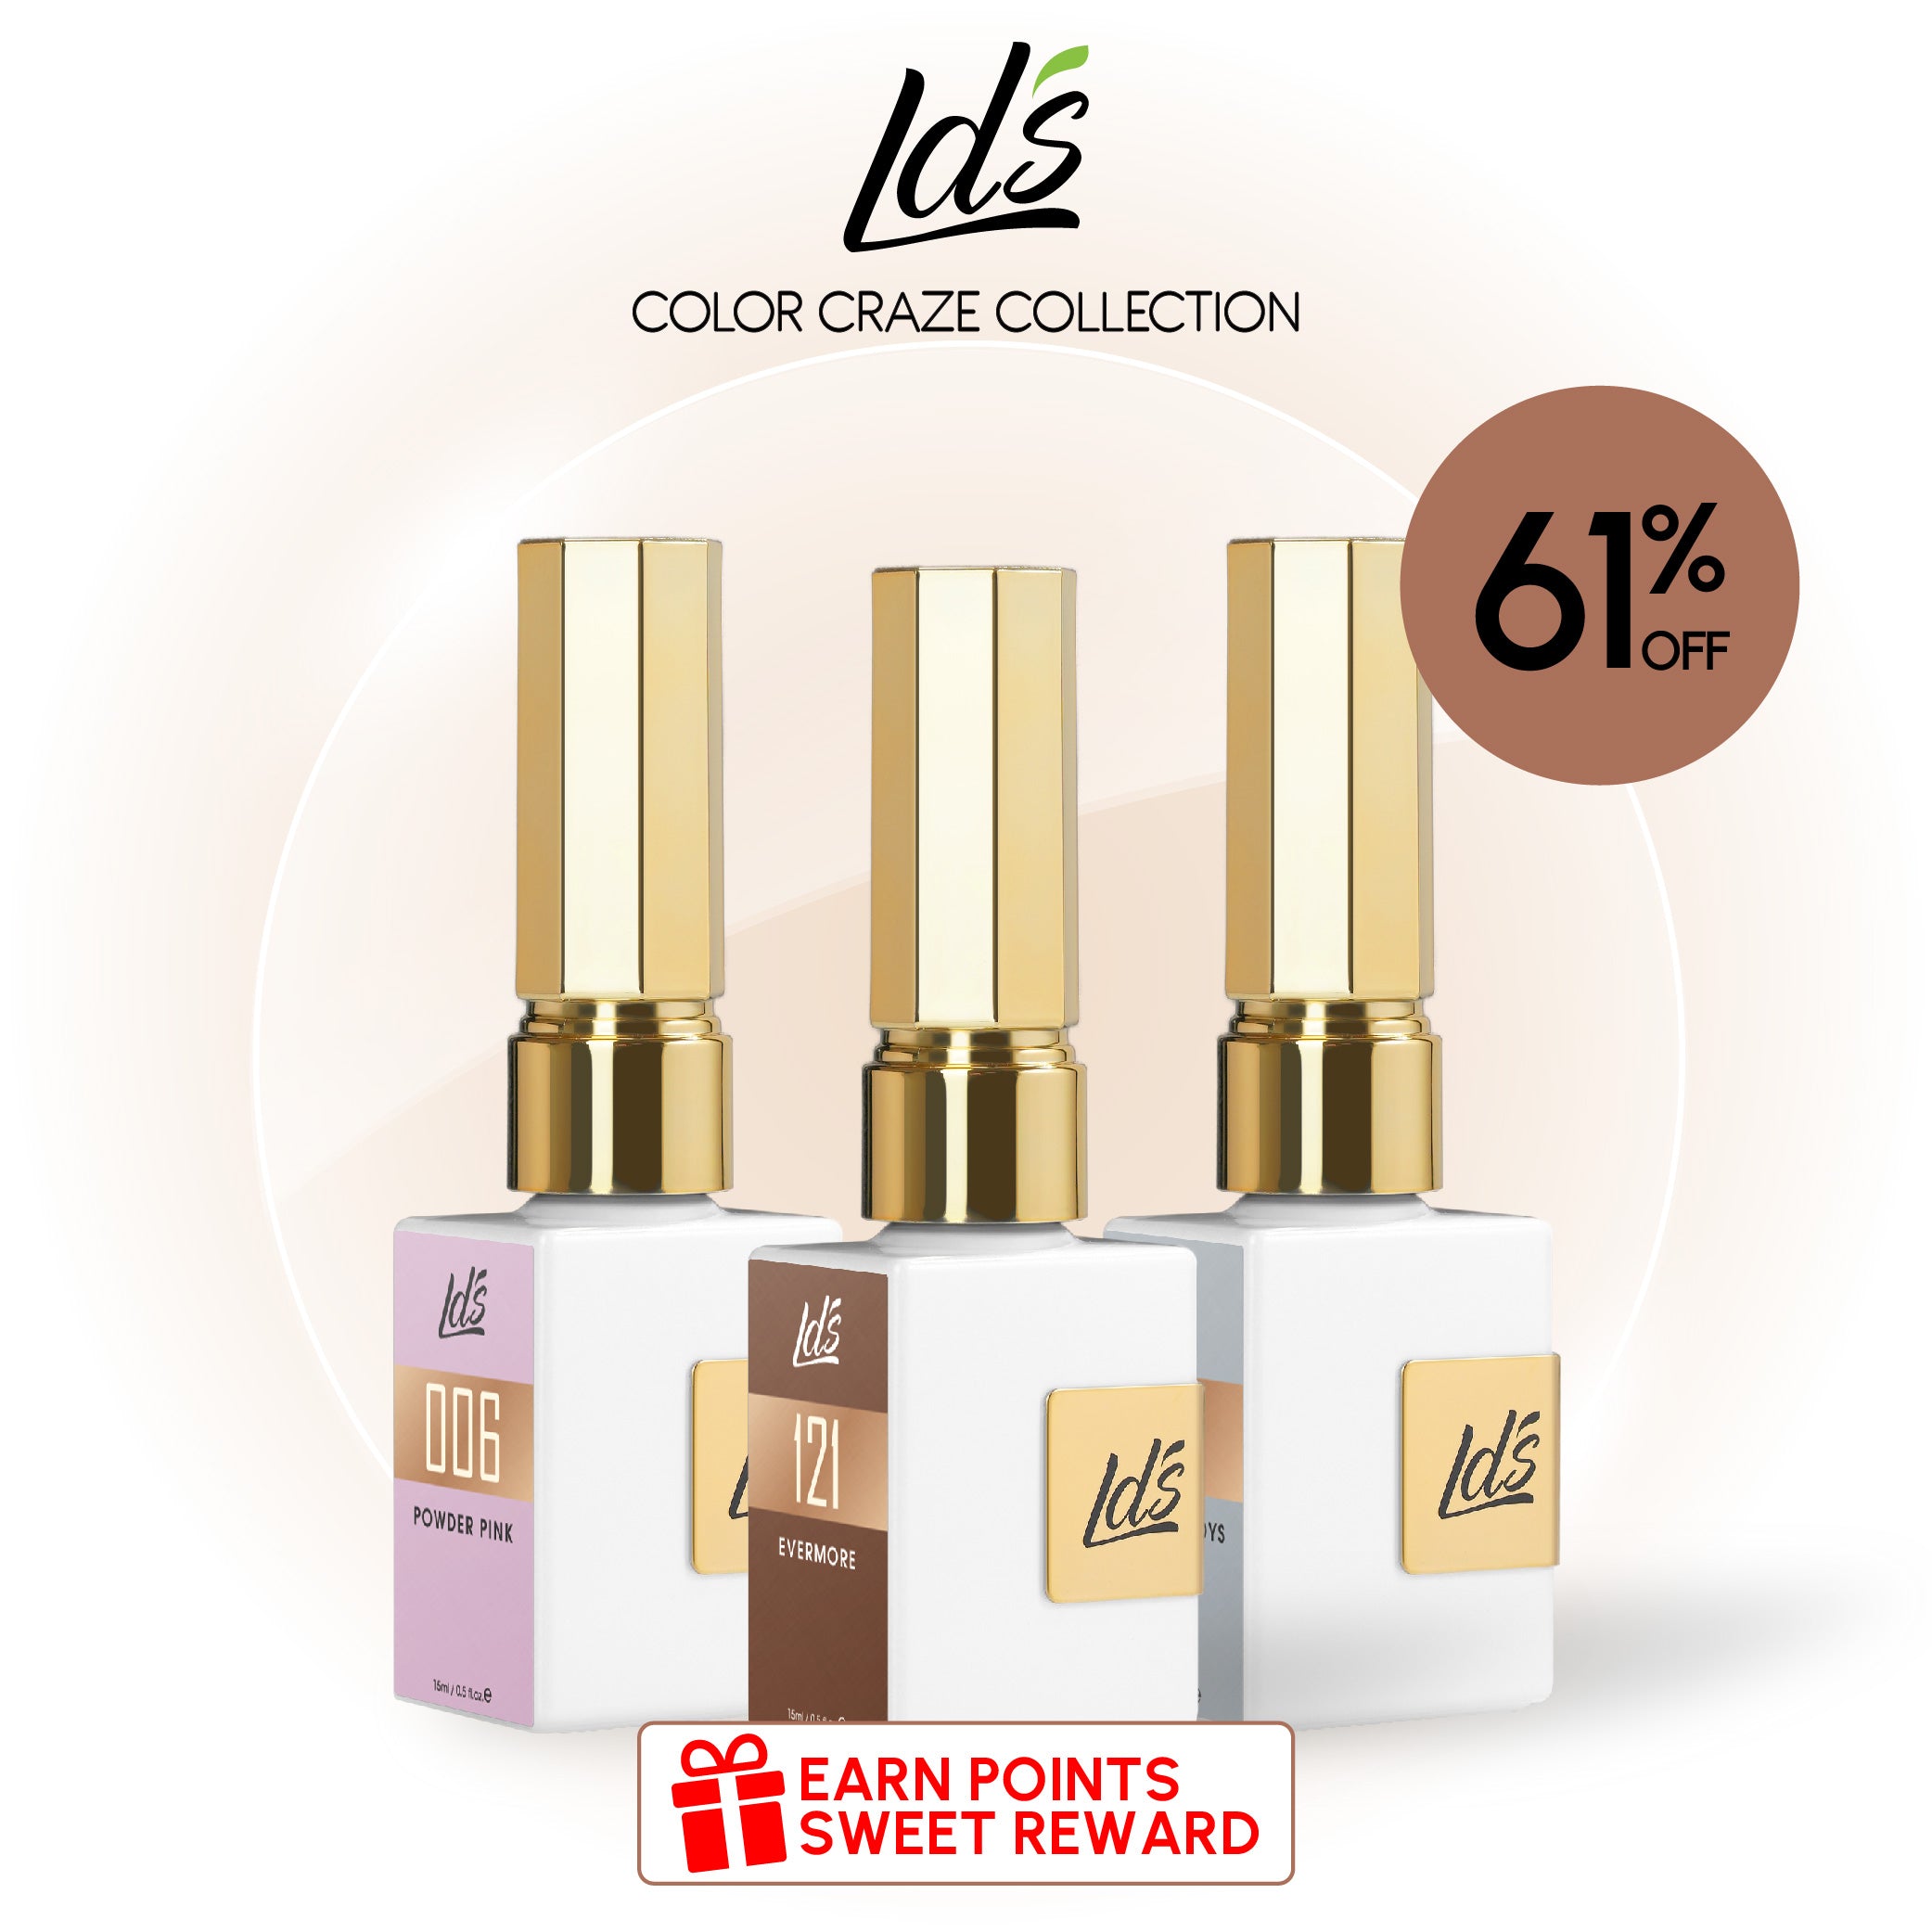
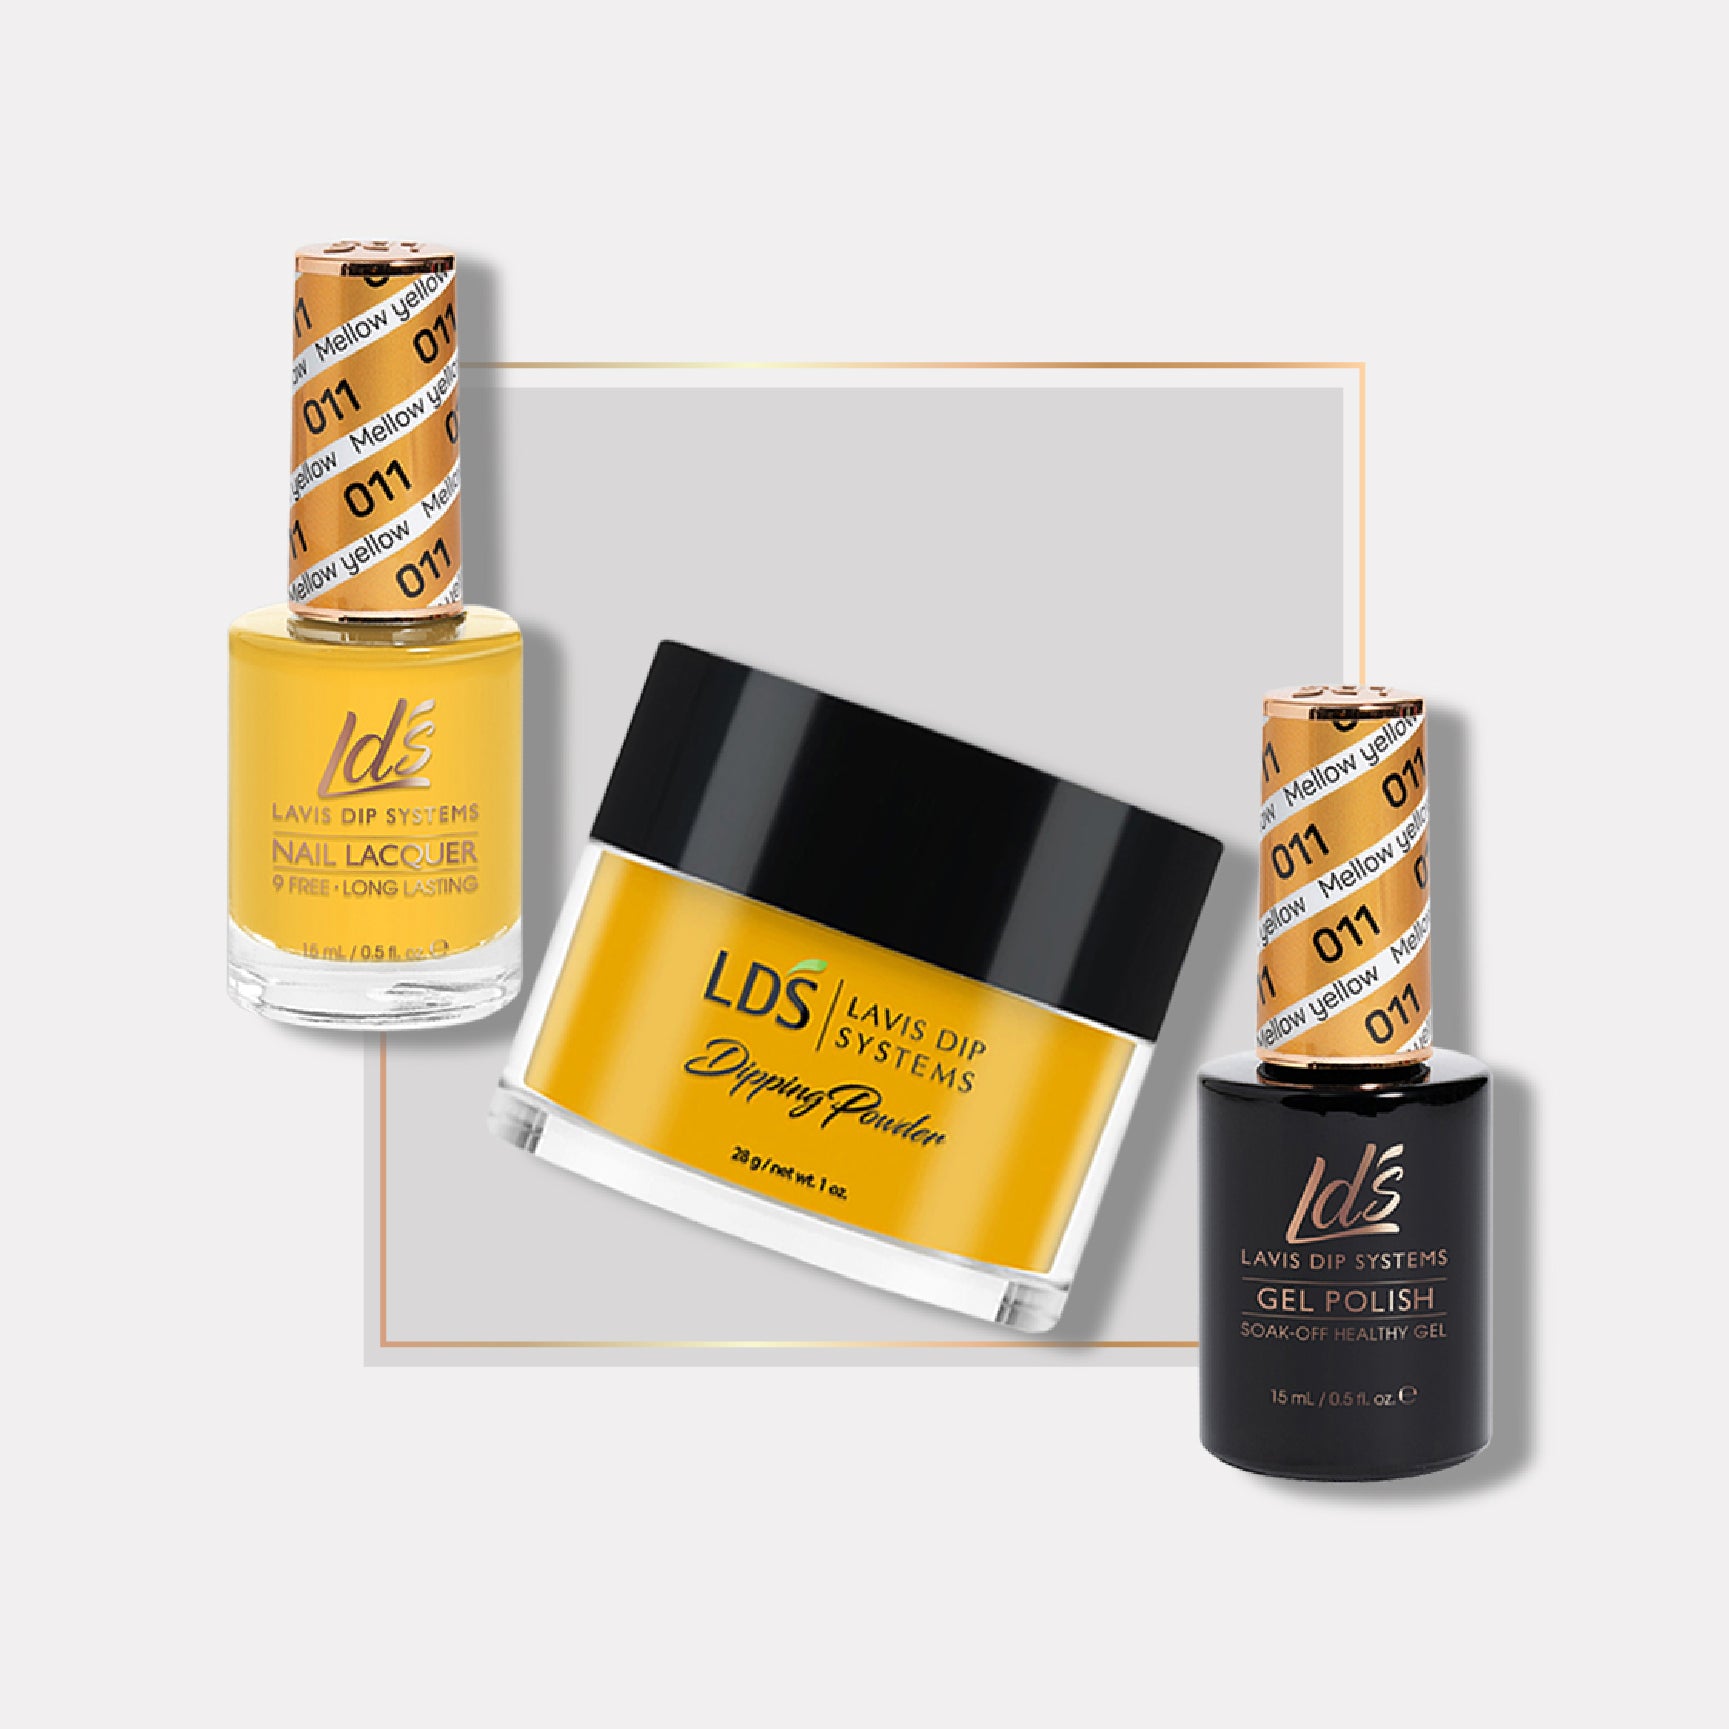
If you want to try out the jelly nails trend but prefer lacquer, consider using LDS polish. This brand is widely regarded as one of the safest options available, thanks to its 9-free formulation that's gentle and healthy for your nails. What's more, it's also great news for animal lovers, as it's cruelty-free and vegan. If you want to achieve a fun and trendy look without compromising your safety or ethics, LDS polish is the perfect choice for you.
However, we stock many other nail lacquer brands, including transparent top coats for making jelly polish.
Ready to Use Jelly Polish
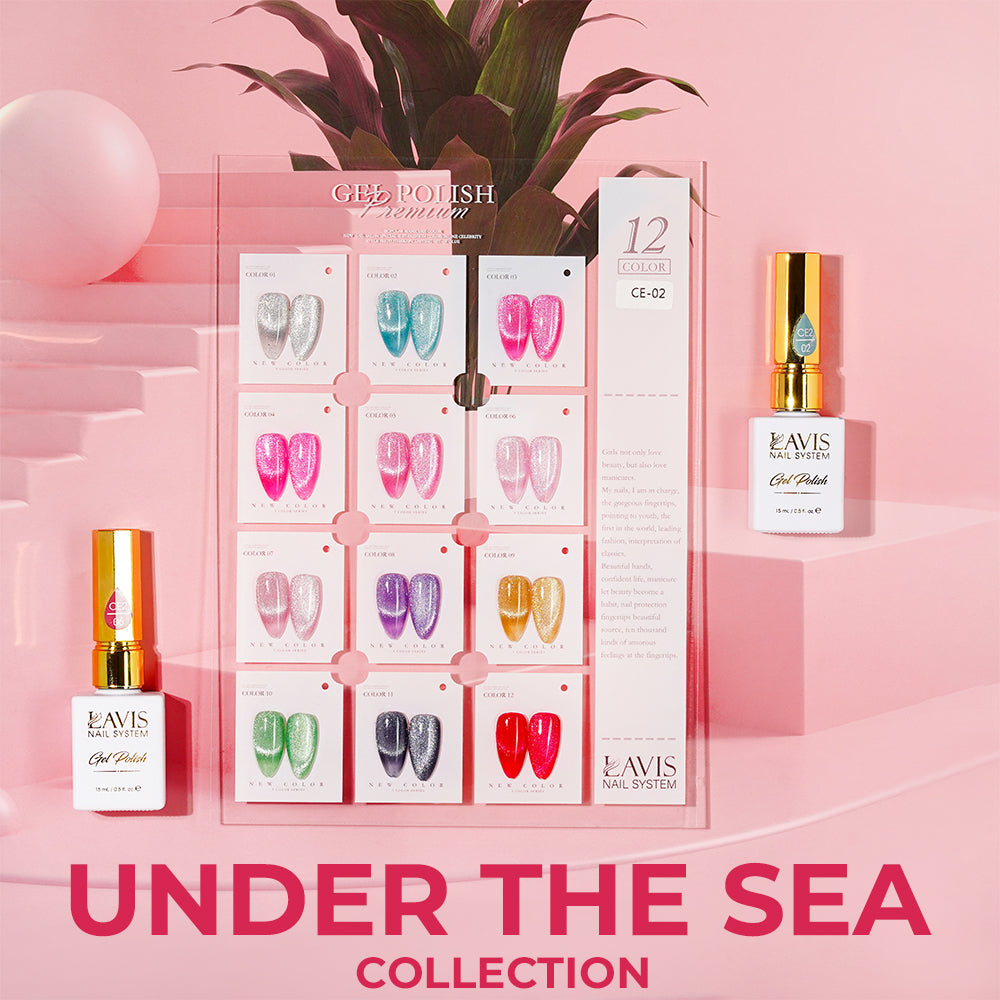
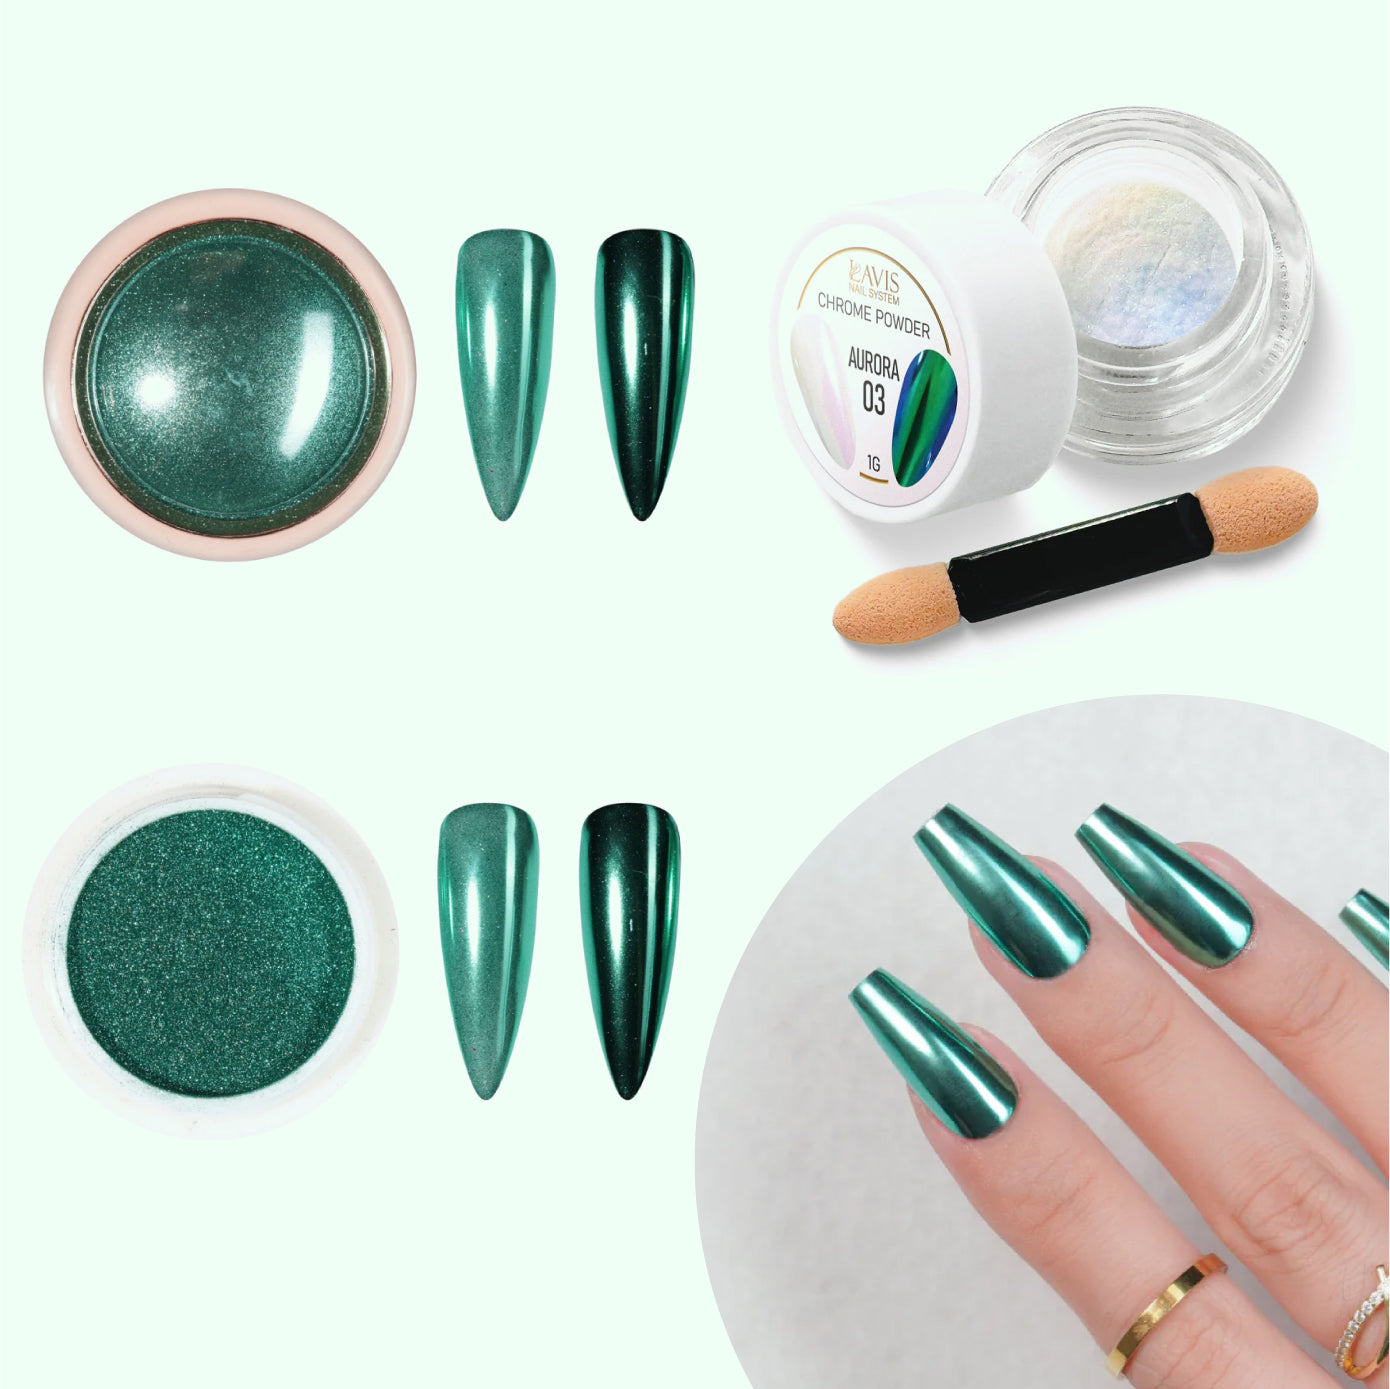
Nevertheless, you don’t have to mix your own jelly nail polish if you know where to find it elsewhere. Both Lavis and LDS have an incredible selection of transparent gels for jelly nails. You can find everything from jelly nudes to neons and sparkly cat eye polish.
If you've never used gels before, you'll love them. Unlike lacquer, gel polish won't dry until cured under a nail lamp. Therefore, you have all the time you need to apply it exactly as you want. If you're not satisfied, wipe it off and start over. Plus, you won't have to deal with noxious odors as gel polish is practically odorless. Lastly, a gel manicure stays fresh and new for two or three weeks, unlike lacquer, which starts to chip after only one. It may be time to give gel polish a try!
Conclusion
We hope you have a great time making jelly nail polish at home! It’s fun to experiment with different colors and designs to create a unique jelly manicure that suits your style and mood.
While you're here, please drop by our new arrivals page to see the latest nail trends. Remember, we offer free shipping on all orders over $100!