Even if you’re not a mermaid, it’s hard to resist beautiful seashell nails. Maybe you’re daydreaming about a seaside vacation or want to show your love for the ocean. No matter the reason, there are different ways to get a seashell look for your manicure.
Some tutorials suggest a simple iridescent finish that looks like mother-of-pearl. This is similar to what Halle Bailey wore in The Little Mermaid.
Meanwhile, others create a texture that mimics the outside of a shell. It doesn't sound very easy until you realize you don't need acrylics or builder gel to get the look.
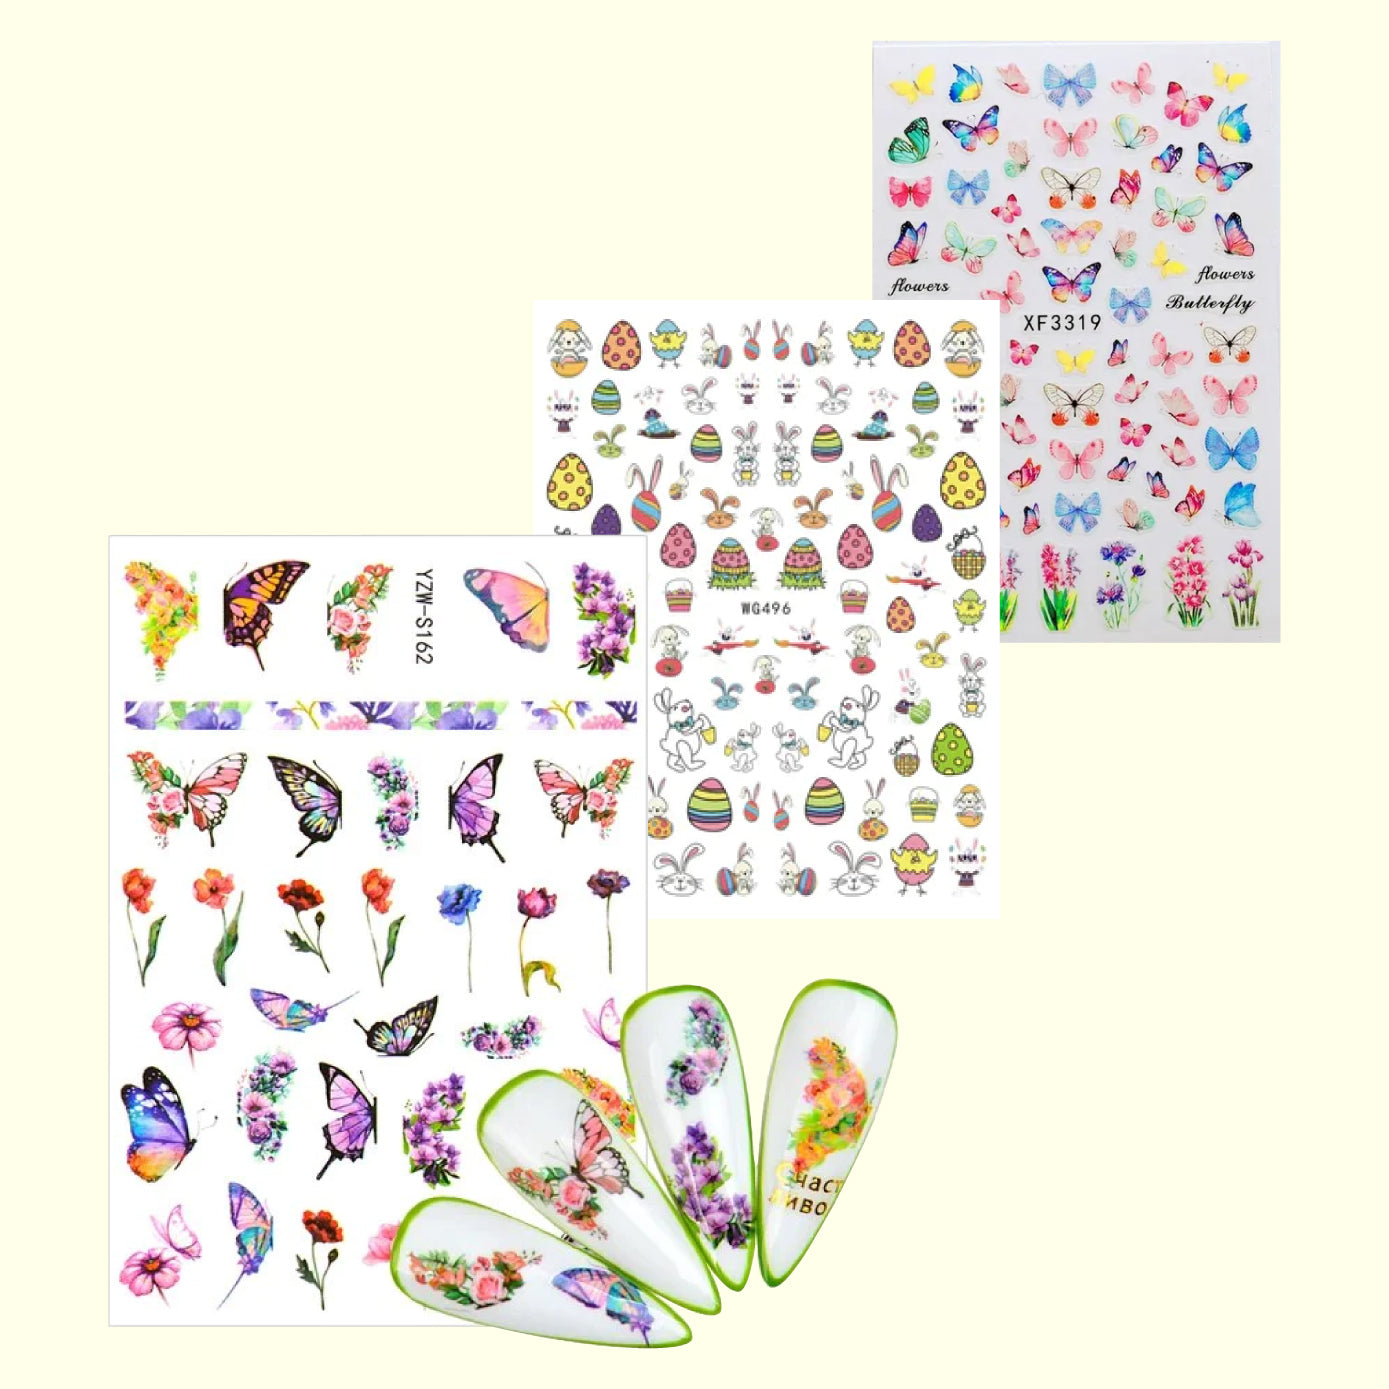
And then there’s the group that goes full mermaid-core with tiny pearls, starfish, and other sea treasures.
Curious? Then, let’s talk about how to do seashell nails.
Supplies Needed for a Seashell Mani
While you can certainly do a seashell manicure with nail lacquer, gel polish provides more benefits. That’s why our tips for how to do seashell nails focus on gels.
Gel polish, unlike lacquer, is low-odor. Moreover, it doesn't dry until it's cured in a nail lamp. That fact gives you plenty of time to perfect the design. It also lets you remove that layer and start over if you're unsatisfied without undoing the rest of your manicure.
With that said, let’s look at the best nail products for a seashell mani:
LDS Gel Base, Diamond Top, Strengthener

3-in-one set with a base coat, glossy top coat, and a nail strengthener.
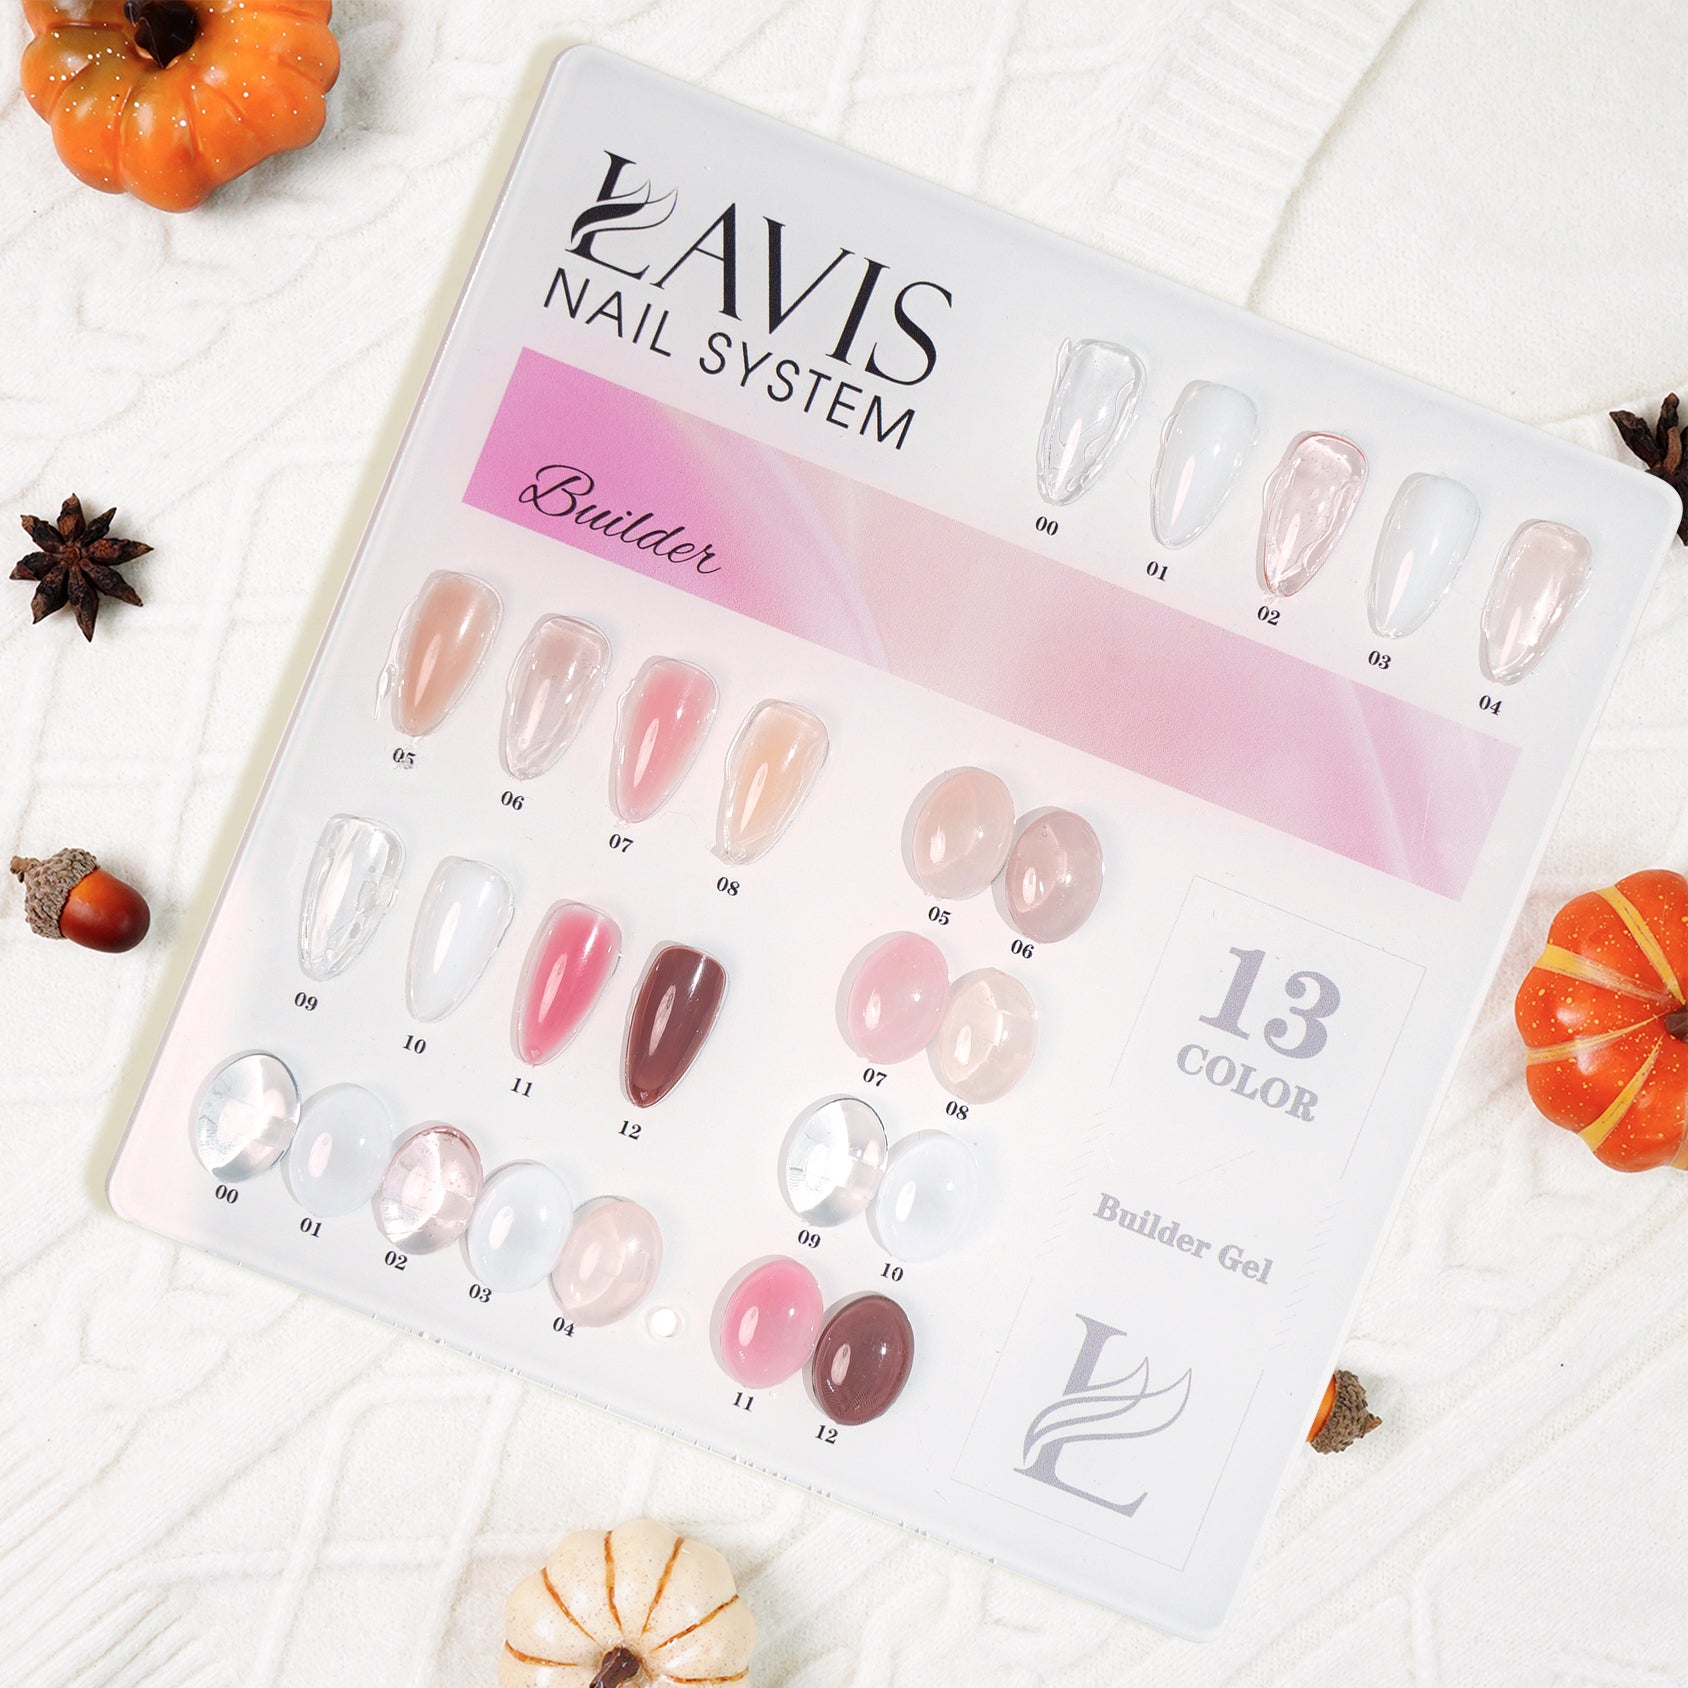
Lavis Matte Top Gel

A matte but not flat finish for a realistic seashell effect.
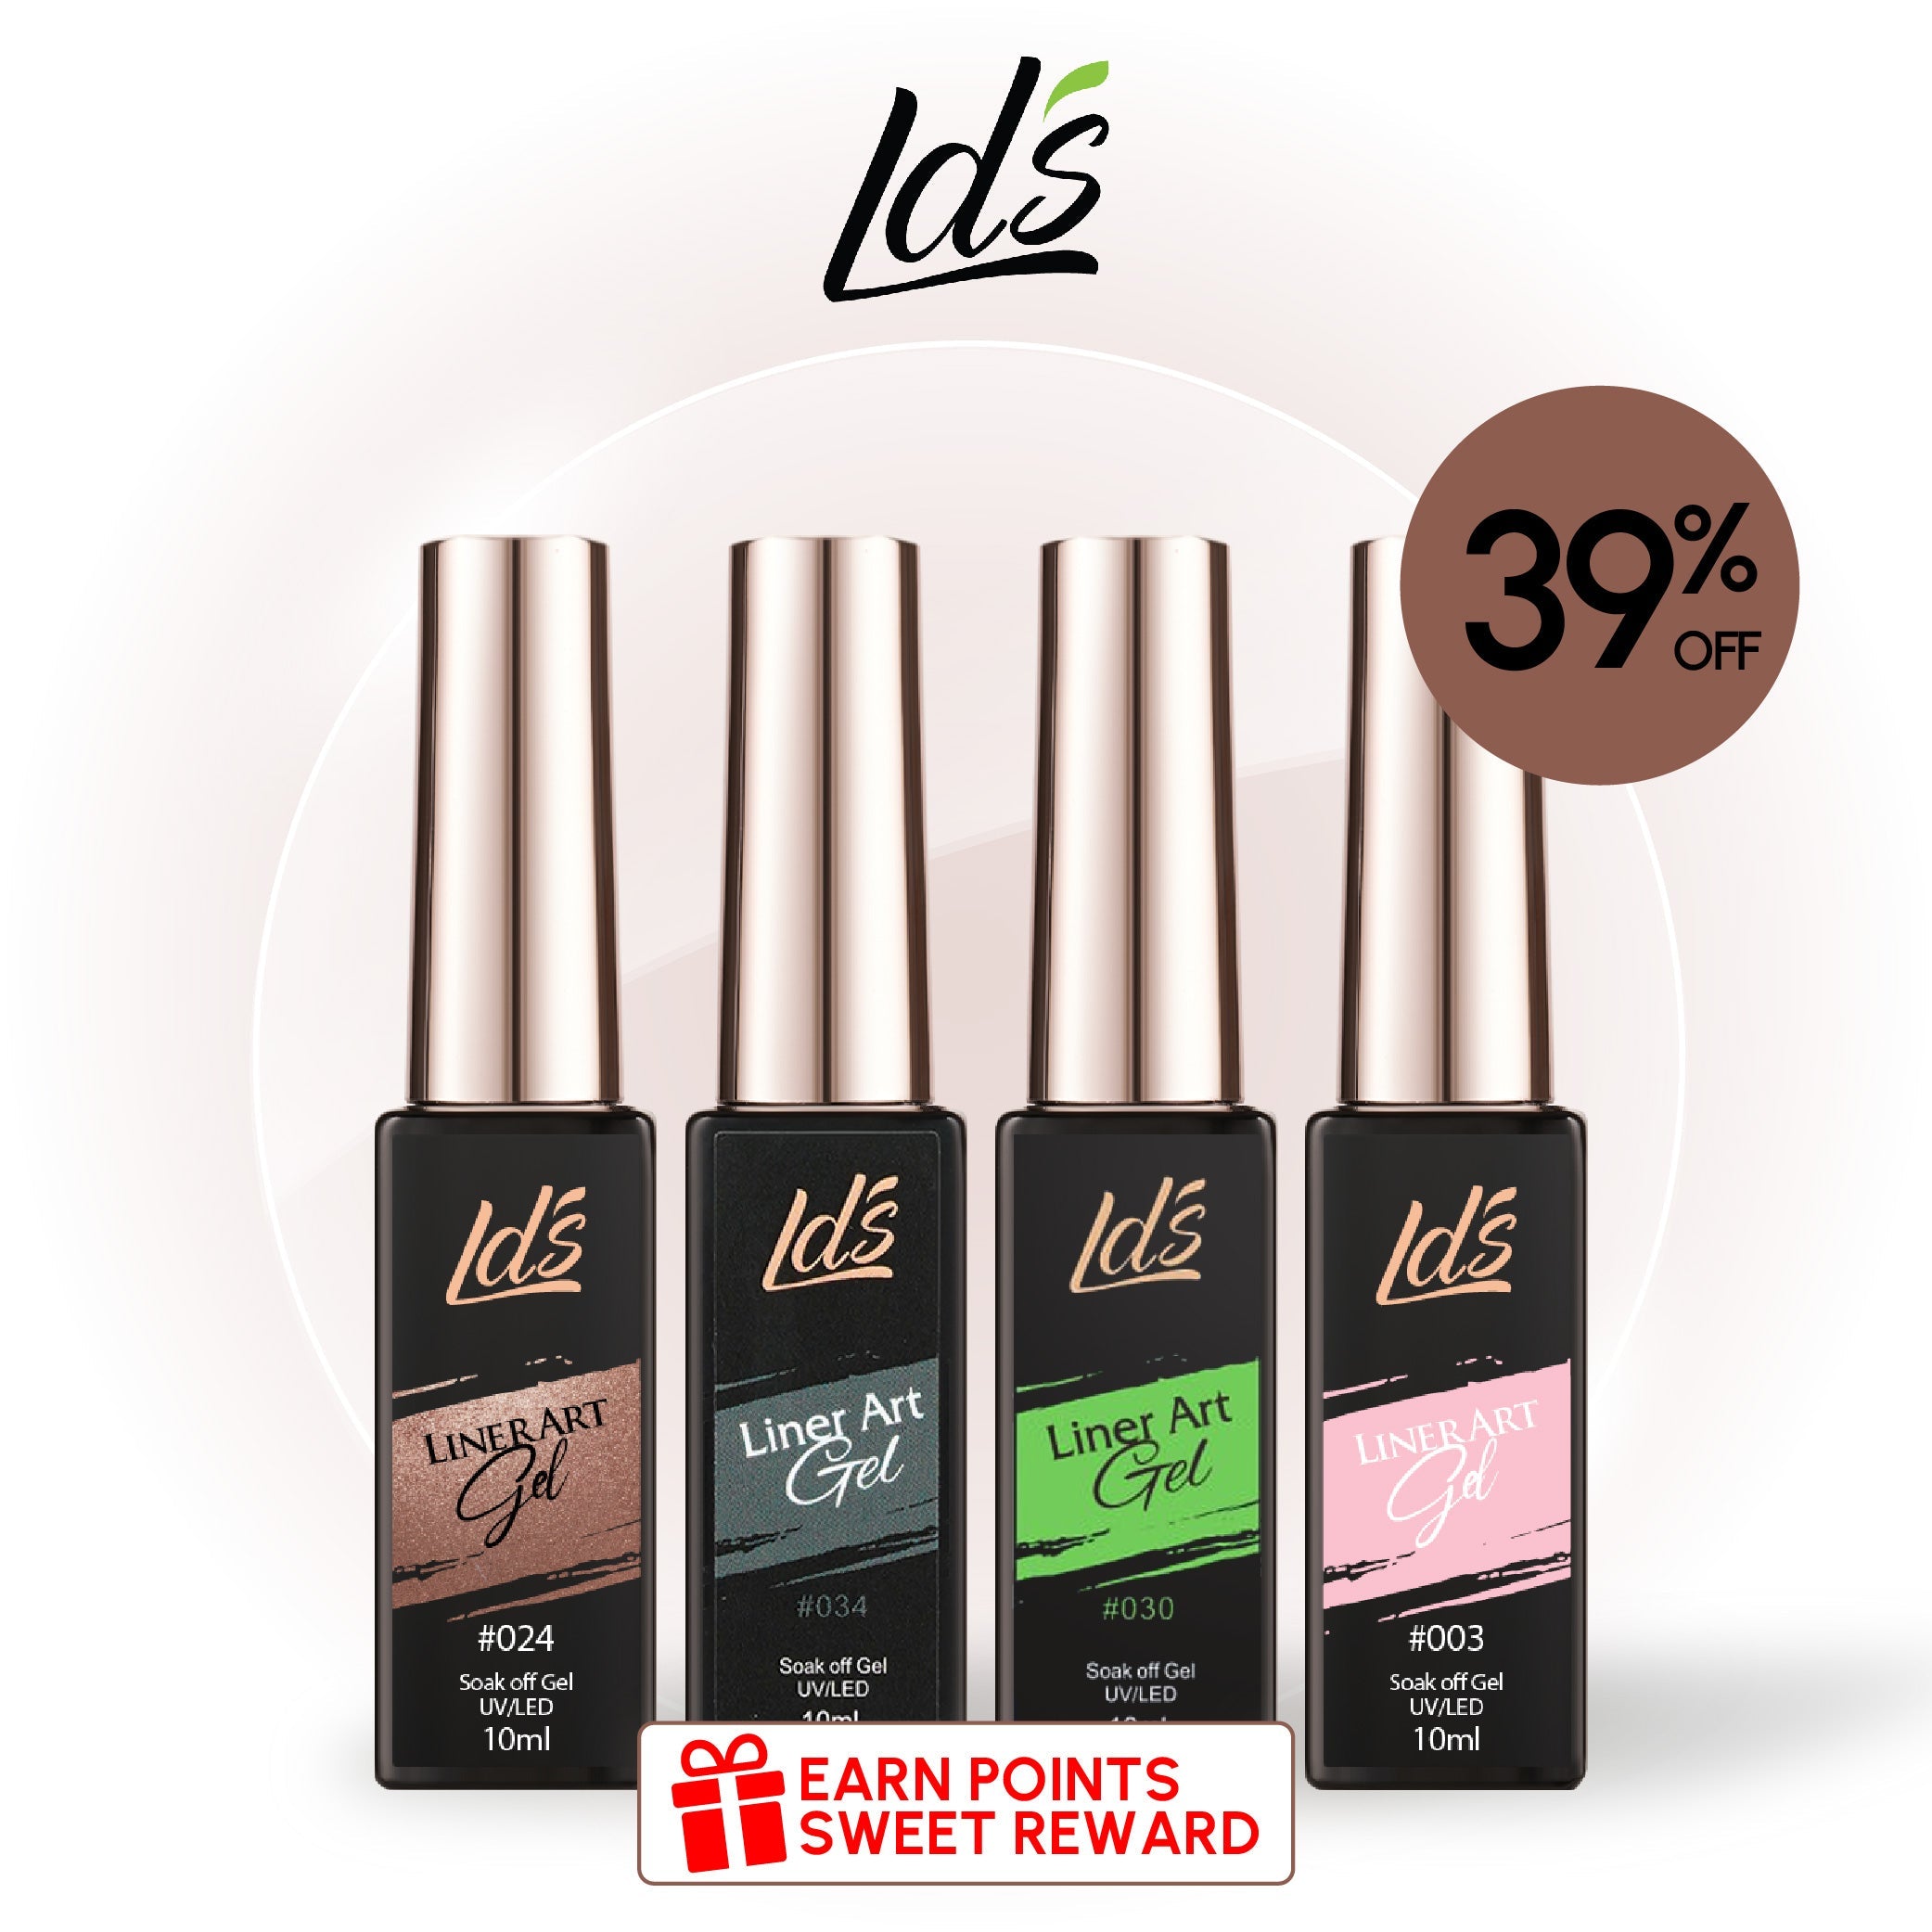
Line Art Gels

The easiest way to do precision nail art – they come with a thin brush in the bottle.
Nail Art Brush

Unleash your inner artist and turn any polish into a work of art.
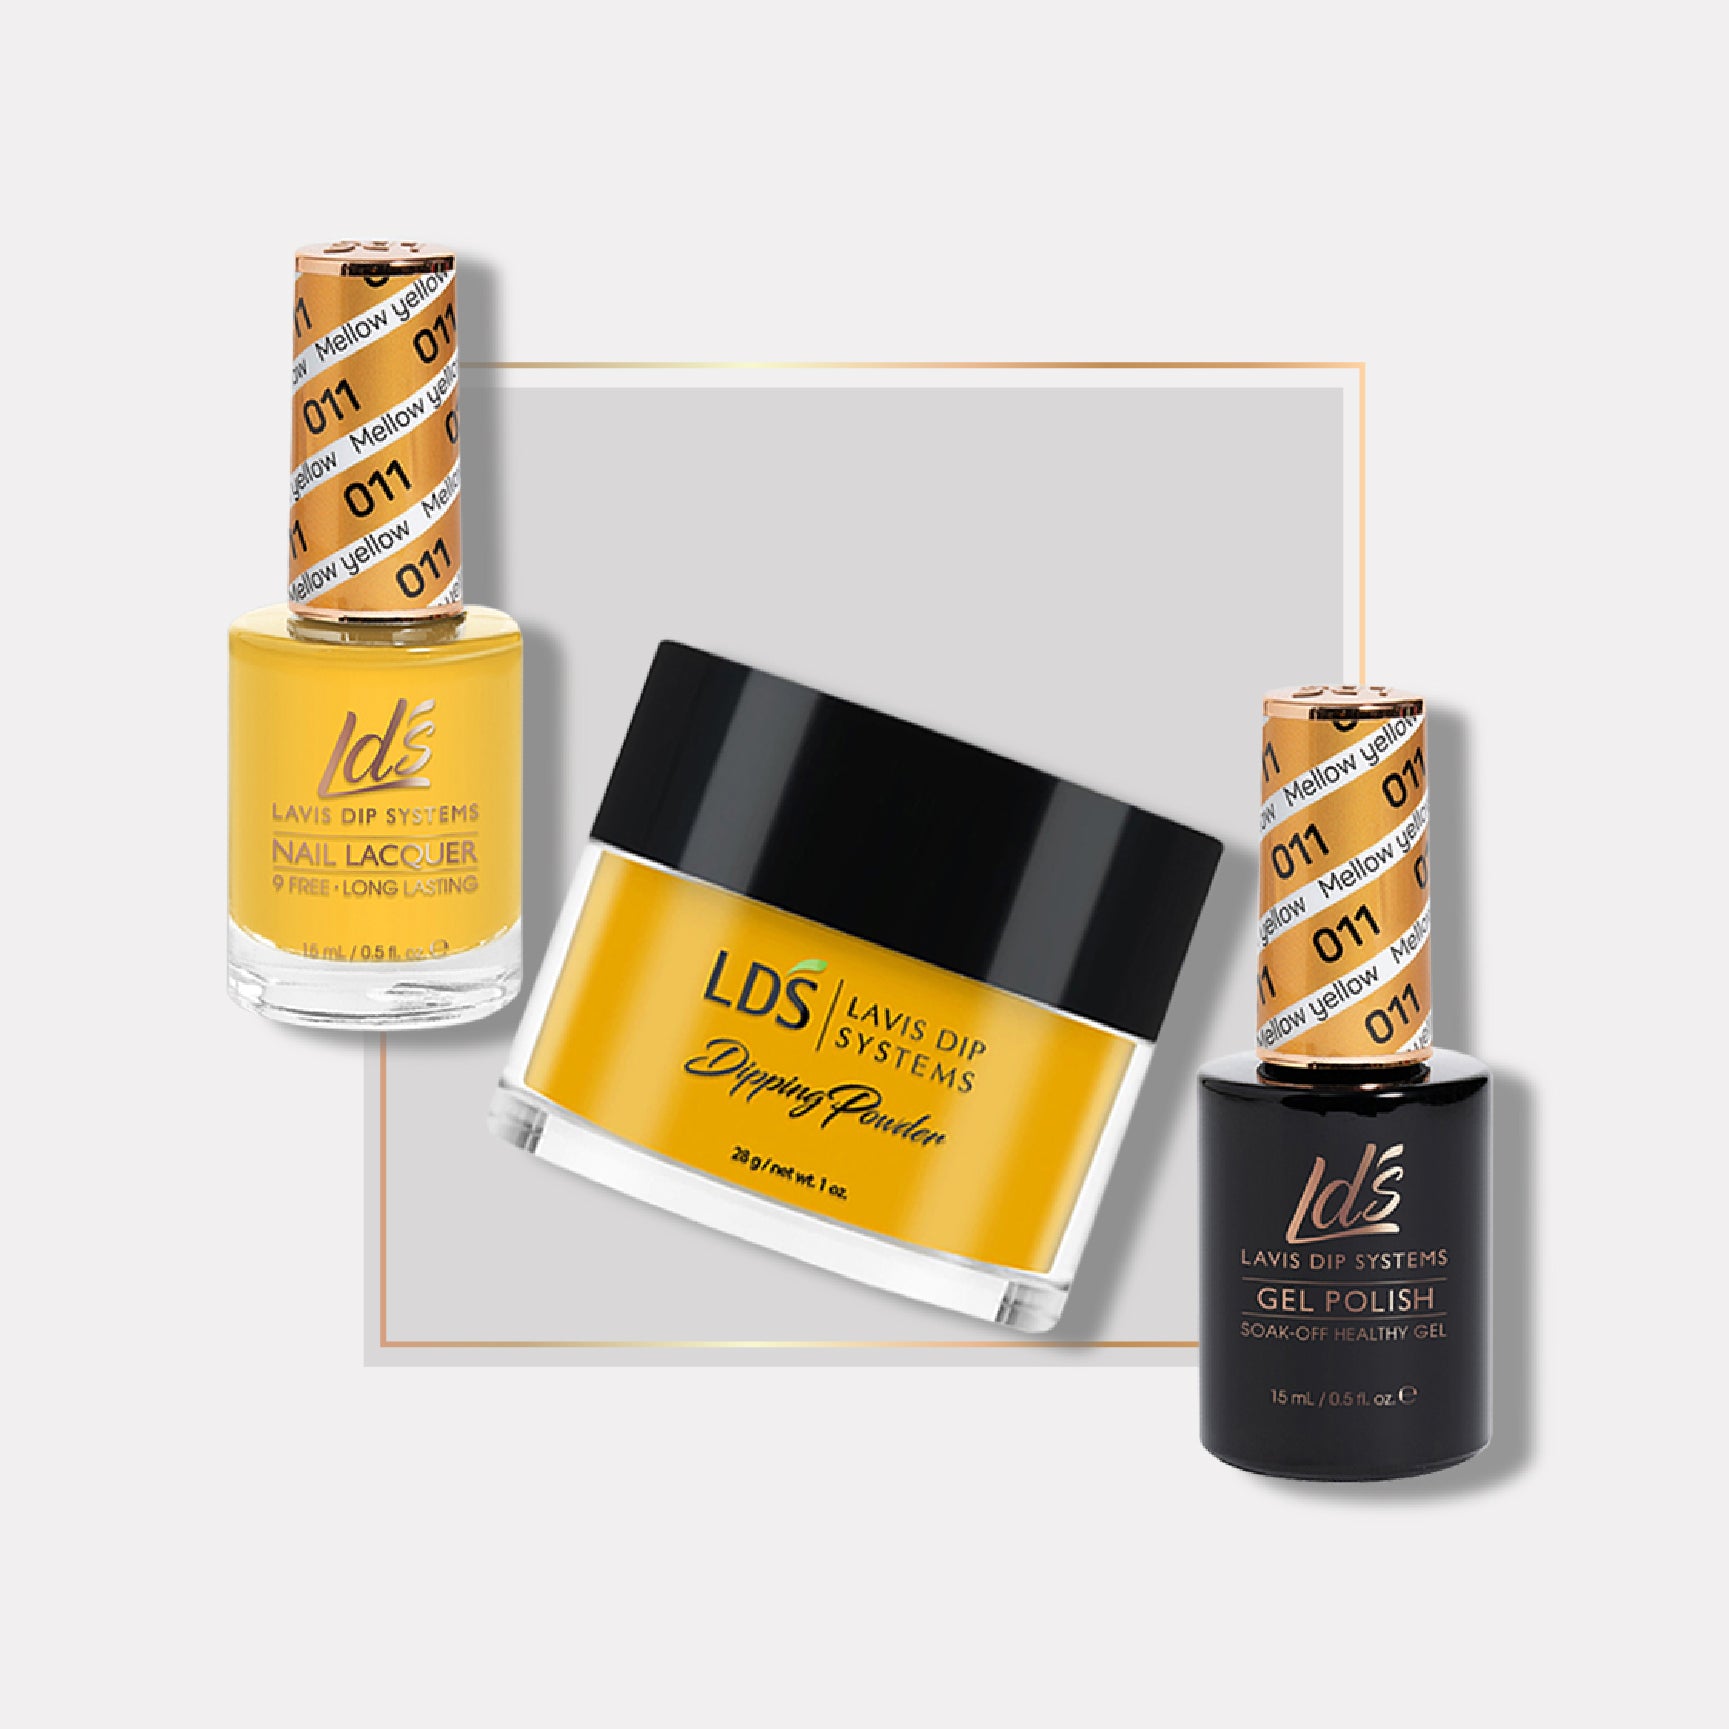
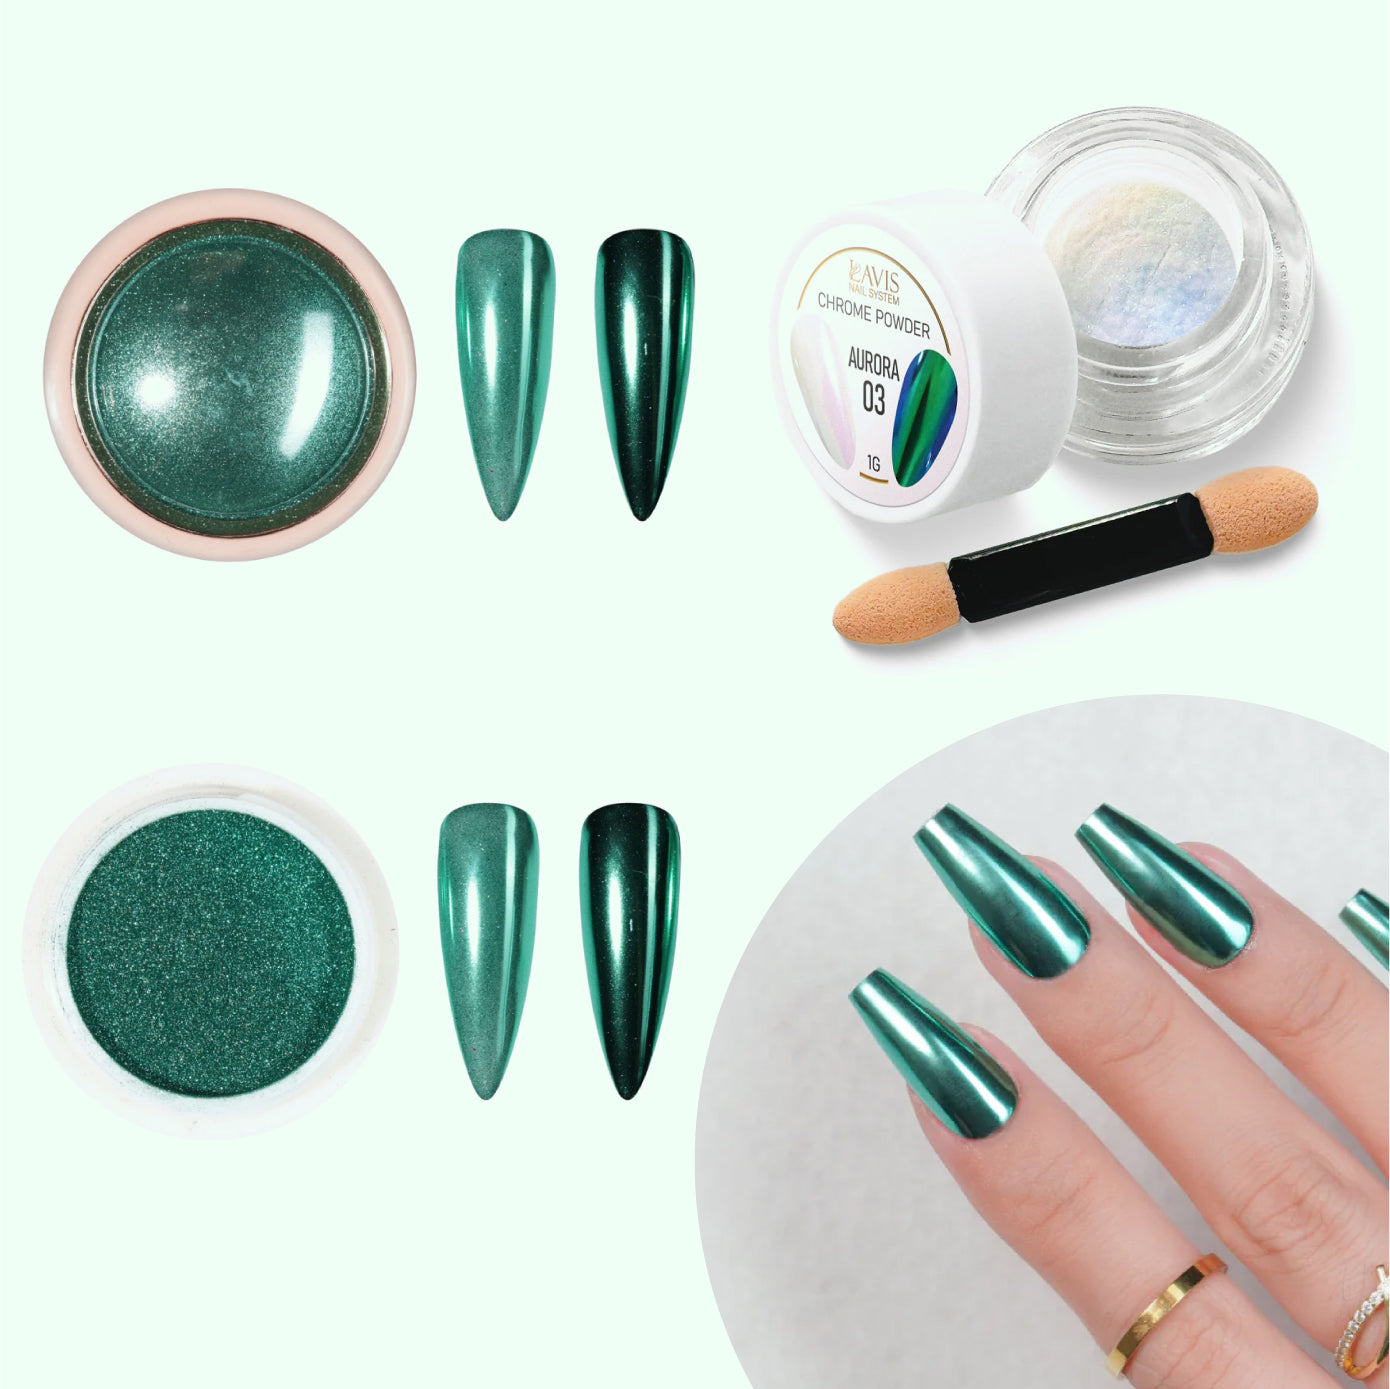
Chrome Powder

Assorted chrome colors for an iridescent finish on mermaid or mother-of-pearl nails.
Nail Lamp

The essential tool for drying gel polish, builder gel, and gem gel sealer.
Gem Sealer

Make sure rhinestones, nail charms, and pearls stay put with this gel adhesive.
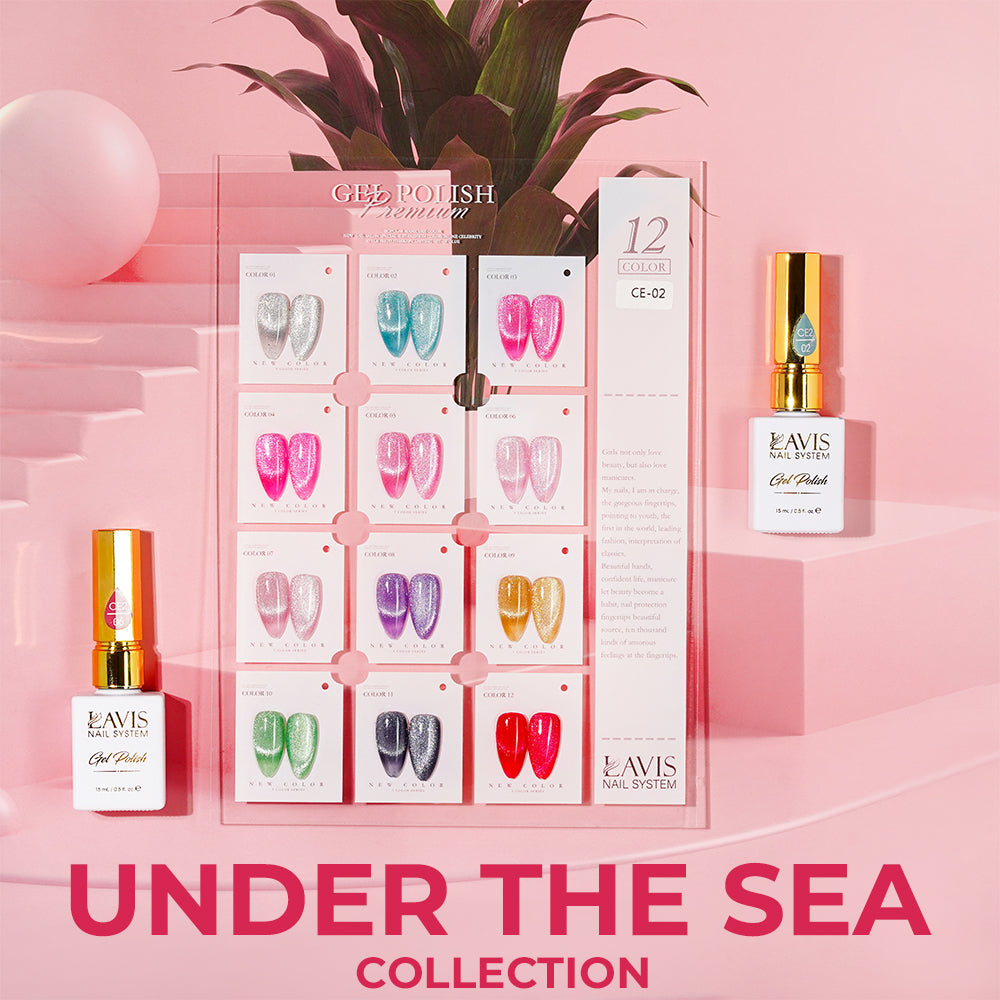
Lavis Cat Eyes Gel Polish under the Sea Collection

Dreamy shades with the shimmery, reflective look of the cat's eye. This magnetic gel polish makes for magical manicures. Moreover, it looks new for weeks but soaks off in minutes.
DND DC Mermaid Collection

Bold colors with mirror powder for a soft sparkle.
Builder Gel OR Acrylics

The ultimate ingredients for textured 3D seashell nails.
How to Do Seashell Nails
Before you do seashell nails, find an image to use as a reference. A visual representation of your desired outcome can help you achieve your goal.
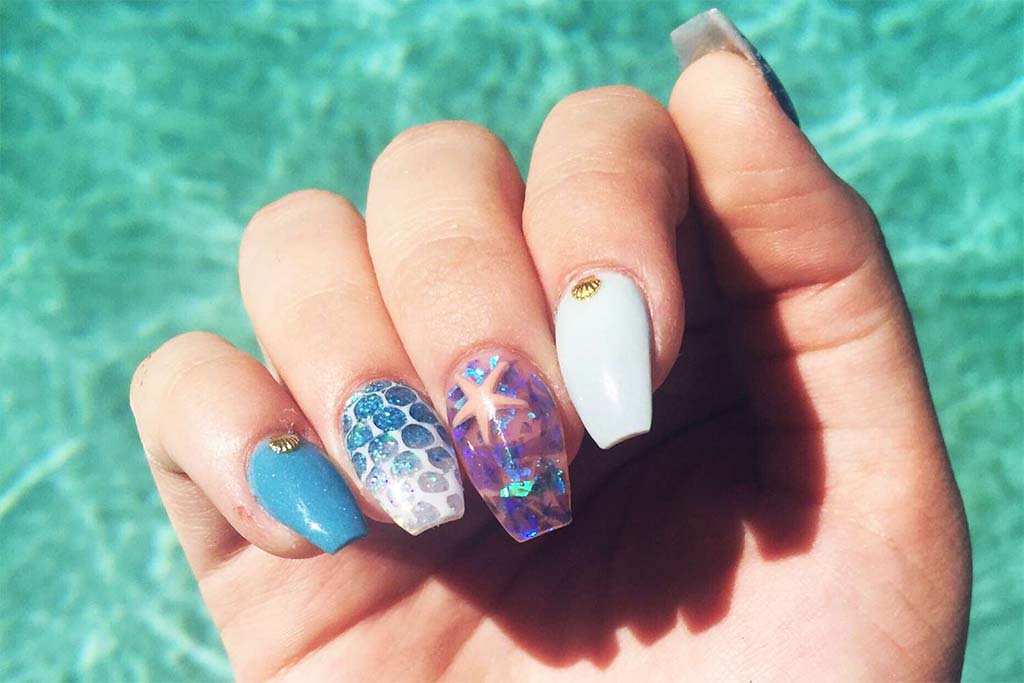
Here's one example of seashell nails:

This design is straightforward and can be done with gel polish only.
Begin by prepping the nails. Be sure to push back the cuticles and lightly buff the nail plate to remove the shine. Cleanse debris and oil, then apply a base coat and cure it.
Decide upon a color scheme for the shells. A popular choice is off-white and beige for a realistic look. You may prefer white on white or rosy pink.
Brush on the base color and cure it. Then use a thin nail art brush to draw lines across the nails from the cuticles to the tips. Don't fret if they aren't perfectly straight because you can neaten them up later. For the best results, flare each line as it reaches the tip. (Depending on the brush size, you can probably fit 5 or 6 lines.)
Cure that layer and repeat to build up the texture as much as you like. After the last layer is cured, you can gently straighten the lines with a fine-grit nail file. Then apply a top coat to protect your hard work.
Those are the basics for doing seashell nails. Now, let’s take them to the next level.
For instance, you can use a matte top coat instead of a glossy finish for a sophisticated and realistic look. Alternatively, you can use chrome powder or a shimmery polish as the base color for a subtle sparkle.
You might even love an iridescent finish over the entire nail accompanied by rhinestones or pearls. Go ahead and get creative because nail art is fun!
The Easiest Way to Do Seashell Nails
Instead of replicating the outside of the seashell, it’s easier to copy the inside. The elegant, pearlescent finish inside a shell is simple to mimic with polish and chrome powder. After you apply and cure the base coat and colored polish, use the sponge applicator and the chrome powder to shine up the surface. Then seal everything with a glossy top coat.
And if you want an effortless manicure, just use a lustrous polish like OPI’s Kyoto Pearl. It has a lovely iridescent shimmer like abalone.
How to Do 3D Seashell Nails
If you’ve ever searched for a mermaid manicure, you’ve seen seashell nails like these:
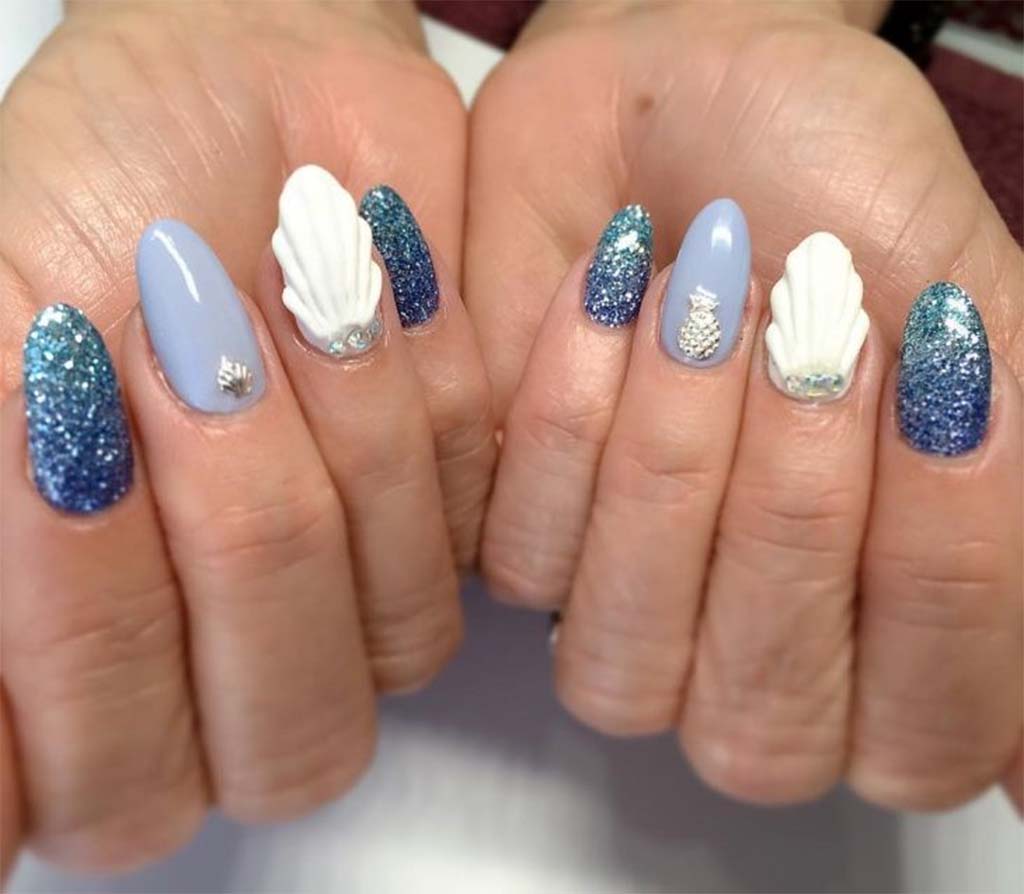
How do they get that perfect seashell texture?
In this case, the artist used acrylic powder. In other situations where the shell looks translucent, it might be builder gel. Either way, those methods are tricky if you’ve never worked with the tools before. Furthermore, each one uses a different technique to shape nail art.
If you're interested in trying acrylics or hard gel, many tutorials can help you get started.
Another option is to look for press-on nails shaped like seashells. Most can be painted, so you can customize them before you apply them. What’s more, you can add charms and stones with nail glue or gem gel.
Lastly, we’ve seen artists use crushed seashells or actual tiny shells to decorate nails. Talk about realism!
Conclusion
What type of seashell nails are you going to try first? Will you brush on a pearly polish or glam up your nails with genuine pearls? The matter what, we bet you’ll make the mermaids jealous!
Get the most from our deals to stock up on all the supplies you need today. Remember, we offer complimentary gifts on orders over $35, plus free delivery for shipments over $100!