Are you looking to add a fun twist to your nail art? Thanks to Kesha, Kylie Jenner, and Demi Lovato, dip nails are trending. Moreover, there's not just one style to copy – there are many ways to achieve this look at home. All you need are a few basic supplies and a little imagination. Let’s talk about how to do a drip effect on nails.
Supplies Needed to Create a Drip Effect on Nails
There are all sorts of drip nail designs to choose from. Some look like dripping blood, and others like melting ice cream. We also love to see chrome drip nails.
All you need to do to get started is picture the effect you want to create. Then round up necessary supplies like manicure tools plus the following:
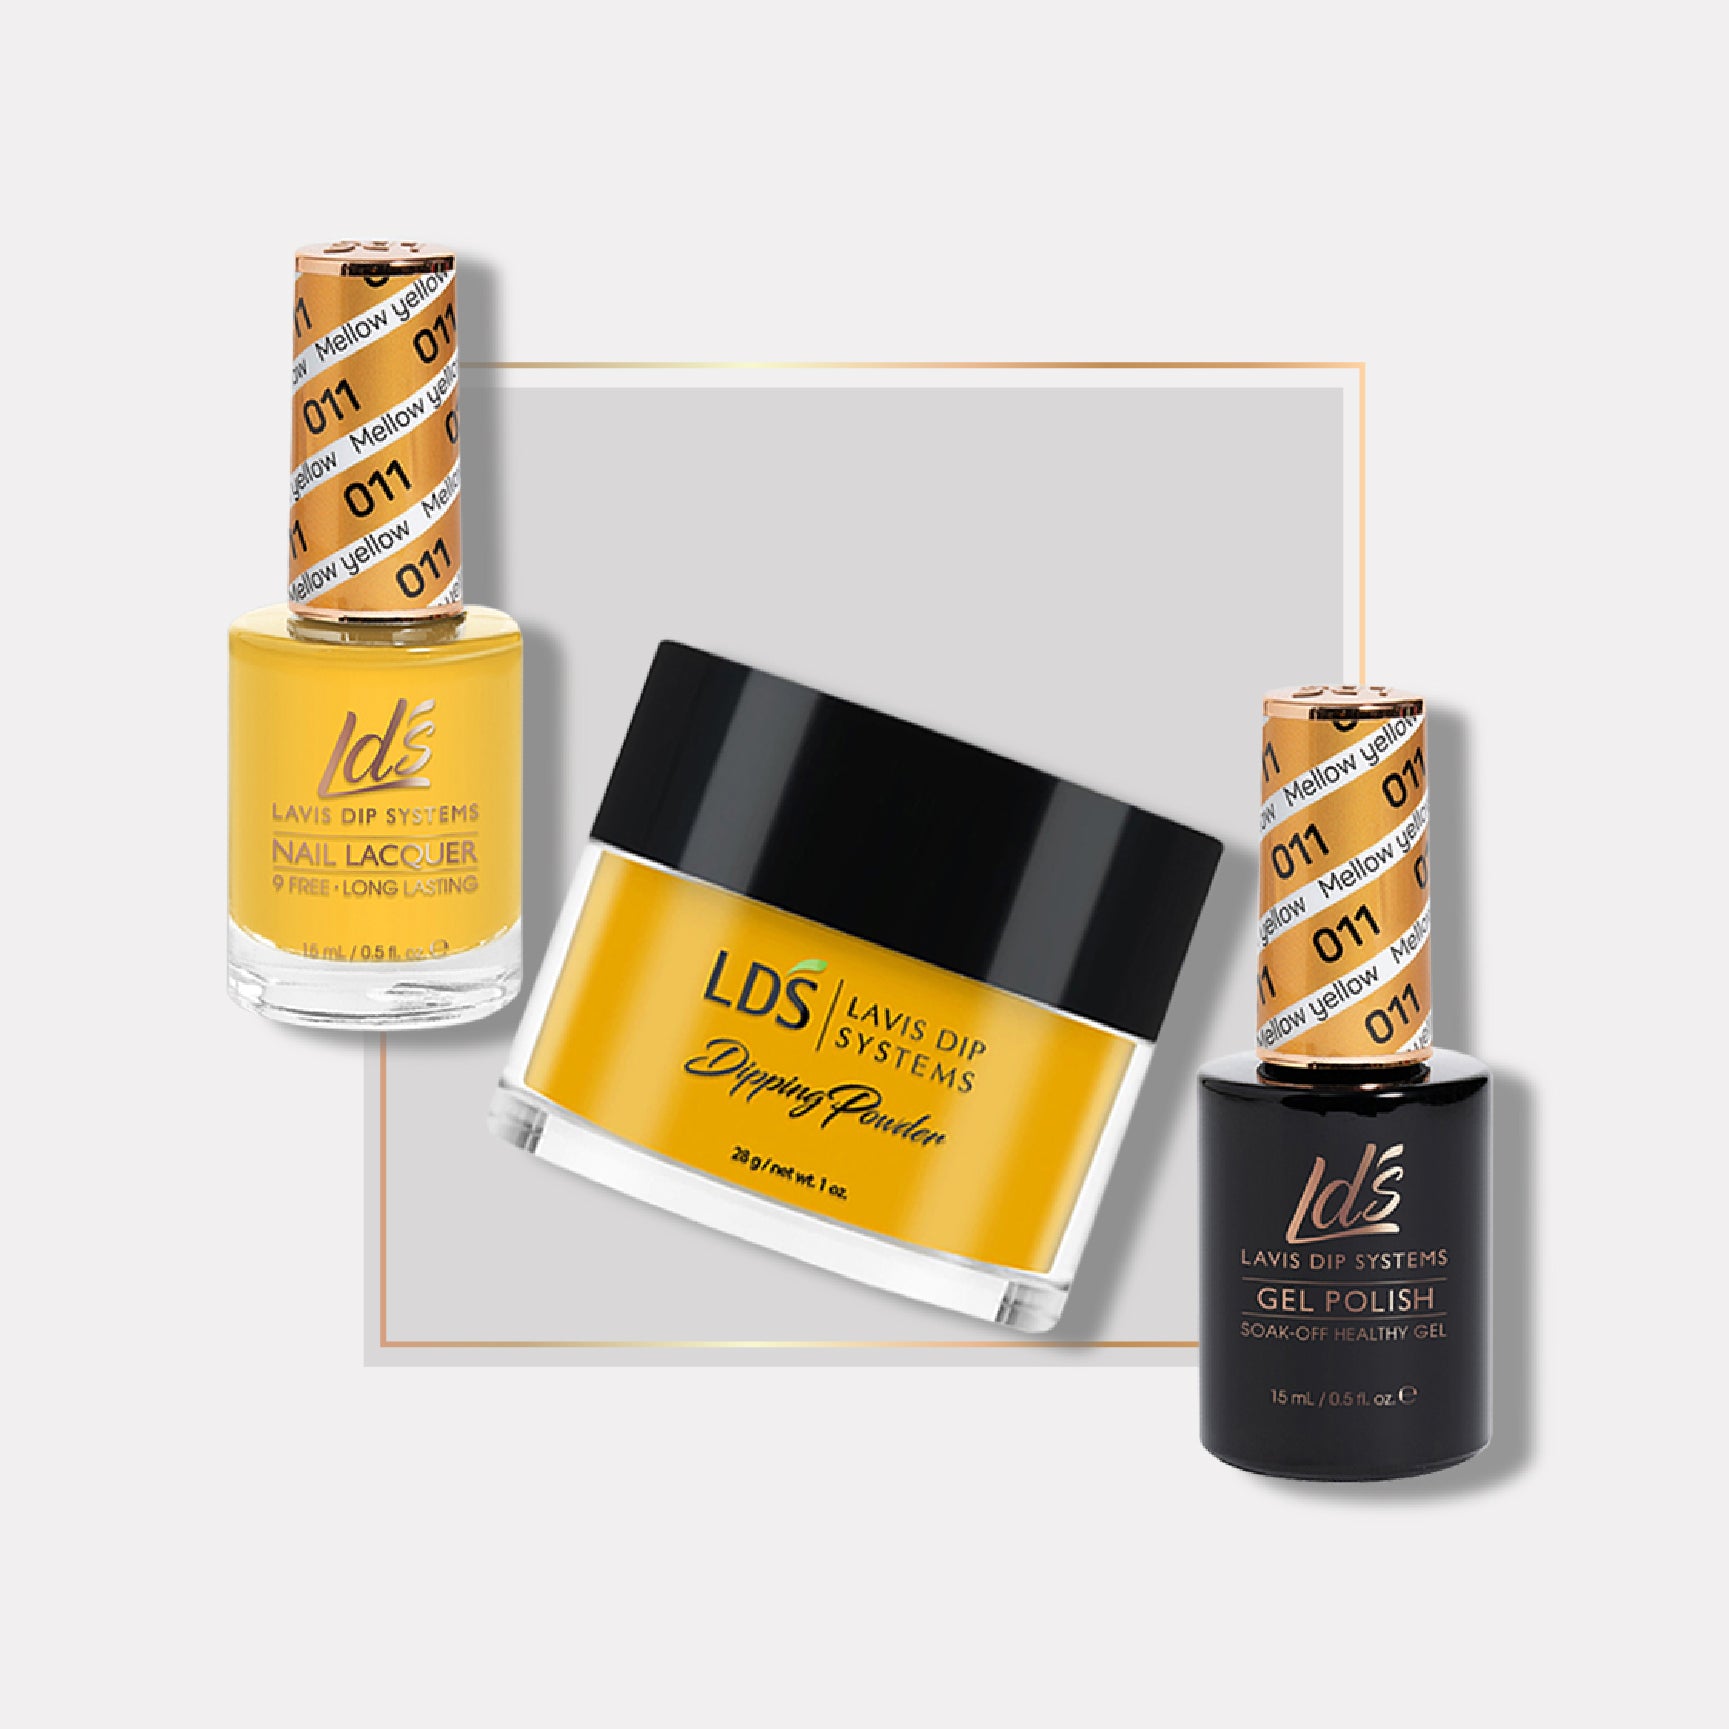
- At least two shades of nail polish, whether nail lacquer or gels
- A thin nail art brush or
- Dotting pen or toothpick or
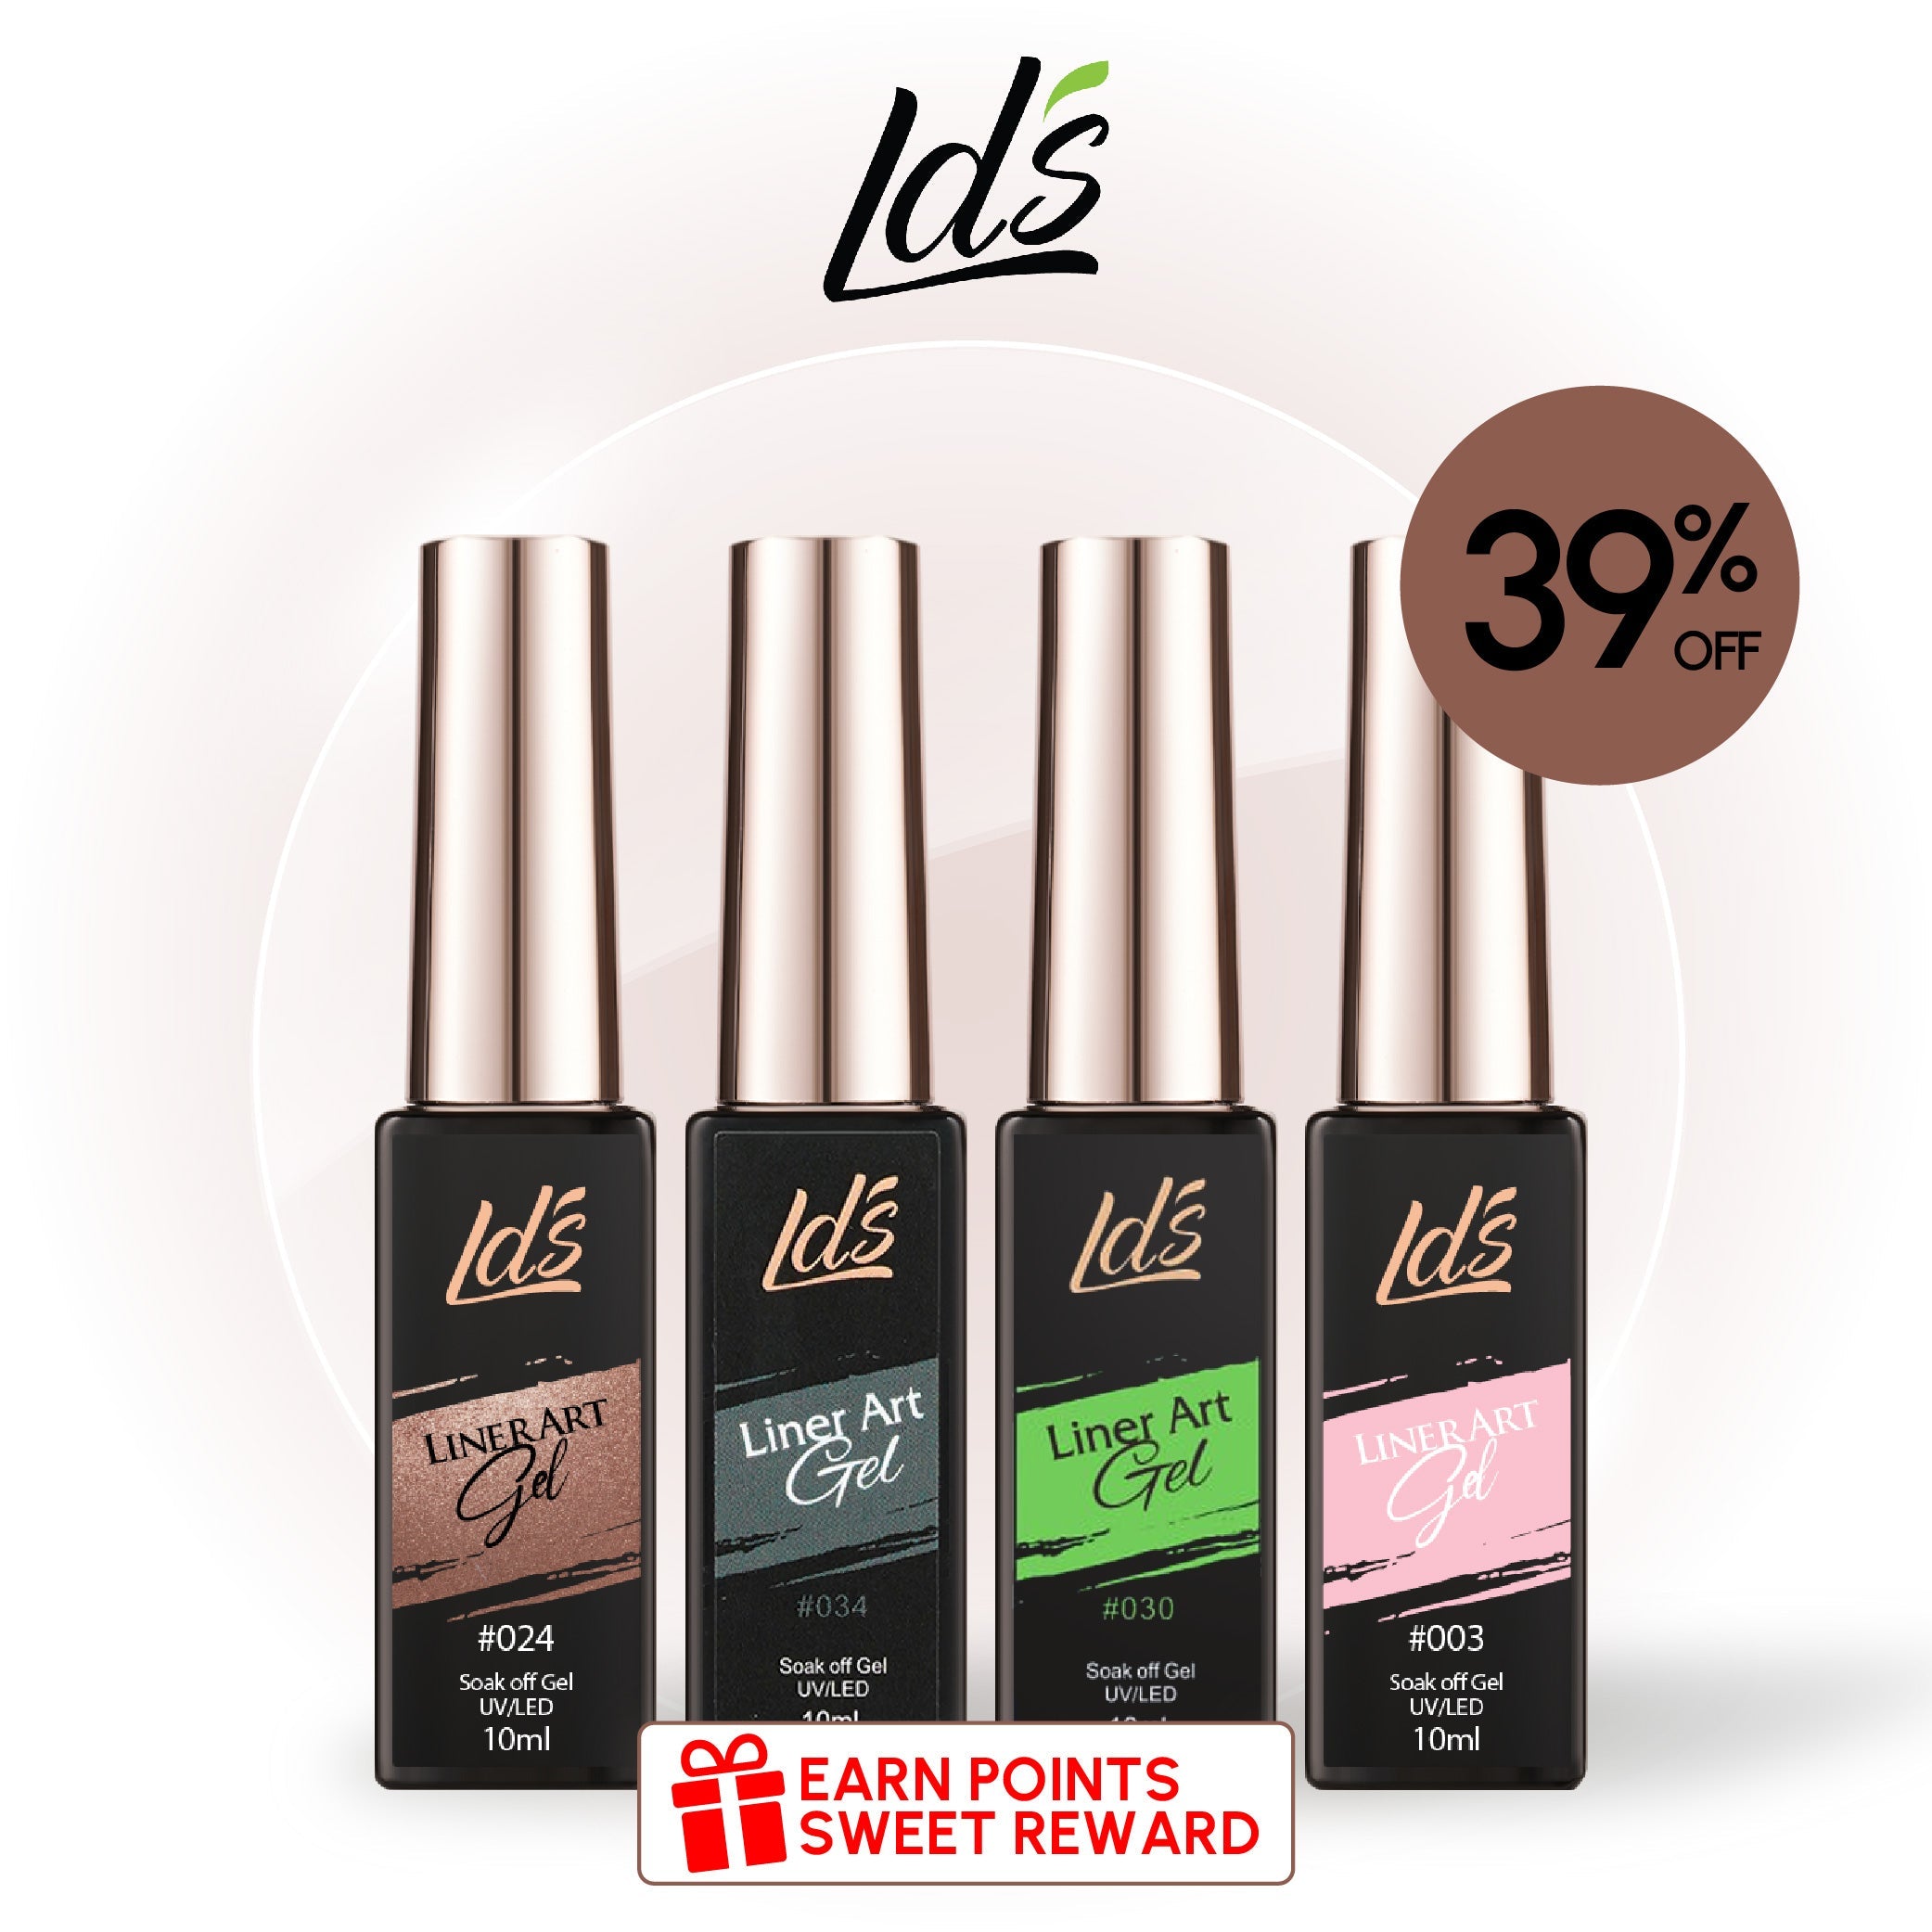
- Line art gels like the one below
LDS - 31 - Line Art Gel Nails Polish Nail Art

Yes, it's almost the color of dried blood, perfect for spine-tingling drip nails on Halloween. It's not the color but the brush and the consistency that matters. Line art gels like this polish come with an ultra-thin brush for doing details like drips on nails. What's more, the richly pigmented formula won't shrink when cured, and it lasts for 3 weeks or more. Although it's a professional product, it's easy for beginners. All you need is a nail lamp to dry it.
Depending on your method, you may also want to grab a nail stamp, a nail polish palette or other non-stick surface, and nail tape.
Once everything is ready, prep your nails by trimming, shaping, and buffing. Then let's make them drip!
5 Ways to Do a Drip Effect on Nails
Let’s start with the most straightforward way to do drips on nails. It's simply freehanding them.
Draw the Drips by Hand

The most popular technique to create a drip effect on nails is using a dotting pen, thin brush, or toothpick. Begin by painting your nails with a base color of your choice. If you want the drips to really stand out and look wet, use a matte base in a shade that contrasts with the color of the drops.
Once the base is dry, dip the dotting pen into the drip color and place a few dots on the nail. Drag the polish toward the cuticle or tip, depending on your preference. Taper the lines to make the drips look realistic. Then, fill in the dots and connect them with curved lines if desired. Finish with a glossy top coat to make the drops glisten.
We suggest gel polish if you're worried about how the drips will look. It won't dry until cured in a nail lamp, so it's easy to wipe off the design and try again.
Use Nail Tape to Shape Drips

Using nail tape is an excellent alternative for those who prefer a mess-free approach. Cut the shapes of the drips into nail tape and mask the nail. The only parts uncovered should be where the drops will go. Paint over the tape with the drip color and cure or dry the polish. Lastly, carefully remove the tape to reveal perfect drip shapes you didn't have to freehand.
You might get similar results with painter’s tape. Just be sure to remove adhesive residue before applying the top coat.
If the drips look ragged, you can touch them up or consider the effect a feature instead of a deficit.
DIY Drip Nail Stickers

If you're looking for an even more creative method, make drip nail stickers. Paint squares of polish on a non-stick surface and let them dry completely. Once dried, trim the polish into droplet shapes and press them onto your nails, sealing them with a top coat.
LDS Gel Nail Polish Duo - 100 Red Colors - Bloody Mary

This blood-red shade is available as both gel polish and nail lacquer. Both have a glossy finish that's ideal for drip nails. Use them to make nail stickers for drip nails.
The gel polish is odorless, flexible, and resistant to wrinkling. It cures in 60 seconds with a nail lamp and lasts up to 14 days.
Meanwhile, the nail lacquer is cruelty-free and vegan. Not only that, but it’s also 9-free, avoiding harsh chemicals like formaldehyde, phthalates, and petrochemical solvents. It lasts up to 7 days.
Use a Nail Stamp

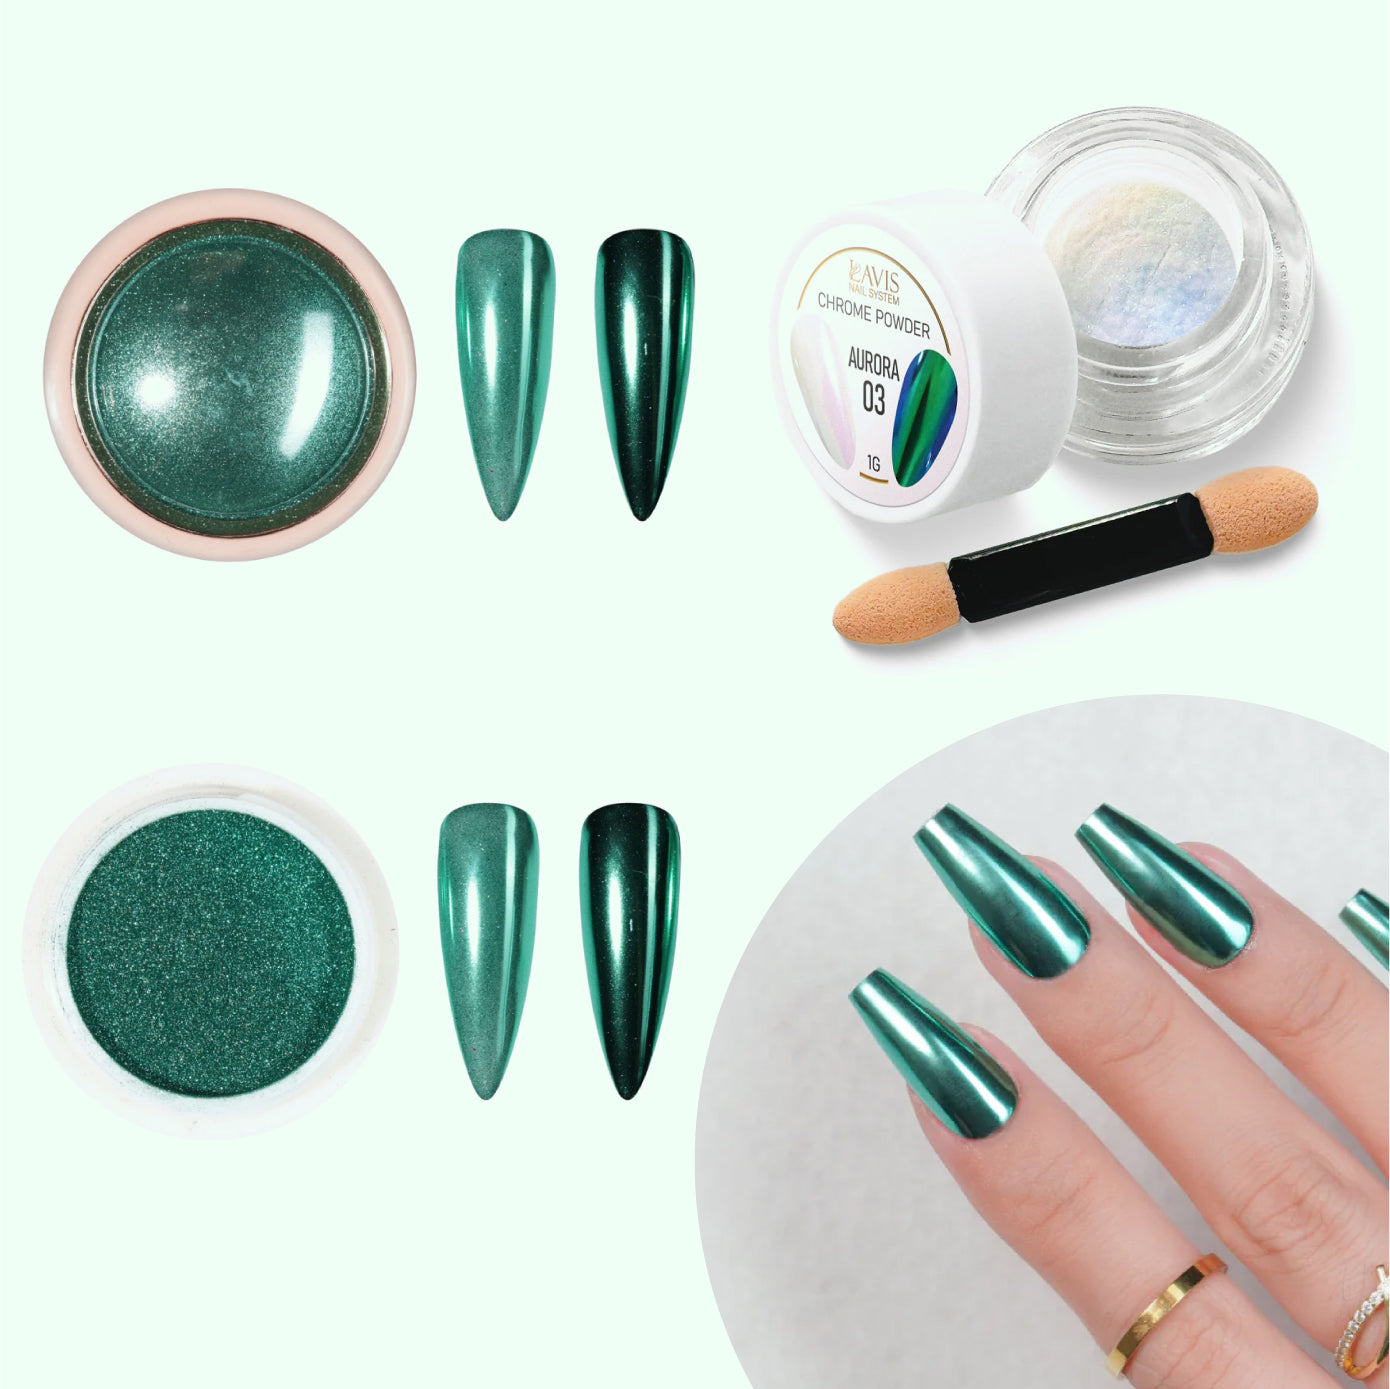
Sometimes the most challenging part of drip nails is consistency with the drops' appearance. Instead, speed things up and make it easier to duplicate drips with a nail stamp. This method is compatible with glitter polish, emboss gel, and regular polish. To add some sparkle, consider using chrome powder or adding rhinestones to the design.
3D Drip Nails

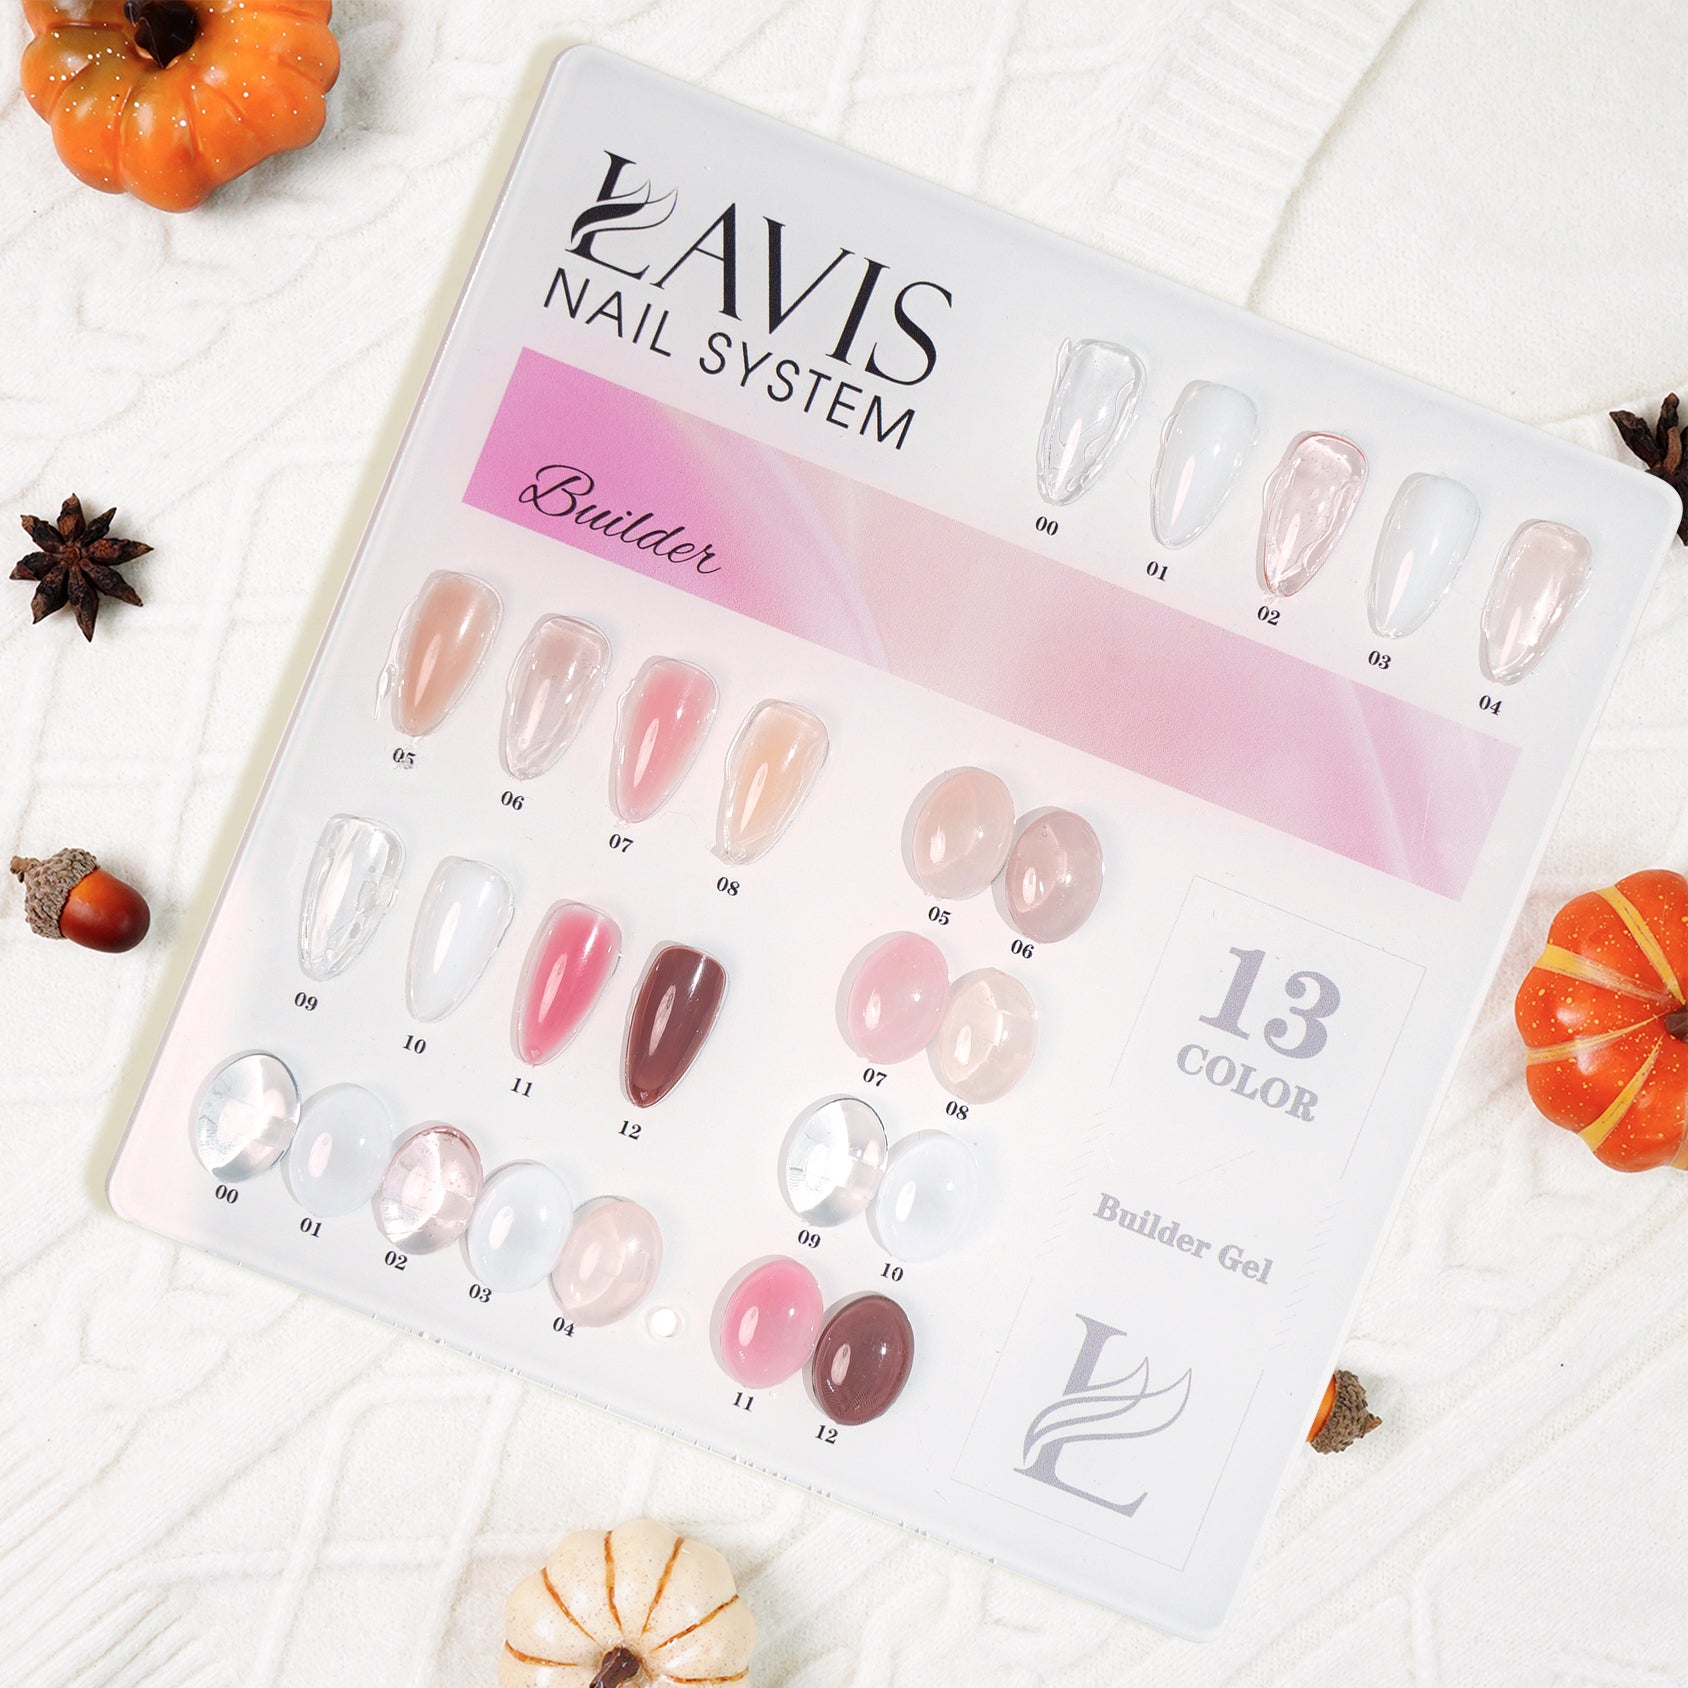
And if you want to take it a step further, create a 3D effect by using builder gel or acrylics to make your drip nails extra eye-catching. These materials require more skill to apply, but they offer unique results.
Dripping Nails Design Ideas
Red blood drip nails are a classic look, but there are many other options. Here are some of our favorite dripping nail design ideas.
Drip Nails in Contrasting Colors

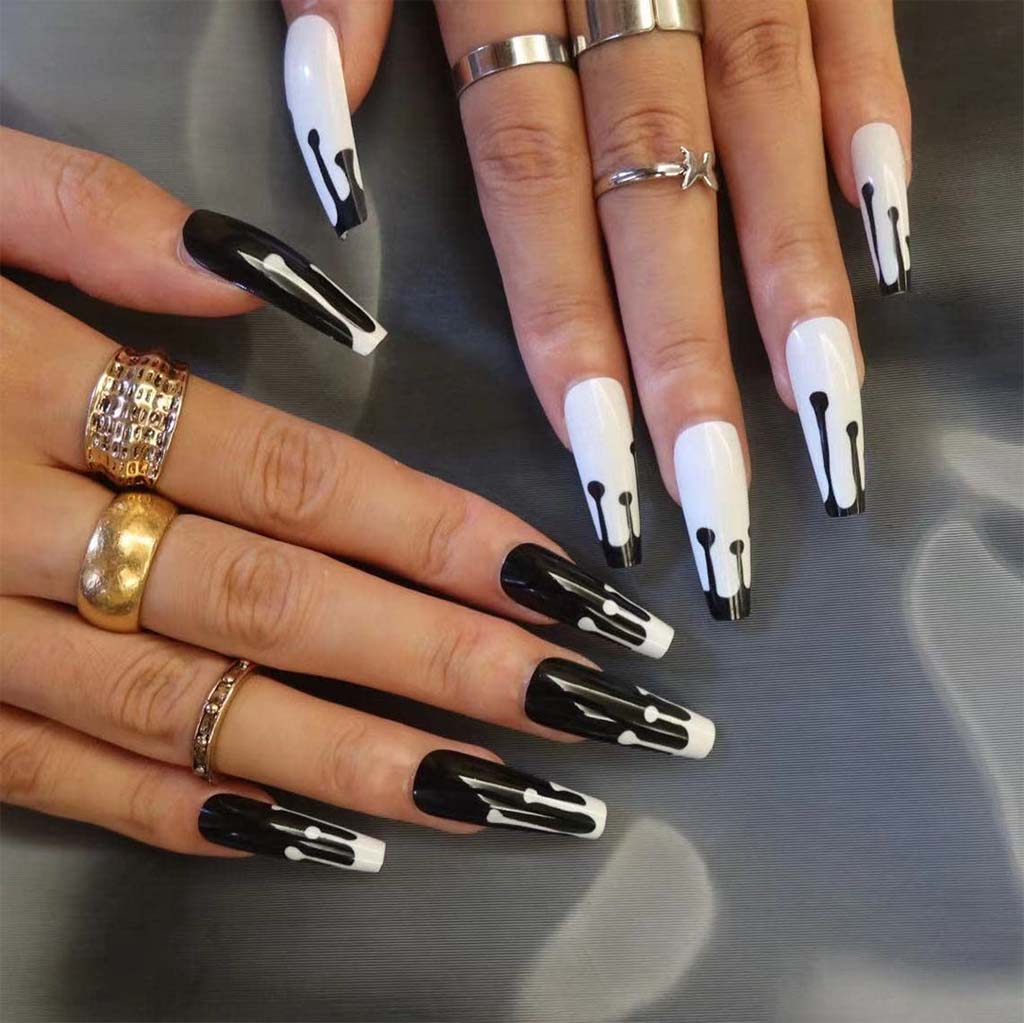
Black and white makes for a strong contrast. White also gives the drops the illusion of wetness and texture. Black can outline the droplets for a cartoonish appearance or create shadows.
Glitter Drips

Few can resist glitter dripping like this!
Cartoon Drips

A cartoonish appearance makes drip nails less macabre and more entertaining.
Ice Cream Drip Nails

This manicure could only be better if it were edible.
Conclusion
Doing a drip effect to your nails is an easy way to spice up your usual manicure. With various techniques available, experiment and find the best method for you. Go ahead, get creative, and have fun! Get the most out of our deals and stock up on all the nail art supplies you need today. We provide free shipping on orders over $100!


