Over the past decade, ombre nails have taken the beauty world by storm. These gradient beauties gleam everywhere we look, from runways to everyday street style. Their allure lies in their versatility. There are endless color combinations, so we're never short of fresh and exciting designs! Among all the color possibilities, black ombre nails are chic, timeless, and suitable for all seasons. We have ten captivating black ombre nail designs below to ignite your creativity. Stay with us; by the end, you'll even learn how to achieve this look at home.
Black Ombre Nails Ideas
French Fade

We admire the simple elegance of these French tips with a gradient fade. It’s a sophisticated manicure, especially with a matte finish. Plus, this is a look that you can definitely do at home. To elongate short nails, start with a very thin line of black at the tips and blend with a gradient brush or sponge toward the center, but stop before reaching the middle. Try using distinct vertical lines side by side to provide the illusion of length.
LAVIS Gel Polish Super Black

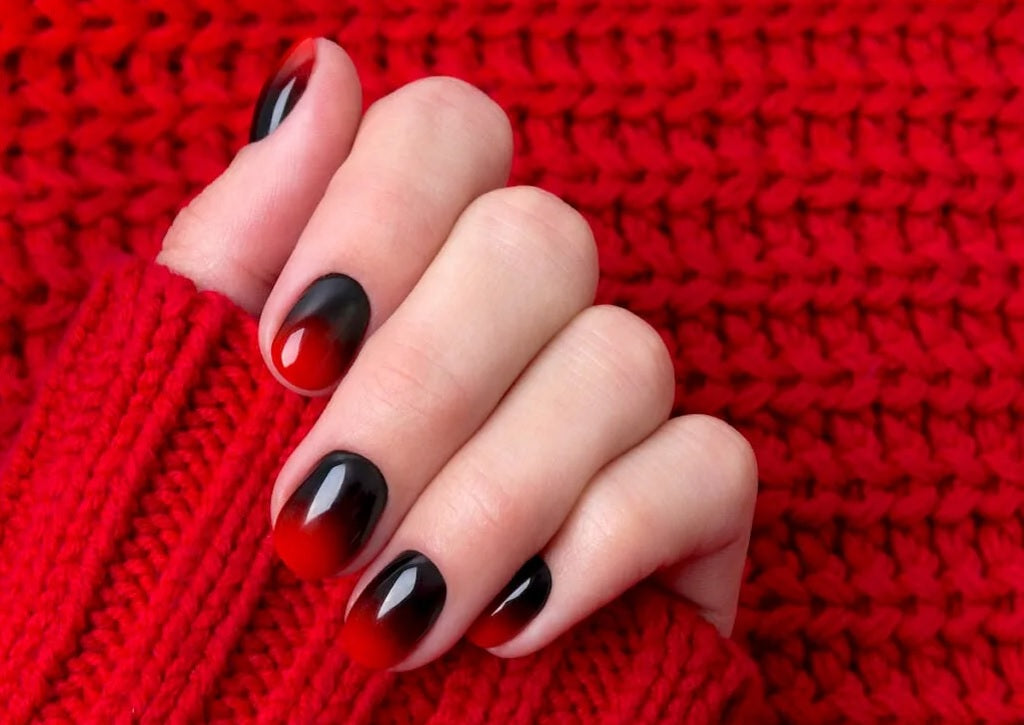
Reverse Black and Red Ombre

Passionate red meets inky black in a reverse gradient where the dark part starts at the cuticle. The textured ring finger is a nice touch for extra visual interest.
Purple Skittles

These pointy nails have a mysterious purple Skittle in the center. The design reminds us of a velvety twilight sky.
Velvet Ombre

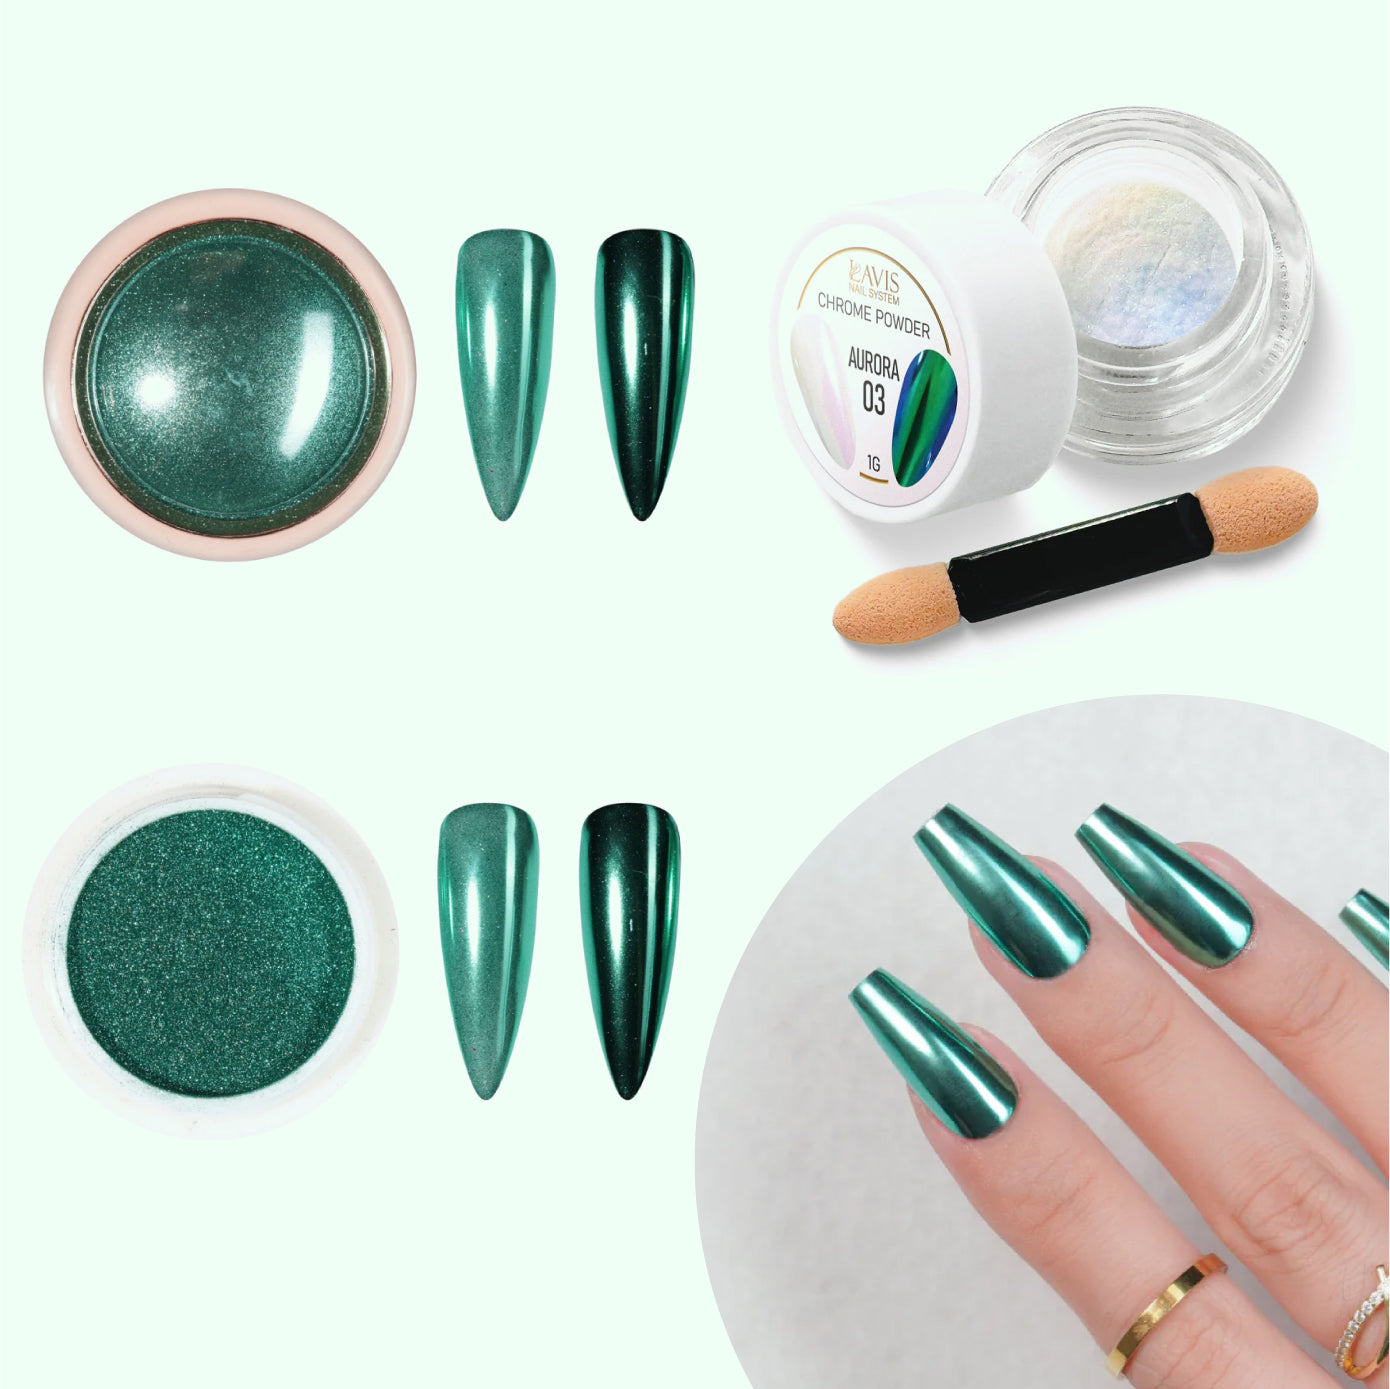
Nail art is magic. We love how the velvety teal transitions to the black tips, leaving them with a hint of sparkle. This look can be accomplished with cat eye polish.
Vertical Ombre

This optical illusion fools the eyes with delightful contrasts. If you’d like to try it, practice copying the central part with the vertical transition between white and black./p>
Black Cat Eye Vertical Ombre

Since magnetic polish is naturally two-toned, it doesn't require a second color to do ombre nails. You only need a magnet to manipulate the shiny particles. Therefore, doing a gradient is straightforward as long as you have the patience to push and pull the glitter into the right place.
Cat eye polish is a gel, so it won't dry until you cure it. You'll have all the time you need to perfect the design. However, set it before working on the French tips because the particles will move unless the polish is set.
LAVIS Cat Eyes CE7 - 12 - Gel Polish - VILLIAIN ERA Collection

Black Holographic Chrome

Make the darkness glisten with iridescence! Put an ombre rainbow on your black nails for a playful twist! Laser holographic powder makes it easy to do.
Aurora Galaxy Chrome - BLACK

Golden & Silver Laser Chrome Powder - BJ165 + BJ175

Non-Traditional Ombre Nails for Halloween

From a delicate lavender base, the nails transition to a deep black on the tips. But the true charm comes from the Halloween-inspired accents. The unmistakable shapes of bats and a crescent moon rise from a smoky gradient for extra credit!
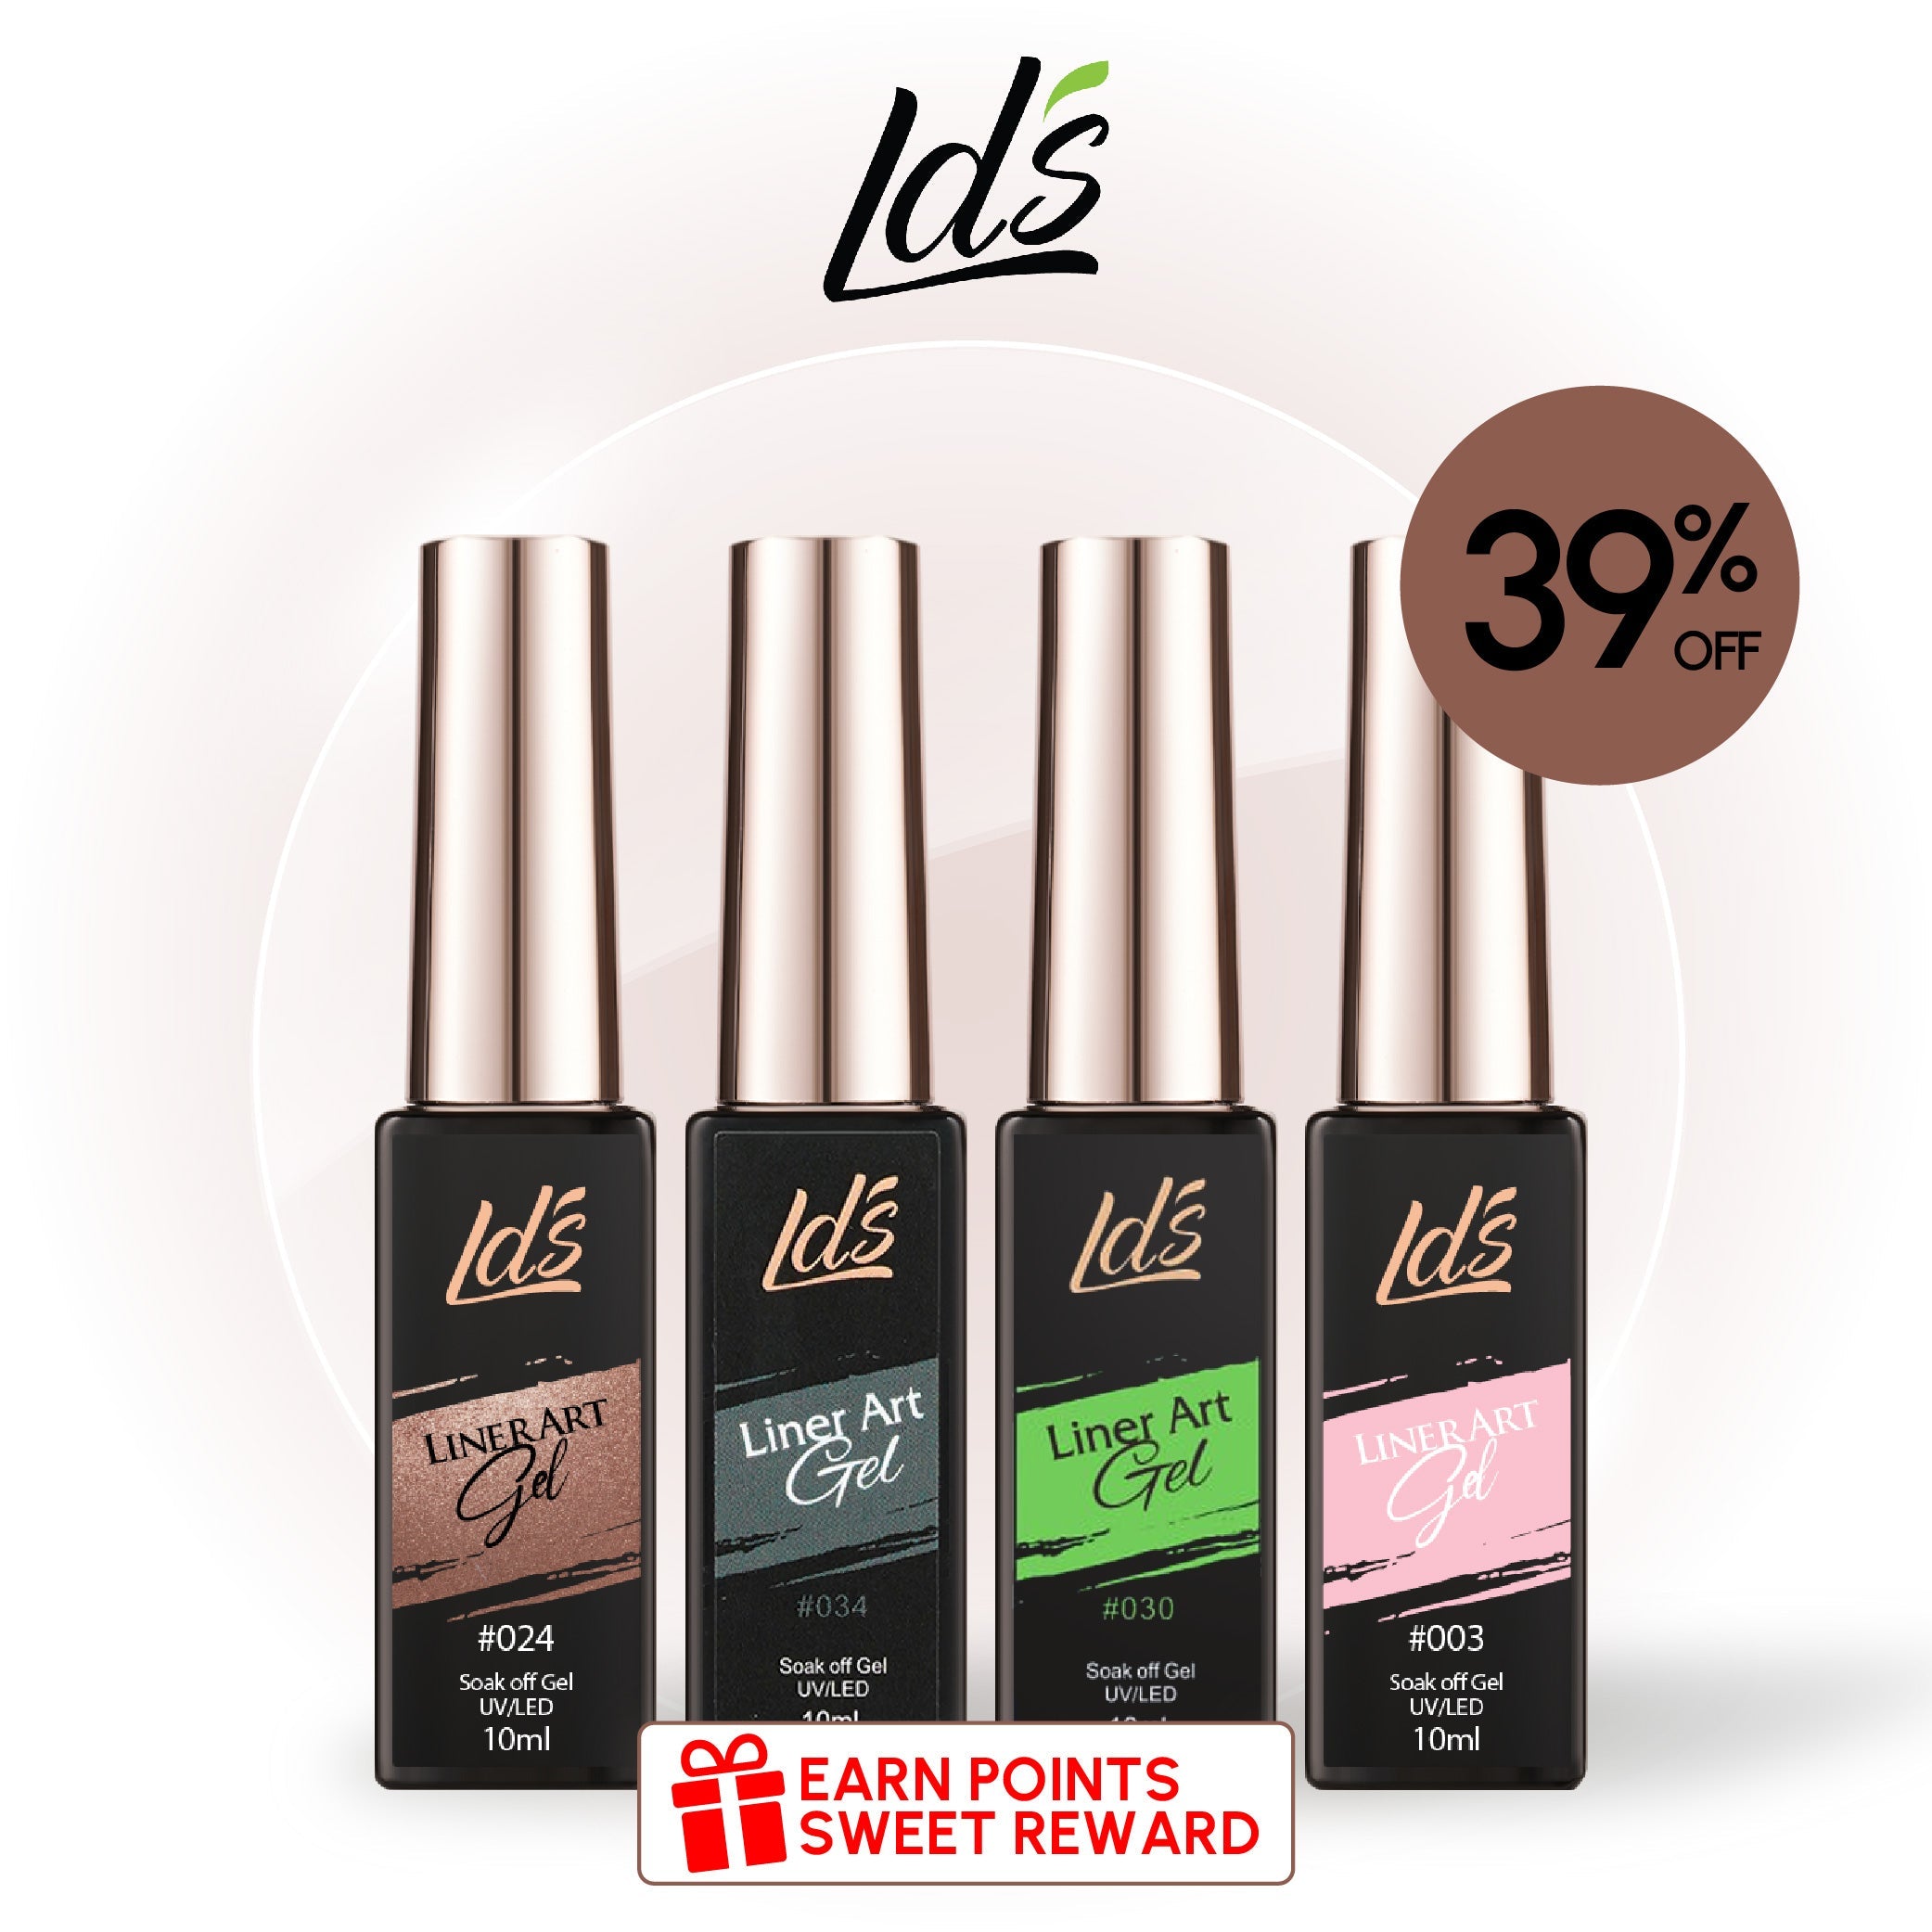
LDS - 01 (ver 2) Black - Line Art Gel Nails Polish Nail Art

Pink and Black Ombre

If you’re not ready to leave Barbie behind, we understand. Keep hot pink alive and well on your fingertips! She’d surely appreciate the classy diamonds on the ring finger.
Geometric Ombre

This unusual black ombre design shows that there are no limits to creativity. We hear the geometric pattern that shifts from dark tips to a white base using little squares. You can accomplish a similar style using nail tape or a stencil for straight lines.
How to Do Black Ombre Nails
The first step to do black ombre nails is to choose a color to pair with black. Since black goes with everything, you can use literally any shade you like!
Other needed supplies:
- A gradient nail art brush or makeup sponge
- A base coat and a clear top coat
- Manicure tools like polish remover, a nail file, a cuticle pusher, and a buffer block
Step-by-Step Guide to Black Ombre Nails
- Start by cleaning and shaping your nails. Trim, file, and buff your nails gently to erase the shine. Push back the cuticles. Then, make sure your nails are clean and dry by wiping them with a lint-free nail wipe and alcohol or acetone. Skip the cotton pads as they leave fuzzies behind.
- Apply the base coat. This will protect the natural nails against staining and provide excellent adhesion for the polish.
- Now, brush on the lighter color as the base shade. Allow the lacquer to dry or cure the gel polish thoroughly before moving on. You may need two coats.
- Paint a thin line of black polish where you want the darkest part. This might be at the tip, the cuticle, or along a side. Then, use the gradient brush or sponge to extend the black polish toward the other side of the nail. Be sparing, as you can always add more.
- If you've used too much black, let that nail dry. Then, apply a thin line of the lighter shade along the opposite edge from where you started with the black. Mix the light color back into the black.
- Try a dabbing or tapping motion to achieve a flawless gradient between the shades.
- Finish with one or two layers of a top coat. Brush the edge of the nail with it to guard against chipping.
Instead of straightforward blending, try using individual lines or shapes of different intensities to make the shift from dark to light.
Ombre nails take patience to do right, so practice and be kind to yourself. Soon, you’ll be amazed at how beautiful they turn out!
Conclusion
Black ombre nails have a firm place in our beauty repertoire. They are elegant, mysterious, and fun! We’re pleased you stopped by today and hope you enjoy your black ombre manicure.
While you’re here, get a sneak peek at our new arrivals. What's more, our clearance section is bursting with fabulous finds for nail art lovers. Now’s the perfect time to shop because we offer free shipping on orders over $100!


