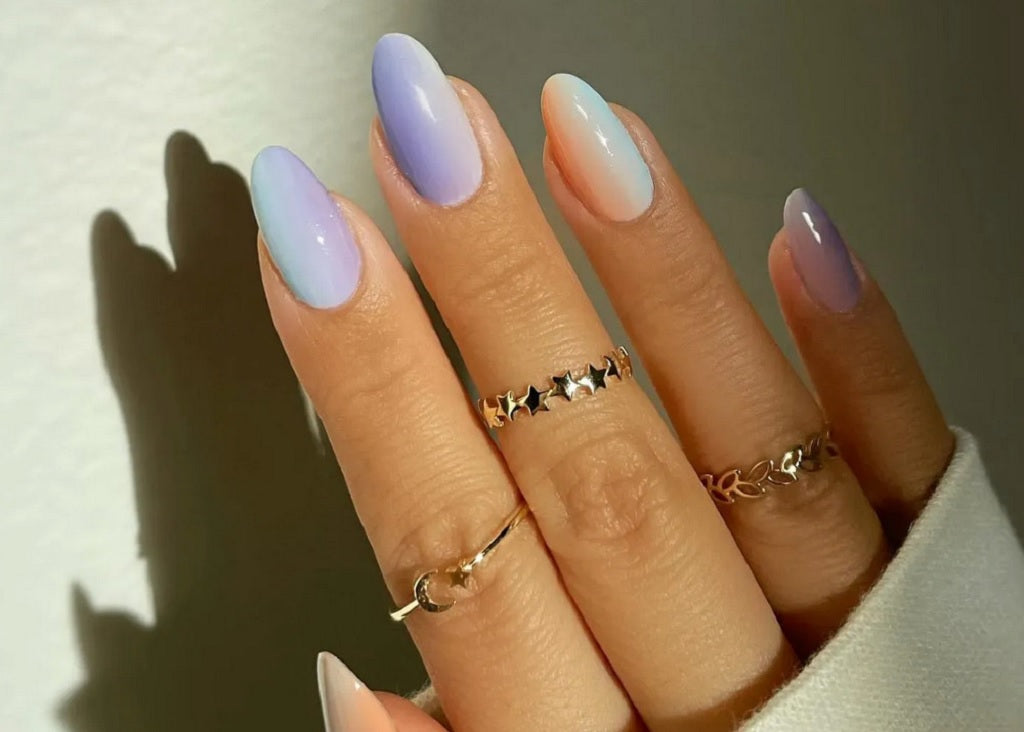
Let’s leave winter behind and leap into springtime! There are pastel hues and vibrant shades all around us as the flowers blossom and leaves unfold. In tune with the season, we’ve got the best spring ombre nail designs to enchant you. You’ll love how these stunning gradient nails give you a fresh look for spring!
Best Spring Ombre Nail Designs
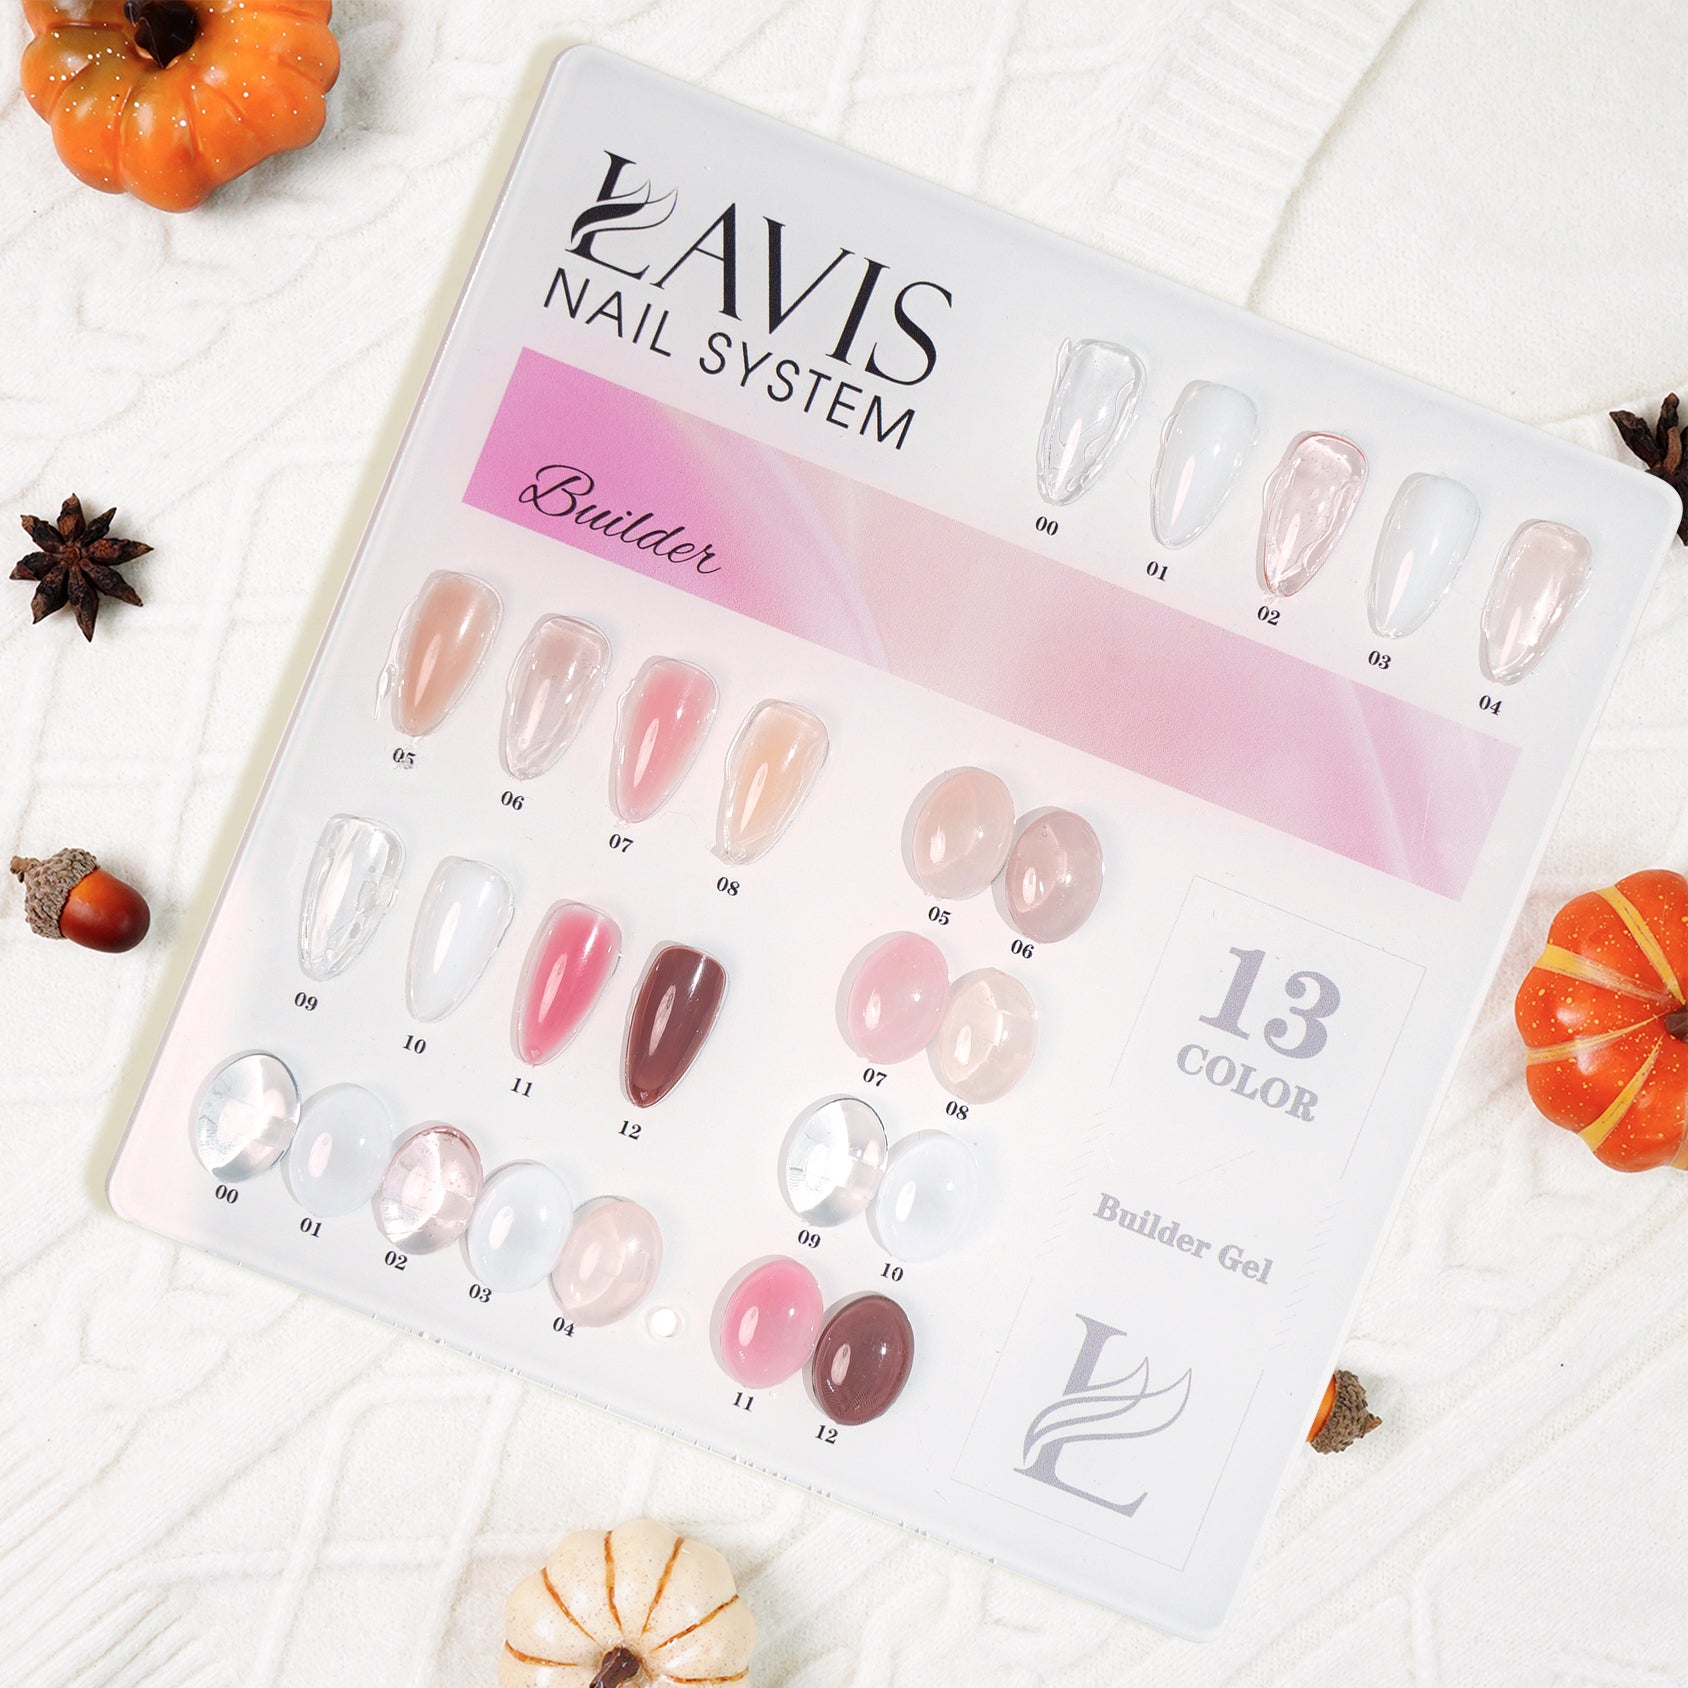
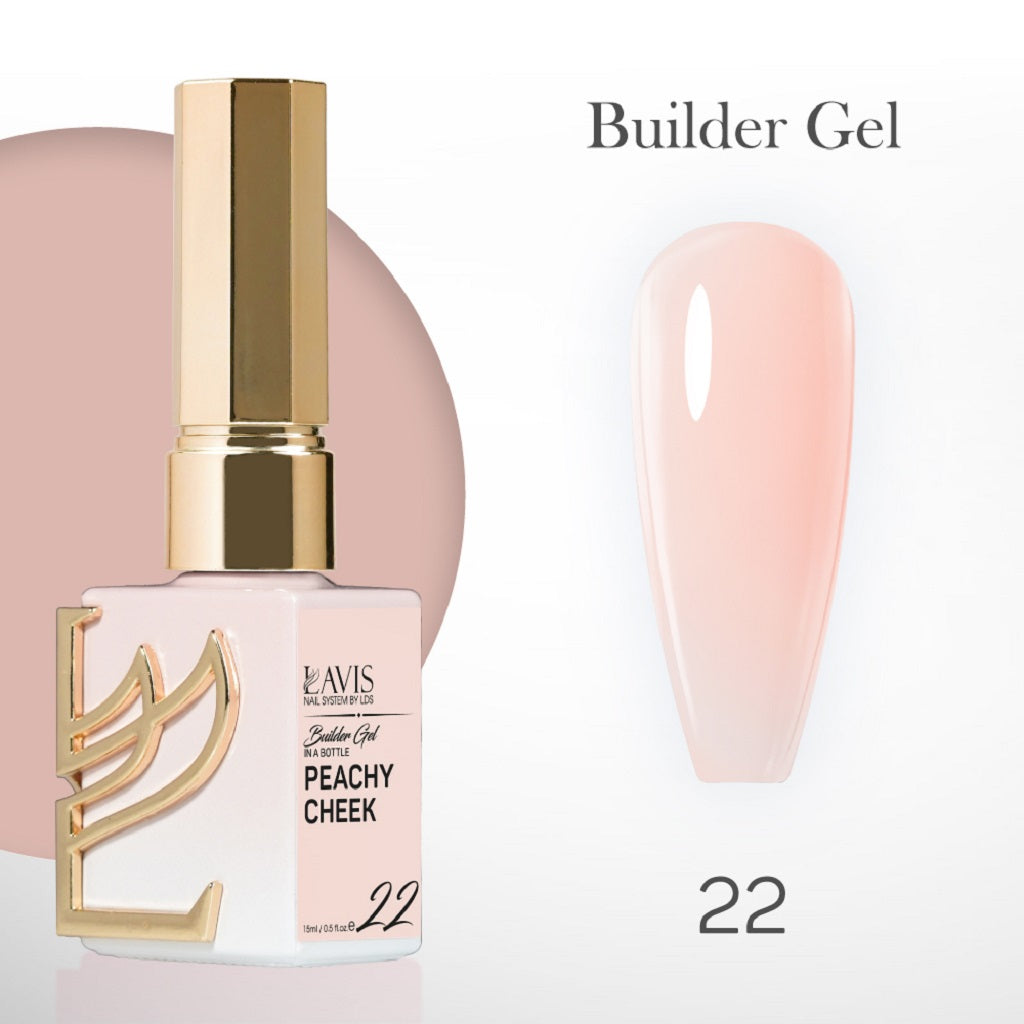
LAVIS Builder Gel In The Bottle - B22 - Gel Polish 15ml
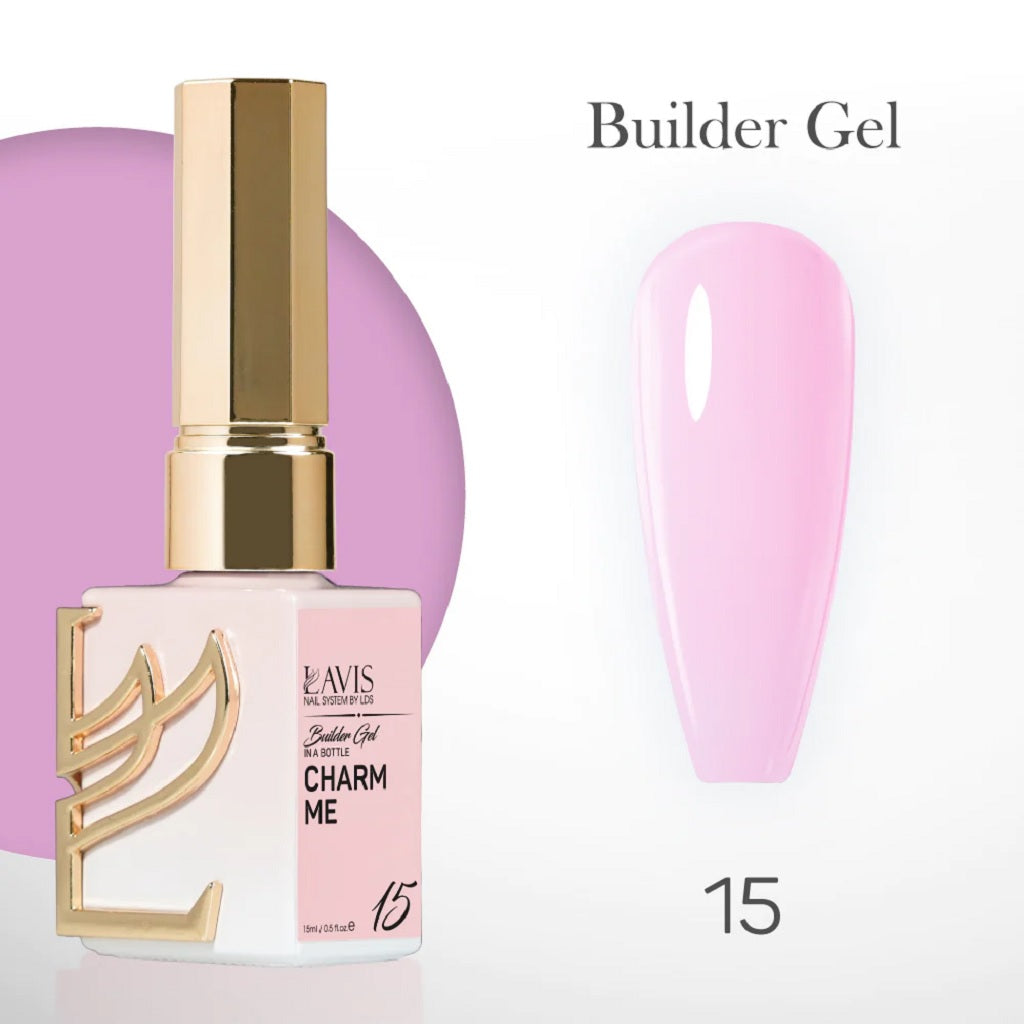
LAVIS Builder Gel In The Bottle - B15 - Gel Polish 15ml
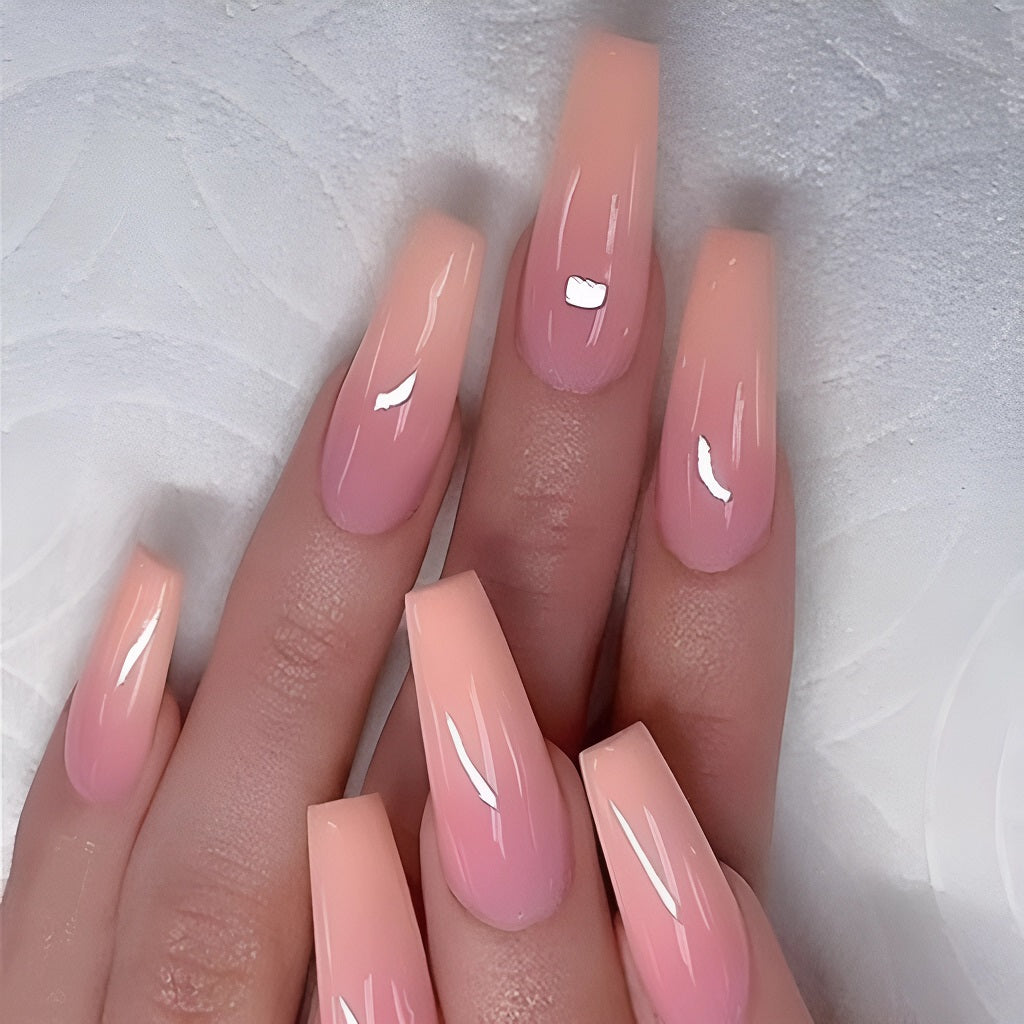
Have you heard how Peach Fuzz is the Pantone Color of the Year? It's even more reason to enjoy peach polish on your fingertips. It blends beautifully with another springtime favorite--pink.
After the harsh winter weather, some have dry, brittle nails. You can gradually recover your nail health with regular applications of cuticle oil and moisturizer. Also, try the nail-slugging trick of applying a thick cream and wearing gloves to bed to wake up with baby-soft hands.
Another way to strengthen your nails is to use builder gel in a bottle. It's like regular gel polish but thicker and provides a more durable yet flexible finish. It can help lengthen and strengthen your nails without harming them. If you've never used it, watch a video or have someone show you how to apply it. For best results, you'll need a back-and-forth motion instead of long vertical strokes to spread the polish. Other than that, it's easy peasy.
Emboss Gel - Gold
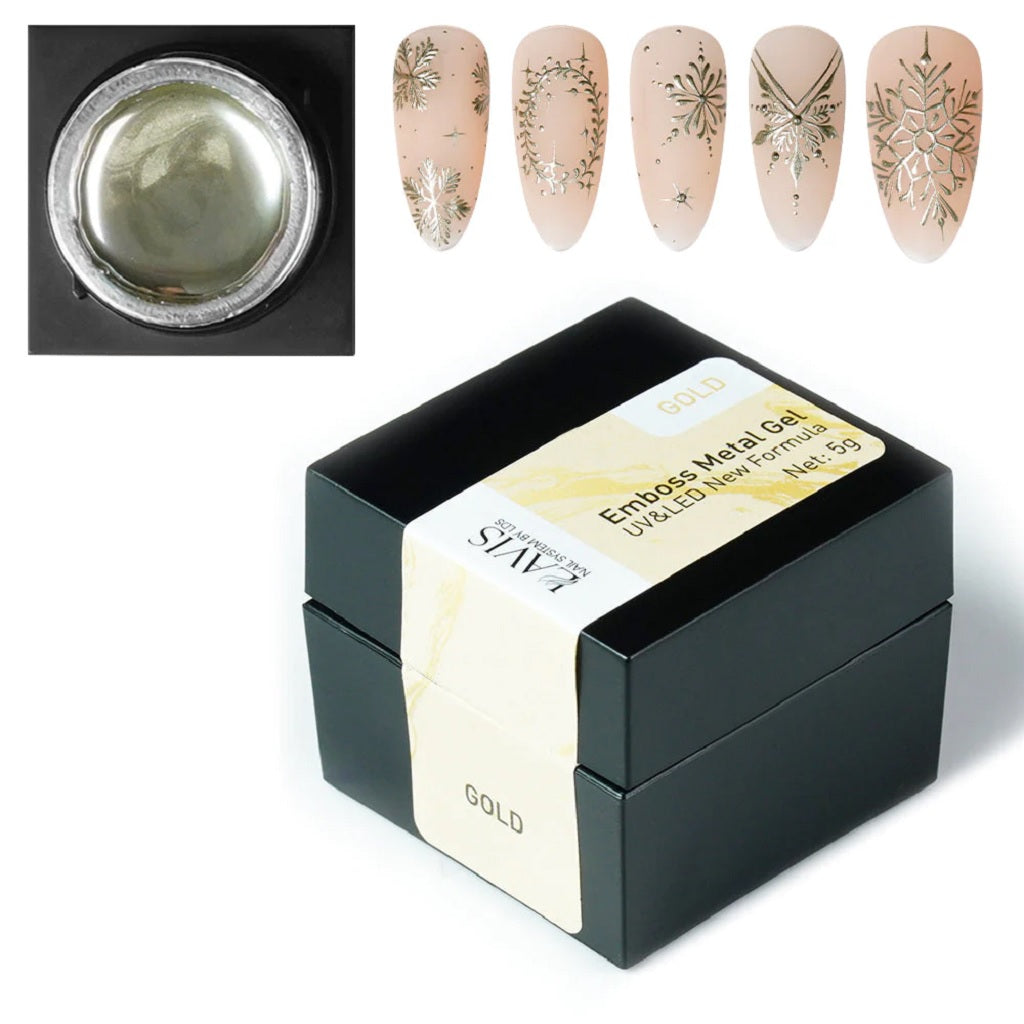
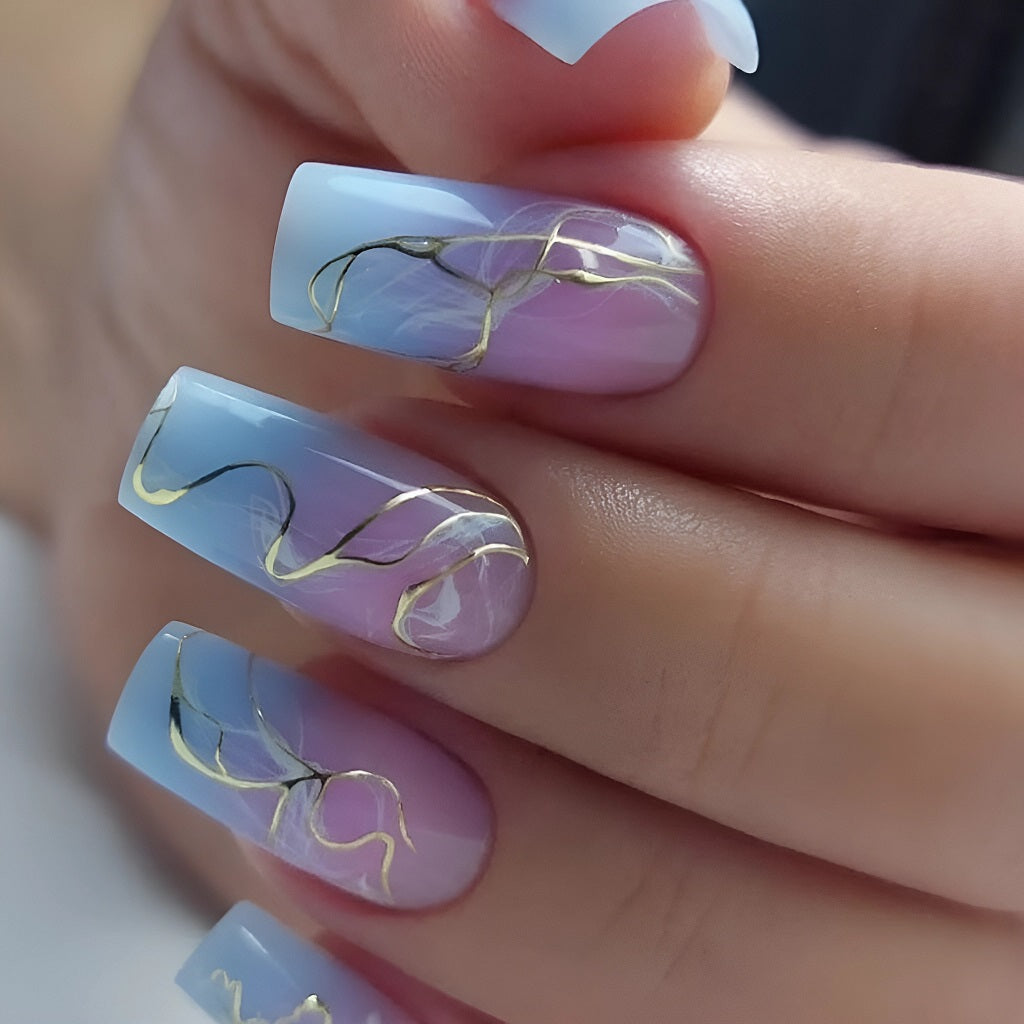
Once you master the art of doing ombré nails, up your nail game by adding accents. Veins of embossing gel can make ombre nails look like marble. This extra step in your manicure can give you a more luxurious look in minutes.
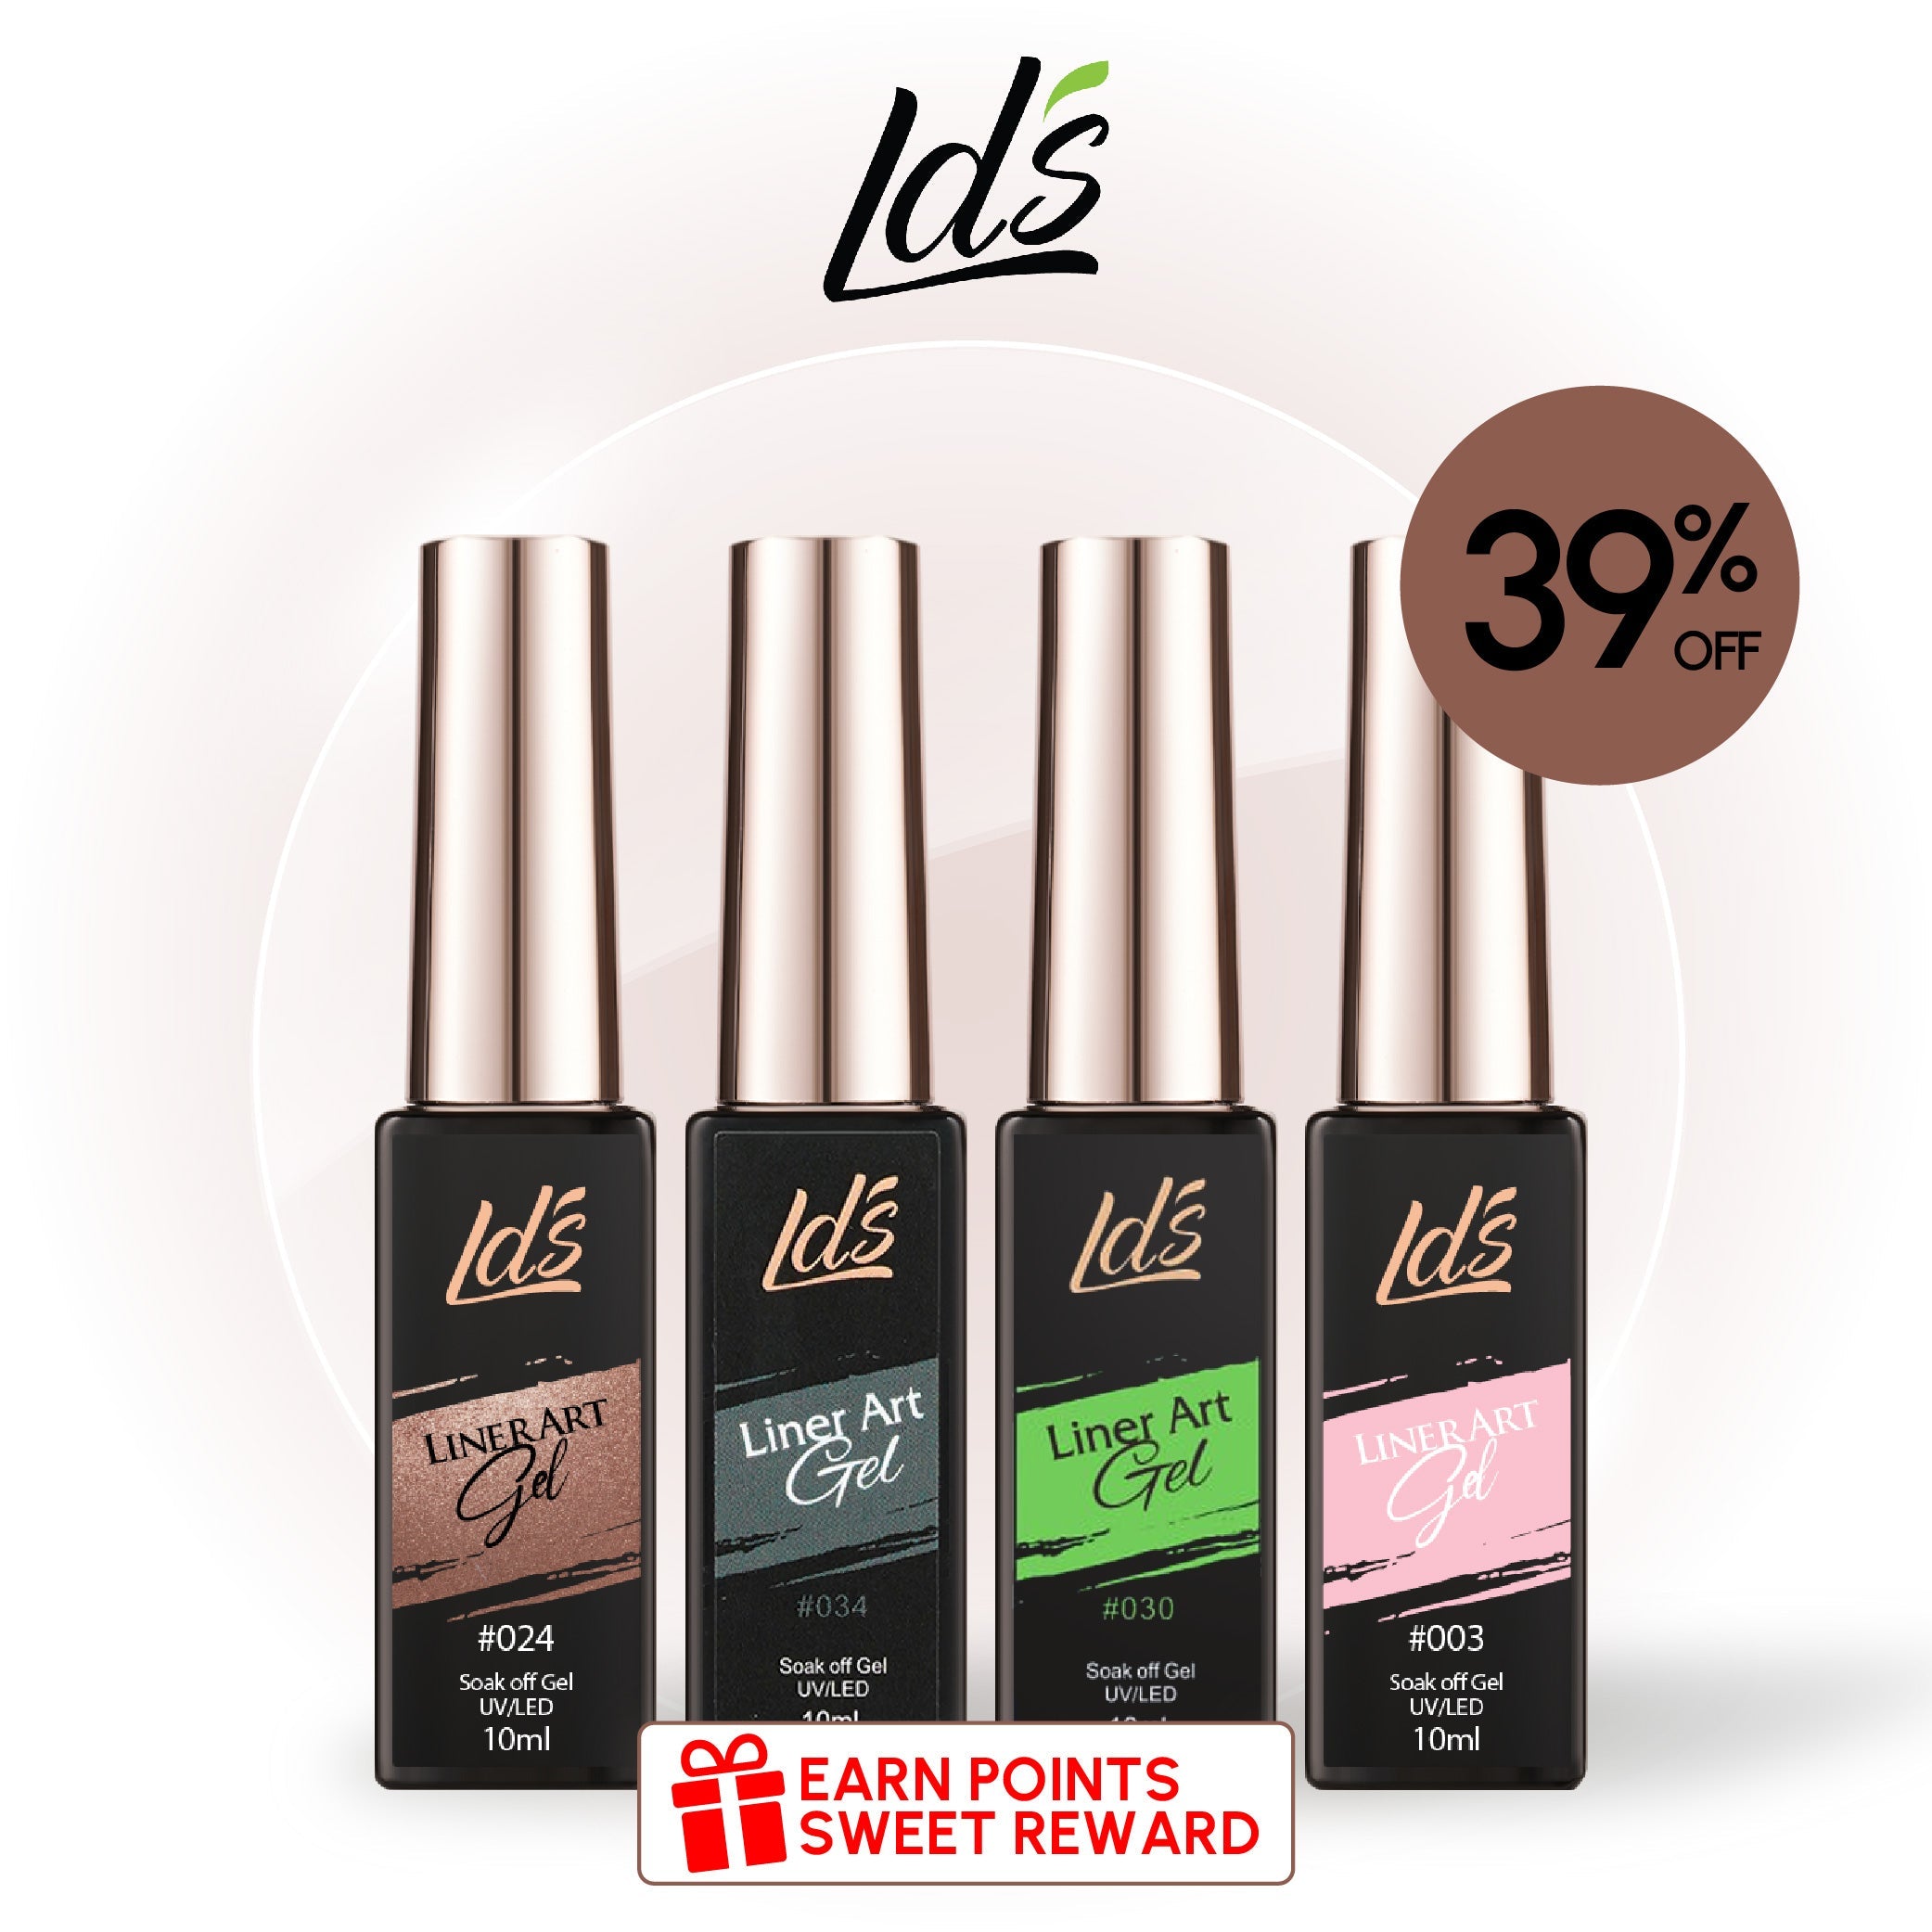
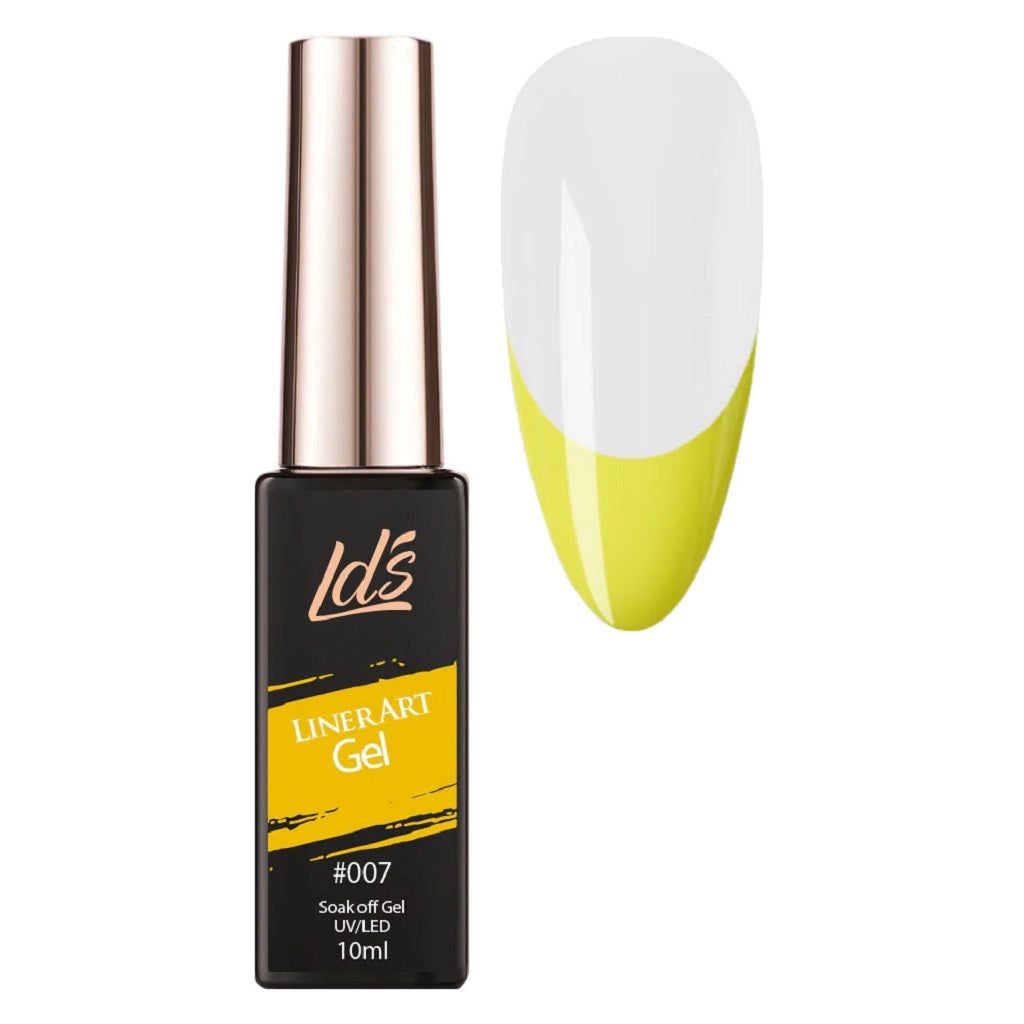
LDS - 07 (ver 2) Neon Yellow - Line Art Gel Nails Polish Nail Art
One of the best features of ombré nail designs is that they look attractive even on short nails. The style can be uncomplicated and still upgrade your manicure.
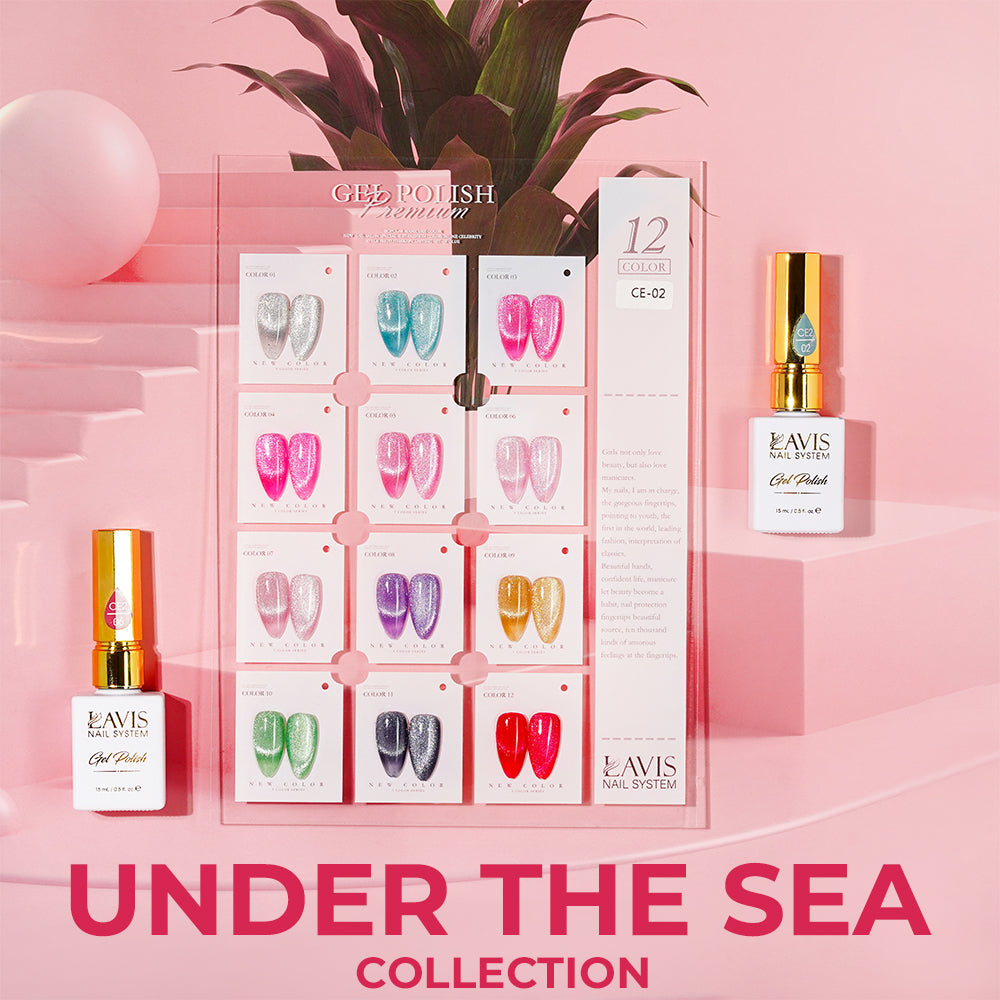
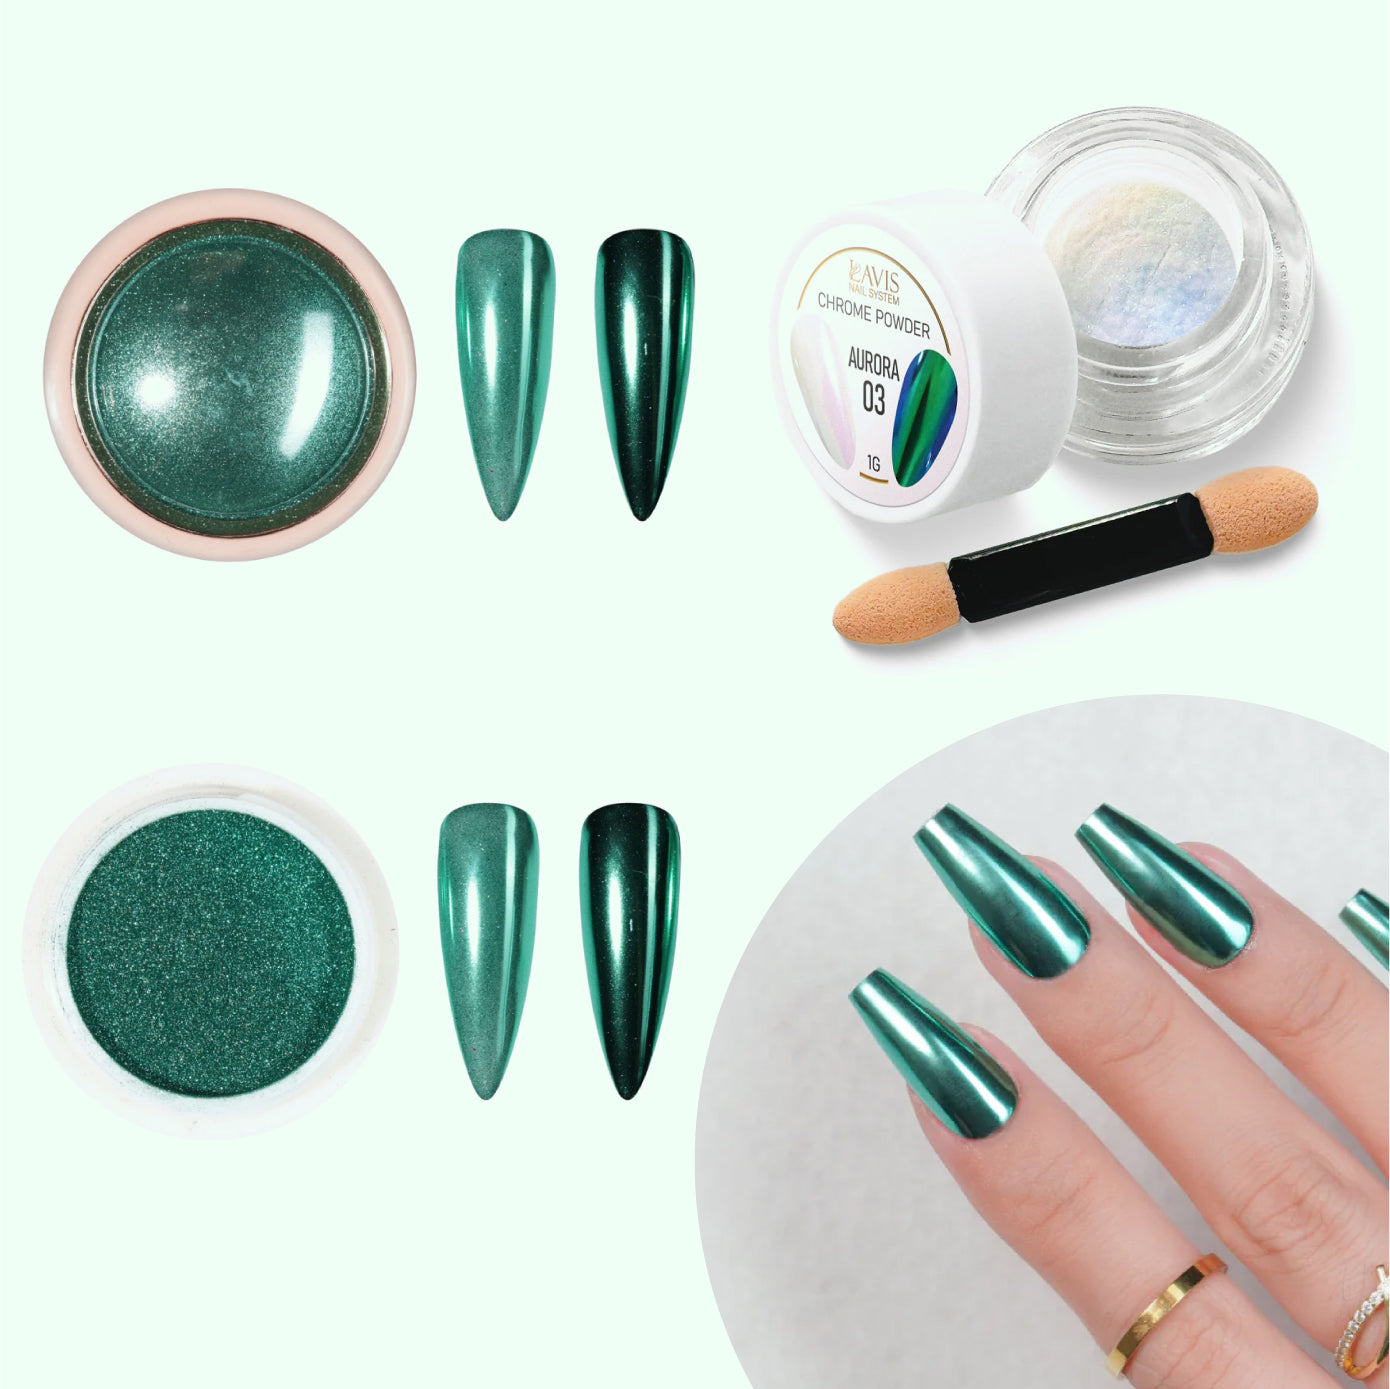
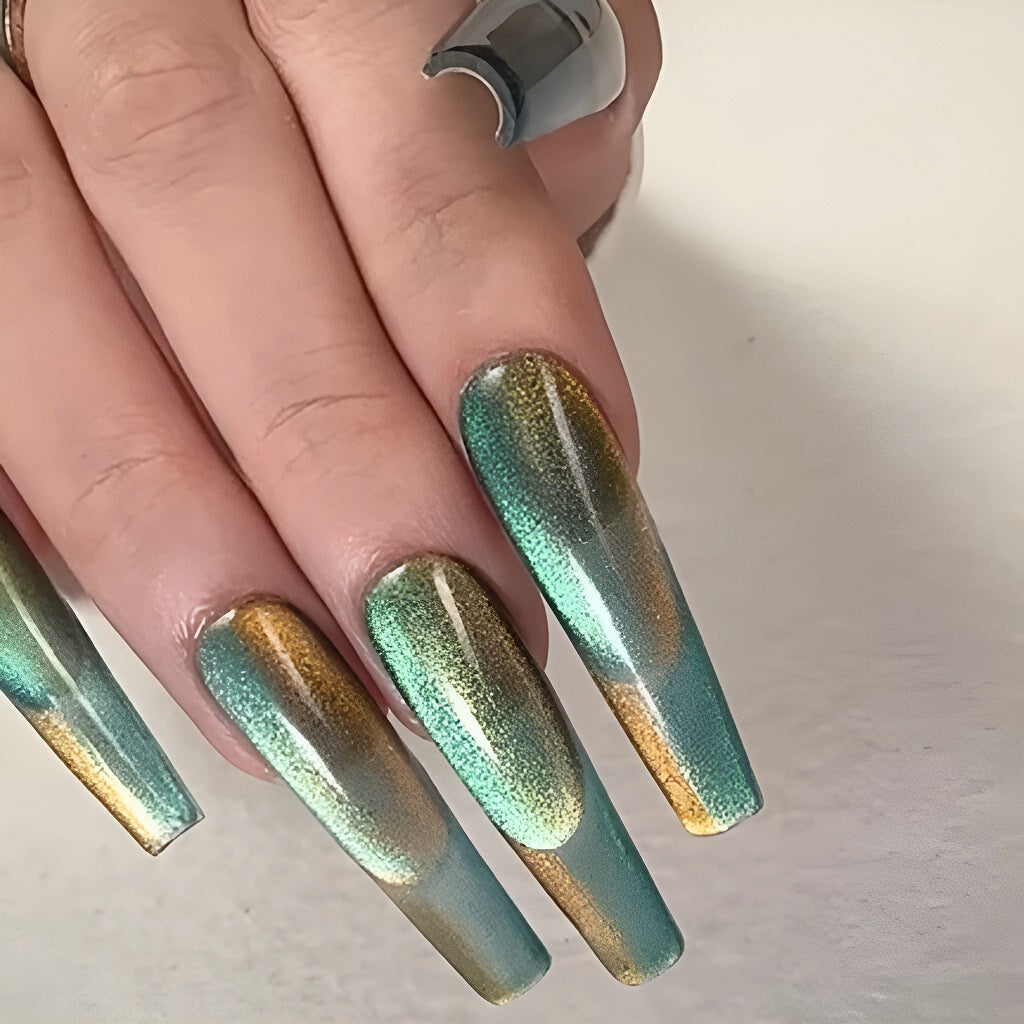
Moreover, there are several ways to create gradient effects. The colors can blend horizontally, vertically, or even circularly. For example, this ombré illusion below was created with two shades of cat eye polish.
Even with only one shade of magnetic polish, you can do gradient nails. All you need is a magnet to concentrate the glitter in one area with a soft transition.
LAVIS Cat Eyes CE4 - 09 - Gel Polish 0.5 oz - Fairy Tale

Here's a secret: everyone you see creating nail art videos wasn't always as talented as they seem now. We all had to start someplace and practice. There’s absolutely no shame in using tools like liquid latex or nail tape to get flawless results.
Gel polish is the easiest and most forgiving medium if you’re painting your spring ombre nails by hand. If you don’t like how a nail turned out, don’t cure it. Wipe it clean and try again. Work in a well-lit area where you’re comfortable and keep your drawing hand resting on a stable surface. You may only need a more suitable brush to see a significant improvement in your art.
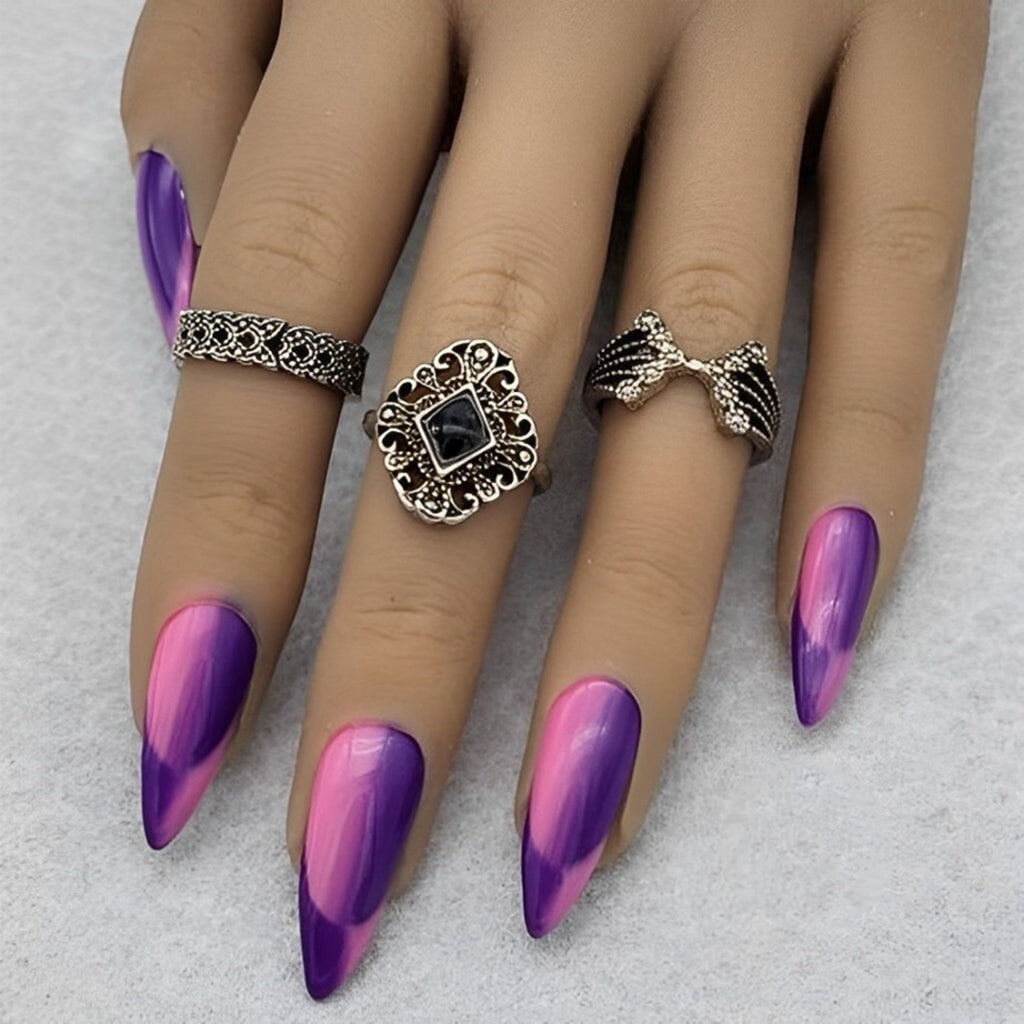
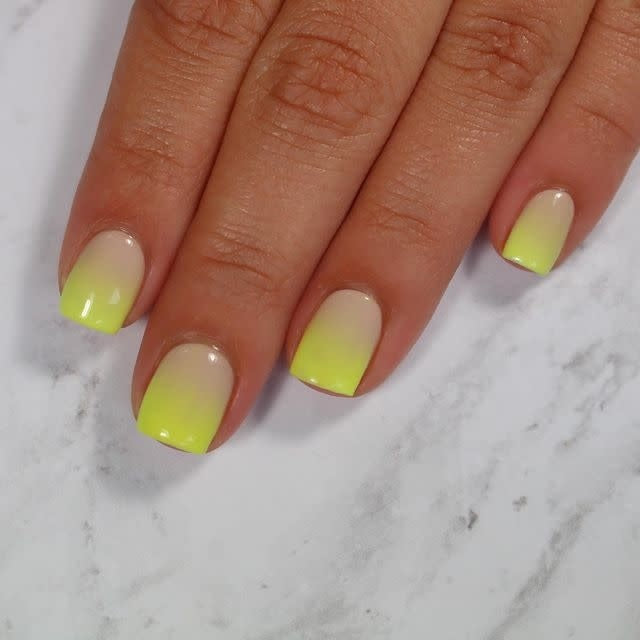
According to the fashionistas, there are several trendy colors this season alongside pink and peach. They include blue, yellow, green, and even classic red. Popular finishes include metallics, iridescent, and extra glossy.
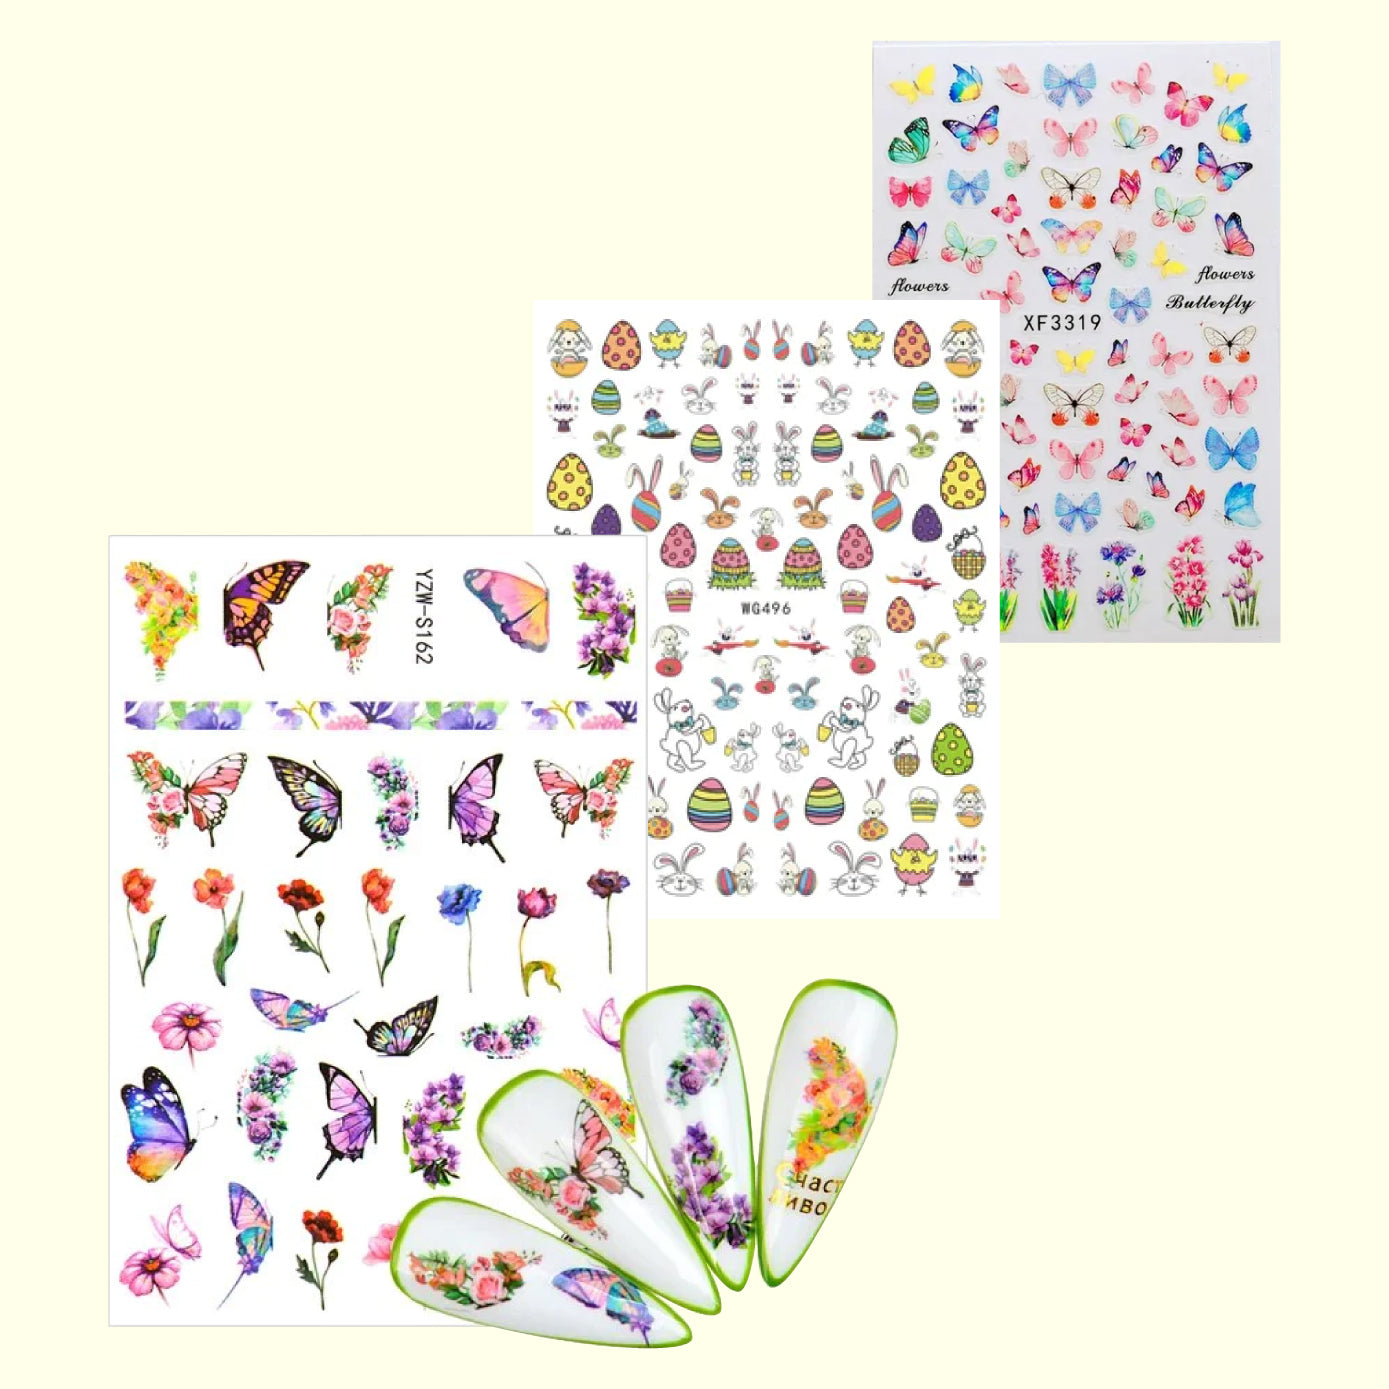
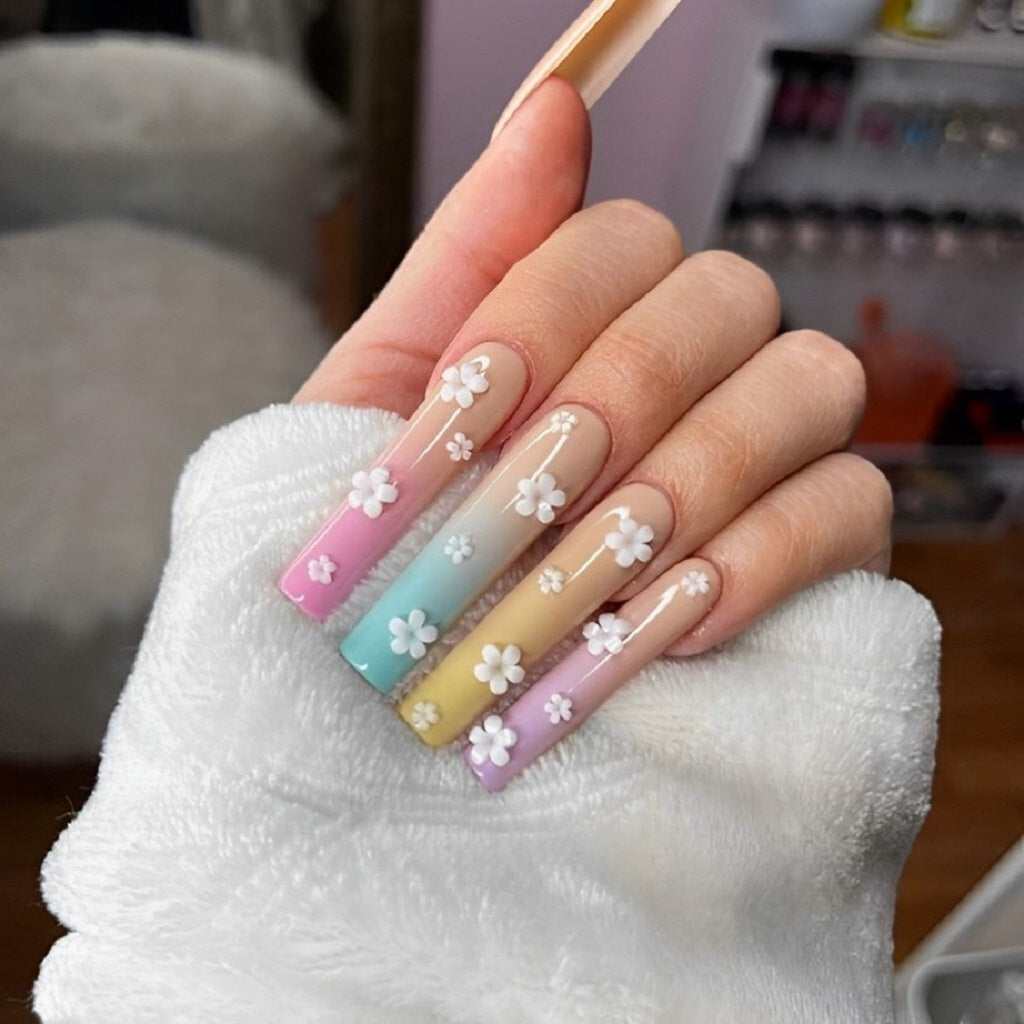
If you’re wondering if you should go minimalist or over-the-top with a spring ombre nail design, the answer is “both”. The clean aesthetic continues trending, and 3D nail art is also hot.
Add blooms or bling to your spring nails if you like!
LAVIS Poly Extension Gel - 003 - White
Or keep your fingertips sophisticated and tidy with Baby Boomer nails. This gradient version of a French manicure continues to win hearts.

LAVIS Matte Top Gel
Tips for Doing Ombre Nails
We’re thrilled that you want to do the perfect spring ombre nails! Before we get started, let's gather all the necessary supplies. Here's what you'll need:
- Two polish colors, one noticeably darker than the other
- A gradient nail art brush and/or a makeup sponge because you can blend the colors with either tool
- Base and top coats
- Manicure tools like acetone, rubbing alcohol, lint-free wipes, a fine-grit nail file, a cuticle pusher, and a buffer block
- A nail lamp if using gel polish
Once you’re ready, let’s begin with nail prep. It’s the professional way to get salon-quality results.
Step-by-Step Guide to Perfect Spring Ombre Nails
- Start by removing any old polish and then shape the nails. Push back the cuticles and buff the nail plate gently. Next, ensure the nails are clean by wiping them with alcohol or acetone and a lint-free nail wipe. Don’t use cotton pads because they leave threads behind.
- Apply the base coat. This guards against staining and offers the best adhesion for the polish. It also helps smooth the surface.
- When the base coat is dry, brush on a coat or two of the lighter color as the bottom shade. Allow it to dry or cure thoroughly before moving on to prevent smudges.
- Now, draw a narrow line of darker polish where you want the darkest part of the design, whether at the tip, the cuticle, or along one side. Then, use a sponge or gradient brush to blur the edge of the polish toward the other side of the nail. Use a light touch, as you can layer on more if needed.
- If you've applied too much of the dark color, don’t worry; just let it dry. Afterward, brush a thin line of the lighter tint along the other side from where you started with the dark. Blend that light color into the darker one to fix the transition.
- Instead of strokes, use a tapping motion for a flawless gradient between the colors. As an alternative to blending with brush strokes or the sponge, try drawing individual lines, dots, or geometric shapes with varying intensities to create the transition from light to dark.
- To make short nails seem longer, start with a thin line of dark polish at the tips and blend with a gradient brush or sponge toward the center, but stop before reaching the middle. Or use distinct vertical lines side by side to increase the illusion.
- Finish up with one or two layers of the top coat. Remember to cover the edge of the nail to guard against chipping.
Ombre nail designs take practice and patience, so please be kind to yourself. Before long, you’ll be impressed at how beautiful they become!
Conclusion
As the blossoms bloom, let your nails reveal the changing seasons. Browse our Spring Colors Collection for the ideal palette. Then, express yourself with ombre nail designs that renew your look like never before. And with free shipping on orders over $100, indulge yourself without limits.